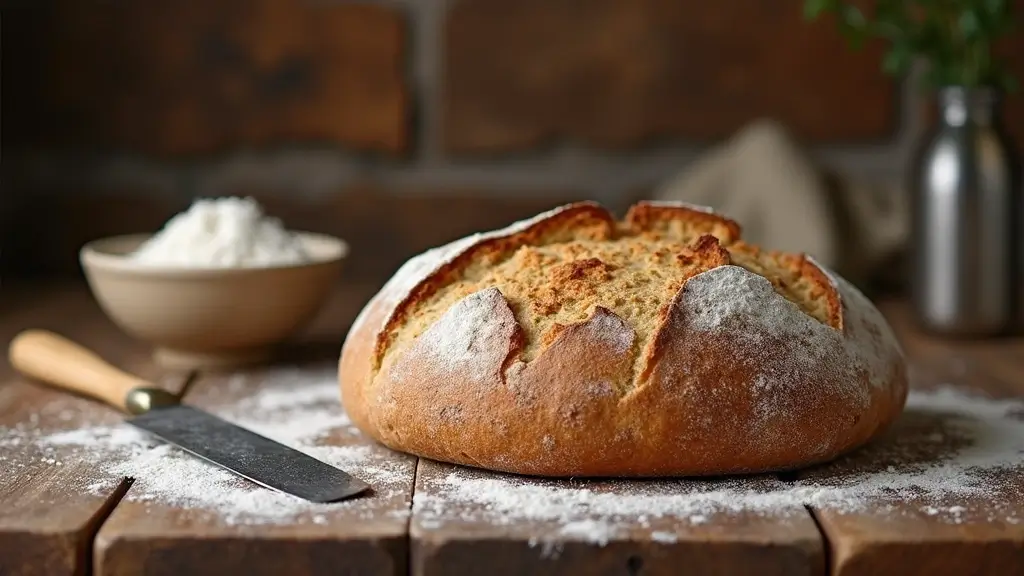
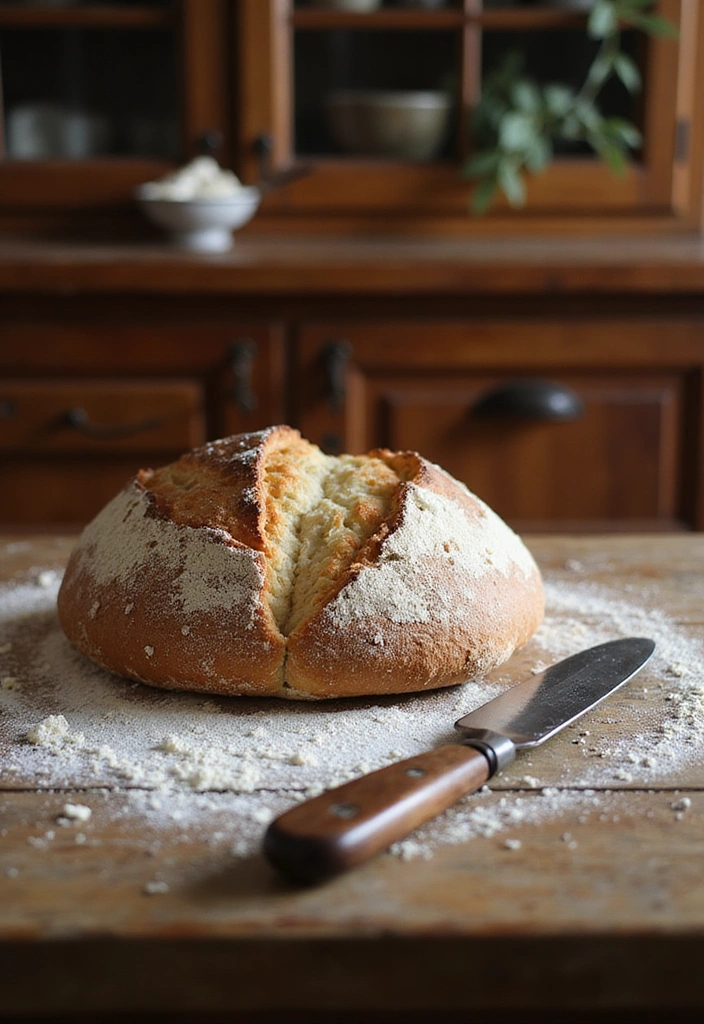
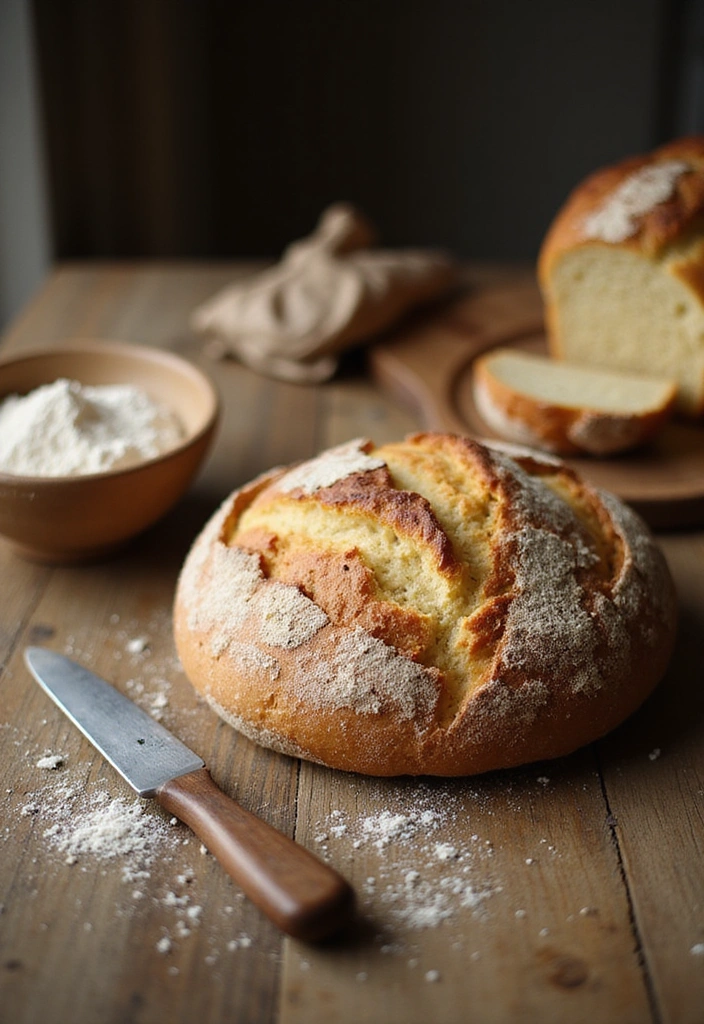
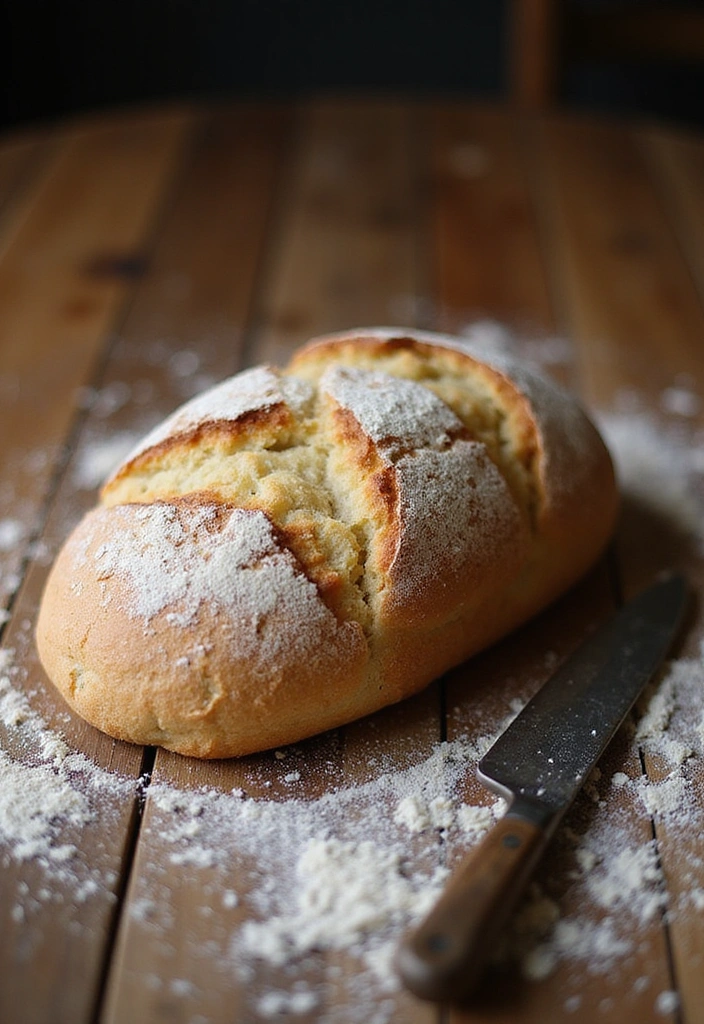
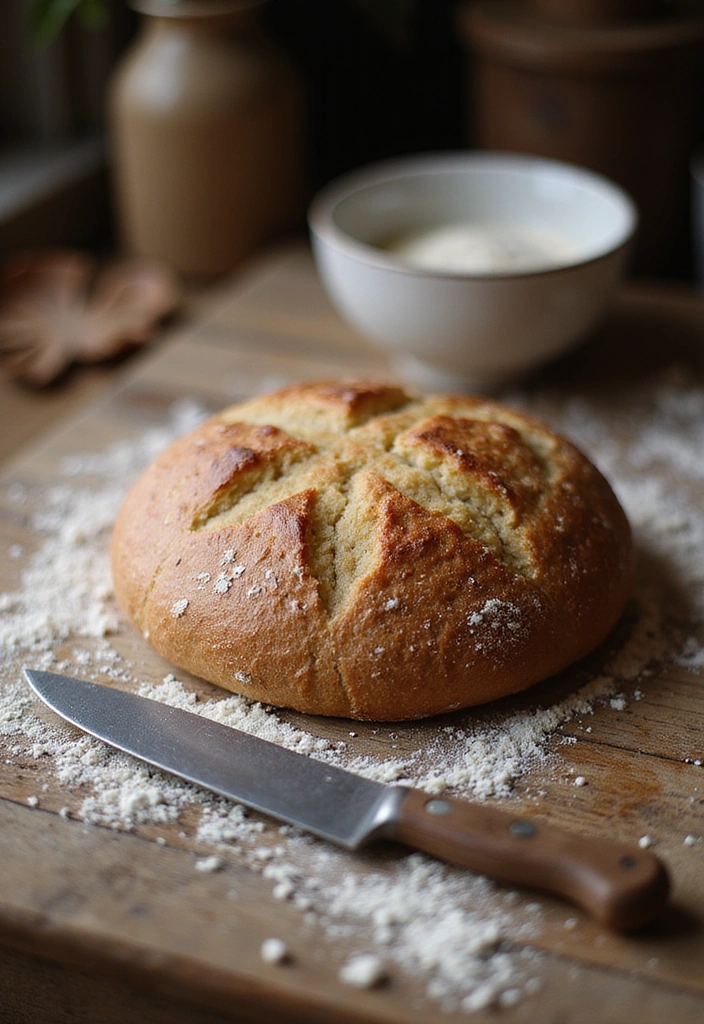
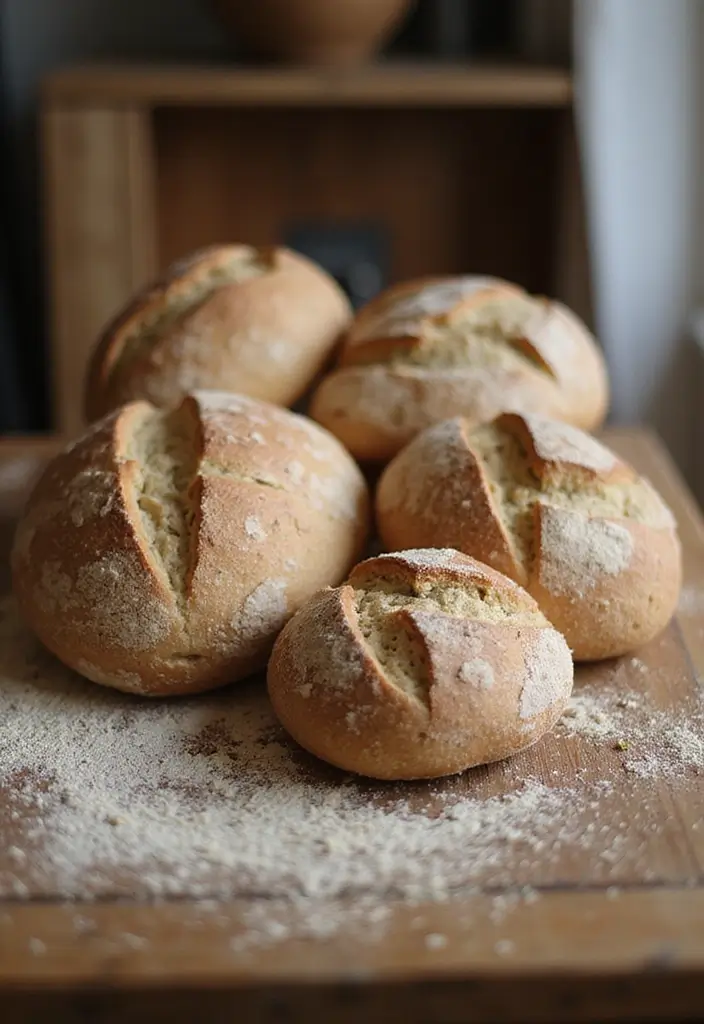
The aroma of freshly baked sourdough bread is like a warm hug on a chilly day. Imagine pulling a golden loaf from the oven, its crust crackling as you slice into it. This is the magic of homemade sourdough bread. With its tangy flavor and chewy texture, sourdough is more than just bread—it’s a comforting ritual that connects us to the art of baking. Making it at home allows you to customize flavors and ensure freshness with every loaf you create.
In this guide, we’ll take you through a step-by-step approach to crafting your very own artisan sourdough bread. Whether you’re a seasoned baker or a curious beginner, we’ve got you covered with tips, tricks, and variations to indulge your taste buds. Let’s get started on this delicious journey!
1. Understanding Sourdough: What Makes It Special?

Sourdough bread is unique because of its natural leavening process, which uses wild yeast and bacteria rather than commercial yeast. This fermentation gives sourdough its signature tang and contributes to its chewy crust. The longer fermentation also aids in digestion and enhances flavor.
Here’s why sourdough stands out:
– **Flavor Complexity**: The longer it ferments, the richer the taste.
– **Health Benefits**: It’s easier to digest and often has a lower glycemic index than regular bread.
– **Artistic Expression**: You can experiment with different flours, hydration levels, and baking times to create your perfect loaf.
Taking the time to nurture your sourdough starter is essential as it becomes the heart of your bread-making. Using a sourdough bread baking kit with a superbaking banneton proofing basket will help your dough rise beautifully while developing that perfect crust.
A digital kitchen scale, like the one found at Digital Kitchen Scale, ensures you measure your ingredients accurately, which is crucial for achieving the best results in your sourdough.
Lastly, using a high-quality Dutch oven for baking bread will create an optimal baking environment, giving your loaf a perfect rise and crust.
With a little patience and care, you’ll find that creating sourdough is not only rewarding but also an enjoyable hobby!


2. The Essential Ingredients
Crafting the perfect sourdough bread starts with knowing the right ingredients. Here’s what you’ll need:
– **Sourdough Starter**: This is your leavening agent and is crucial for fermentation. To get started, consider investing in a sourdough starter kit, which provides you with everything you need to cultivate your own starter at home.
– **Flour**: A mix of bread flour and whole wheat flour usually gives a nice flavor and structure. For a quality option, try the Gold Medal premium quality bread flour. It’s perfect for achieving that desired texture and taste in your bread.
– **Water**: Use filtered or bottled water for the best results. The temperature of the water can impact fermentation, so it’s essential to monitor your measurements.
– **Salt**: Enhances flavor and strengthens the dough, ensuring that your bread rises beautifully.
Ingredient ratios matter, and a typical starting point is:
– 500g of flour
– 350g water
– 100g sourdough starter
– 10g salt
To maintain accuracy in your measurements, a digital kitchen scale can be an invaluable tool. This way, you can be sure you’re using the right amount of each ingredient for a consistent bake.
Feel free to customize by adding herbs, spices, or even cheese for different flavor profiles. The basic four ingredients, however, create a reliable base for your sourdough adventures.


3. Step-by-Step Preparation
Ready to dive into the baking process? Here’s how to prepare your sourdough bread:
1. **Feed Your Starter**: Ensure your sourdough starter is active and bubbly. Feed it 4-6 hours before you plan to bake.
2. **Mix Ingredients**: In a large bowl, combine the flour and water, stirring until there are no dry bits. Let it rest for 30 minutes. This process, called autolyse, aids in gluten development.
3. **Add Starter and Salt**: Add your bubbly starter and salt to the dough. Use your hands to mix it all together until fully incorporated.
4. **Bulk Fermentation**: Cover the bowl and let the dough rise at room temperature for 4-6 hours. During this time, stretch and fold the dough every 30 minutes for the first 2 hours.
5. **Pre-shape and Rest**: Turn the dough onto a floured surface and shape it into a ball. A sourdough bread proofing basket can be really helpful here to give your dough the right shape. Let it rest for 20-30 minutes.
6. **Final Shape**: Shape your dough again and place it in the proofing basket for the final rise (1-2 hours or overnight in the fridge).
7. **Preheat Oven**: About 30 minutes before baking, preheat your oven to 450°F (230°C) with a Dutch oven inside. Using a Dutch oven creates a steamy environment that’s perfect for achieving that crusty exterior we all love.
8. **Measure Accurately**: Consider using a digital kitchen scale to ensure precise measurements of your ingredients. This will help you achieve consistent results every time you bake.
The secret to great sourdough? It all starts with a bubbly starter and a little patience! Mix, rest, and watch your dough transform into something magical.


4. Baking Techniques

Baking sourdough can feel daunting at first, but with the right techniques and tools, you’ll achieve that perfect crust and crumb. Here are some baking tips:
– Use a Dutch oven: This heavy-duty cookware creates a steamy environment, ensuring a crispy crust that elevates the overall texture of your bread.
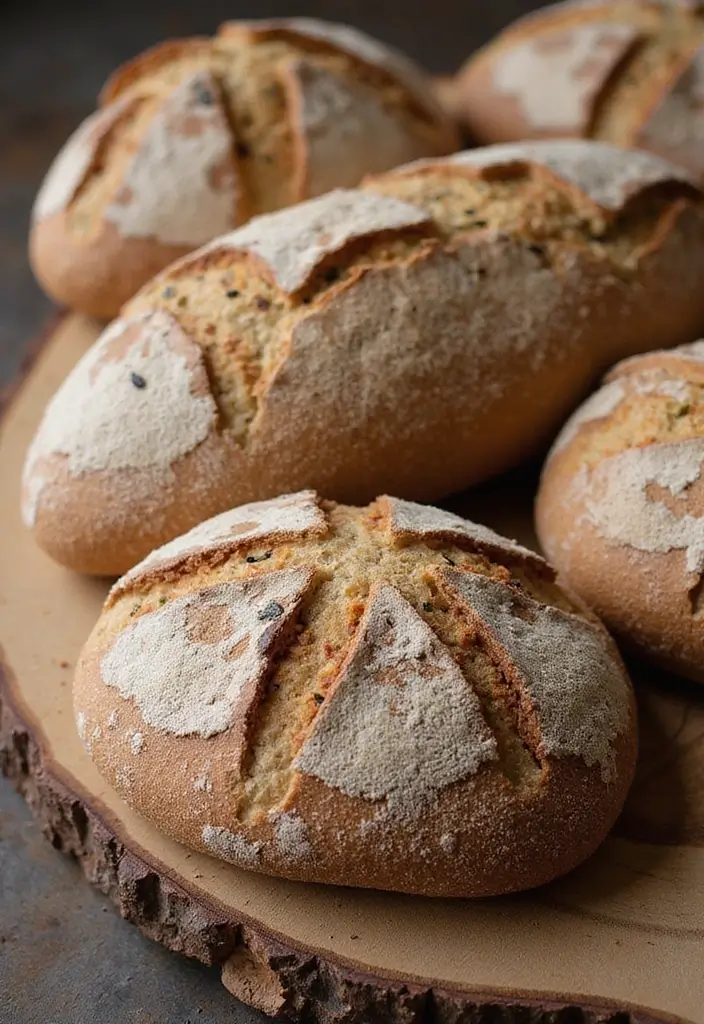
– Score your dough: Before baking, use a sharp blade to score the surface. A great option is the bread scoring tool from SAINT GERMAIN, which makes slashing easier and more precise, allowing the dough to expand properly.
– Bake with steam: If you don’t have a Dutch oven, place a pan of hot water at the bottom of the oven. This mimics steam and helps with crust development.
– Monitor temperature: Baking until the internal temperature reaches around 200°F (93°C) ensures a fully baked loaf. Using an instant read meat thermometer is perfect for checking this, giving you confidence that your bread is baked to perfection.
– Cool before slicing: Allow your bread to cool for at least an hour before slicing, letting the flavors meld and the crumb set properly.
Experimenting with these techniques can yield varying results, making every bake a new adventure in flavor and texture!


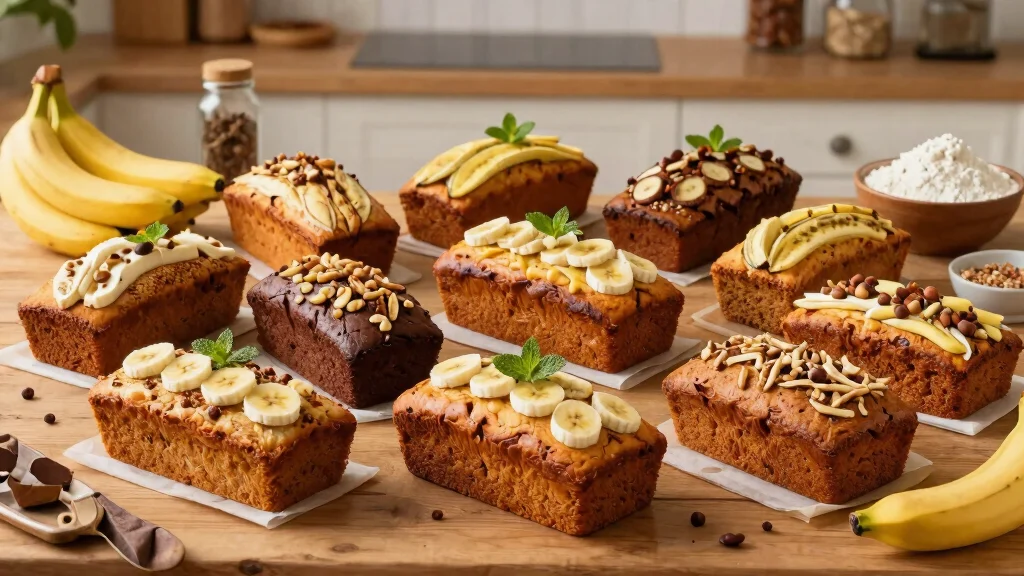
5. Exploring Artisan Variations
Sourdough is a canvas for endless creativity. Once you master the basics, why not explore some artisan variations? Here are a few ideas to inspire you:
– **Seeded sourdough**: Add sesame, poppy, or flax seeds for a nutty flavor and crunchy texture. To achieve a perfect bake, consider using a bread baking stone, which ensures even heat distribution for a crisp crust.
– **Cheese and herb sourdough**: Incorporate shredded cheese and fresh herbs like rosemary or thyme for a savory twist. A dough scraper can help you mix these ingredients seamlessly into your dough, making the process easier and more enjoyable.
– **Fruit and nut sourdough**: Dried fruits or nuts bring a delightful sweetness and chewiness. Think cranberries and walnuts or apricots and almonds. To get started with your sourdough journey, a comprehensive sourdough starter kit is essential; it provides you with the tools and guidance needed to create delicious variations.
– **Whole wheat sourdough**: Using whole wheat flour instead of white flour enhances nutrition and flavor complexity, making your loaves even more satisfying.
– **Multigrain sourdough**: Mix in various grains like oats, barley, or rye for a heartier loaf. This creative twist allows for a unique texture and flavor profile in every bite.
These variations not only excite the taste buds but also give you the chance to showcase your baking skills and impress friends and family!
6. Essential Tools for Sourdough Success

Having the right tools can make your sourdough journey smoother and more enjoyable. Here are some essential items to consider:
– Digital kitchen scale: Precision in measuring ingredients is key for consistent results. This scale weighs up to 11 pounds and features an easy-to-read LCD display, making it easier to get the exact measurements needed for your dough.
– Bench scraper: This handy tool is perfect for working with sticky dough and shaping loaves. The OXO Good Grips stainless steel bench scraper & chopper is durable and effective, helping you to manage your dough effortlessly.
– Bread knife: A sharp serrated knife is essential for slicing your bread without squishing it. Investing in a high-quality bread knife will make this task much easier, ensuring you get perfect slices every time.
– Proofing basket: This helps shape your dough during the second rise and adds texture to the crust, giving your bread that artisan look and feel.
– Lame or razor blade: For scoring your bread before baking, a lame provides you with the control needed to create beautiful designs on the top of your loaves.
– Dutch oven: As mentioned earlier, a Dutch oven is excellent for creating that ideal crust. The Lodge 5 Quart cast iron double Dutch oven is pre-seasoned and versatile, perfect for baking bread, and is essential for achieving that perfect bake.
Investing in these tools can enhance your baking experience, making each step easier and more enjoyable!


7. Troubleshooting Common Issues
Even seasoned bakers face challenges with sourdough. Here are some common issues and how to resolve them:
– **Dense bread**: This may happen due to insufficient fermentation. Ensure your starter is active, and give your dough enough time to rise. A digital kitchen scale can help you measure your ingredients accurately, which is crucial for a successful rise.
– **Flat loaf**: If it doesn’t rise much, your dough might be over-proofed. Try adjusting your proofing times. Using a bread proofing basket can provide the right environment for your dough to rise while maintaining its shape.
– **Crust too hard**: If your crust is overly tough, it’s likely from too high of a baking temperature or too long in the oven. Monitoring the baking process closely can help, but you might also want to check your loaf’s internal temperature to ensure it’s perfectly baked. An instant read meat thermometer is a great tool for this, allowing you to get accurate readings in seconds.
– **Soggy loaf**: This can occur from underbaking. Make sure your loaf reaches the correct internal temperature, which can be easily checked with that instant read thermometer.
– **Flavor off**: Sometimes, the flavor can be too sour. This can be adjusted by controlling the fermentation time and refrigerated proofing. Keeping track of your timing and temperatures can make all the difference in flavor development.
With practice and attention, you’ll be able to troubleshoot effectively and improve your baking skills. Remember, patience is key—give your dough time to rise, and don’t shy away from troubleshooting. Your perfect sourdough bread awaits!


8. Nutritional Breakdown of Sourdough

Sourdough bread not only tastes great but also offers nutritional benefits. Here’s a quick breakdown per slice (about 60g):
– Calories: 150
– Carbohydrates: 30g
– Protein: 5g
– Fat: 1g
– Fiber: 2g
– Sodium: 200mg
It’s rich in beneficial nutrients and lower in phytic acid than regular bread, making it easier to digest and absorb the nutrients. Additionally, the natural fermentation process increases antioxidants and bioavailability of vitamins.
For those looking to enhance their sourdough baking experience, using the right tools can make a significant difference. A sourdough bread baking kit with a banneton basket is essential for proofing your dough, allowing it to rise beautifully and develop its unique texture.
Measuring ingredients accurately is crucial in baking; a digital kitchen scale will help ensure you get the right proportions, leading to better results every time.
Lastly, for achieving that perfect crust, a bread lame for scoring is a great tool. It allows you to create beautiful patterns on the surface of the dough, which not only looks impressive but also helps control the expansion of the bread as it bakes.
For those with dietary restrictions, sourdough can often be a better alternative, especially when made with whole grains or gluten-free options. It’s a delightful way to enjoy bread without feeling guilty!


9. Frequently Asked Questions
Baking sourdough bread can raise a lot of questions! Here are some commonly asked ones:
– **How do I know if my starter is active?** Look for bubbles and a pleasant aroma. It should double in size after feeding. A good way to ensure consistency in your measurements is by using a digital kitchen scale. It helps you accurately weigh your ingredients, ensuring your starter has the right ratios for optimal activation.
– **Can I use all-purpose flour?** Yes, but for the best texture and flavor, a mix of bread and whole wheat flour works best. Consider checking out a baking book like Artisan Sourdough Made Simple for more detailed guidance on flour combinations and techniques to enhance your sourdough experience.
– **How long can I store sourdough?** It can be kept at room temperature for a few days; otherwise, freeze it for longer storage. For those who enjoy baking larger quantities or wish to experiment with pizzas, using a baking stone can help retain heat and create a crispy crust, making it ideal for various baked goods.
– **Why does my bread taste too sour?** This can be controlled by fermentation time; less time equals a milder taste. Finding your perfect balance may require some experimentation, but with the right resources, you’ll be able to adjust as needed.
– **Can I bake sourdough without a Dutch oven?** Absolutely! Just create steam in the oven with a pan of water. However, if you want to explore the best baking methods, the knowledge from a solid baking book will greatly benefit you.
These answers should help ease some of your baking fears. As you experiment, you’ll become more comfortable and know what works best for you! Remember, your sourdough journey is filled with questions! Embrace the art of bread-making!
10. The Joy of Sharing Your Bread!
One of the best parts of baking sourdough is sharing it with others. Whether it’s with family, friends, or neighbors, there’s something deeply satisfying about giving away a loaf. Here are some ideas to enhance your sharing experience:
– **Create bread gifts**: Wrap your sourdough in a simple cloth, like the bread baking cloth, and tie it with twine for gift wrapping for a rustic touch. This not only makes your bread look beautiful but also elevates the gifting experience.
– **Host a baking party**: Gather friends for a fun baking session. Sharing tips while making bread is a joy! It’s a great opportunity to bond over the process and enjoy the delicious outcome together.
– **Bread exchange**: Connect with fellow bakers in your community for a bread exchange. You’ll discover new flavors and techniques while expanding your network of fellow enthusiasts.
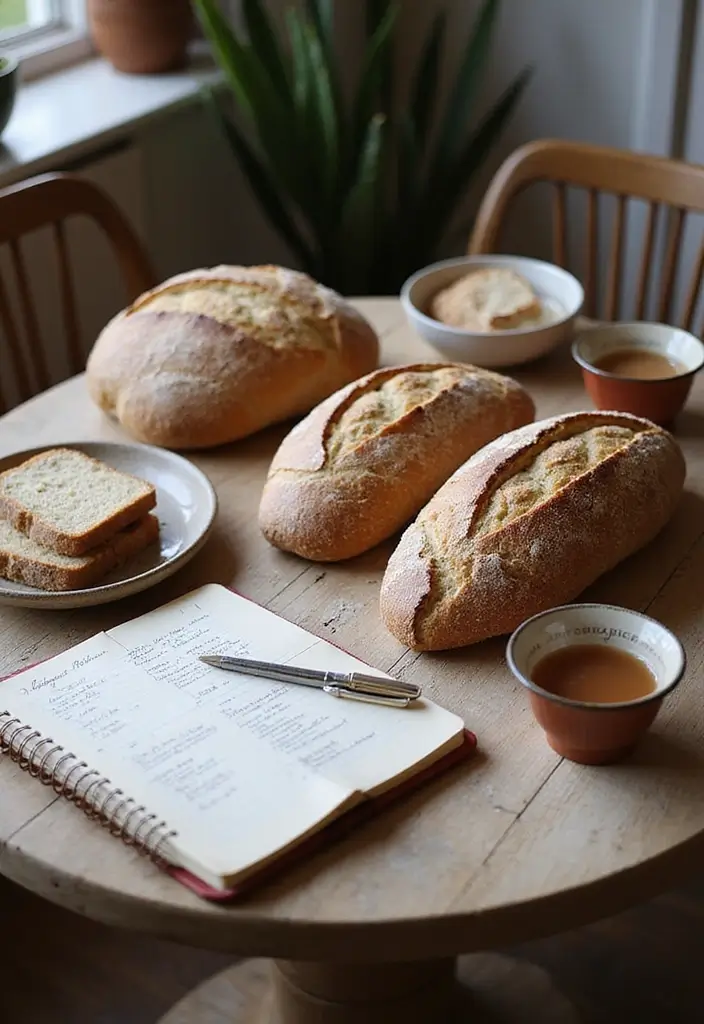
– **Record your journey**: Keep a baking journal, like the baking journal, to document your recipes and experiences. This not only tracks your progress but creates a sentimental keepsake for you and your loved ones to cherish.
Baking is about bringing people together, and what better way to do that than with delicious bread? Celebrate each loaf and the connections you foster along the way!
Conclusion
Baking homemade sourdough bread is a fulfilling journey of flavor, patience, and creativity. Whether you’re perfecting your technique or trying new artisan variations, each loaf has its own story to tell.
As you embark on this delicious adventure, remember that every bake is a chance to learn and discover. So don your apron, grab your ingredients, and let the magic of sourdough unfold in your kitchen!
Note: We aim to provide accurate product links, but some may occasionally expire or become unavailable. If this happens, please search directly on Amazon for the product or a suitable alternative.
This post contains Amazon affiliate links, meaning I may earn a small commission if you purchase through my links, at no extra cost to you.
Frequently Asked Questions
How do I know if my sourdough starter is active?
To check if your sourdough starter is active, look for bubbles and a pleasant aroma. It should double in size within 4-6 hours after feeding. If it’s bubbly and smells slightly tangy, you’re good to go!
Remember, a healthy starter is key to achieving that perfect sourdough bread recipe.
What are some common mistakes to avoid when making sourdough bread?
One common mistake is not properly feeding your starter. Ensure it’s bubbly and ready before starting your bread. Another mistake is skipping the autolyse phase, which helps develop gluten. Finally, avoid rushing the fermentation process—patience is essential for that delicious flavor and texture!
Follow the step-by-step guide and you’ll be on the right path to baking artisan bread.
Can I use whole wheat flour instead of all-purpose flour for sourdough?
Absolutely! Using whole wheat flour can add more nutrients and flavor to your sourdough. Just keep in mind that it may require a bit more water due to its higher absorption rate. Start with a 75% hydration level and adjust as necessary. Experimenting with flours is part of the fun of making homemade bread recipes!
Enjoy the process and see what variations you can create.
Why is my sourdough bread too dense?
A dense loaf can be frustrating, but it’s often due to insufficient fermentation or an inactive starter. Ensure your starter is bubbly and has been fed properly before use. Also, make sure you’re allowing enough time for bulk fermentation and proofing. If you still find issues, consider adjusting your kneading technique or hydration levels for better results.
Keep practicing, and you’ll become a sourdough pro in no time!
How can I add flavors to my sourdough bread?
Adding flavors to your sourdough is a great way to get creative! You can incorporate ingredients like herbs, garlic, cheese, or nuts into the dough during the mixing phase. For a sweeter twist, try adding dried fruits or honey.
Just remember to balance the flavors with the sourness of the bread to achieve that perfect artisan taste. Enjoy experimenting with different variations!