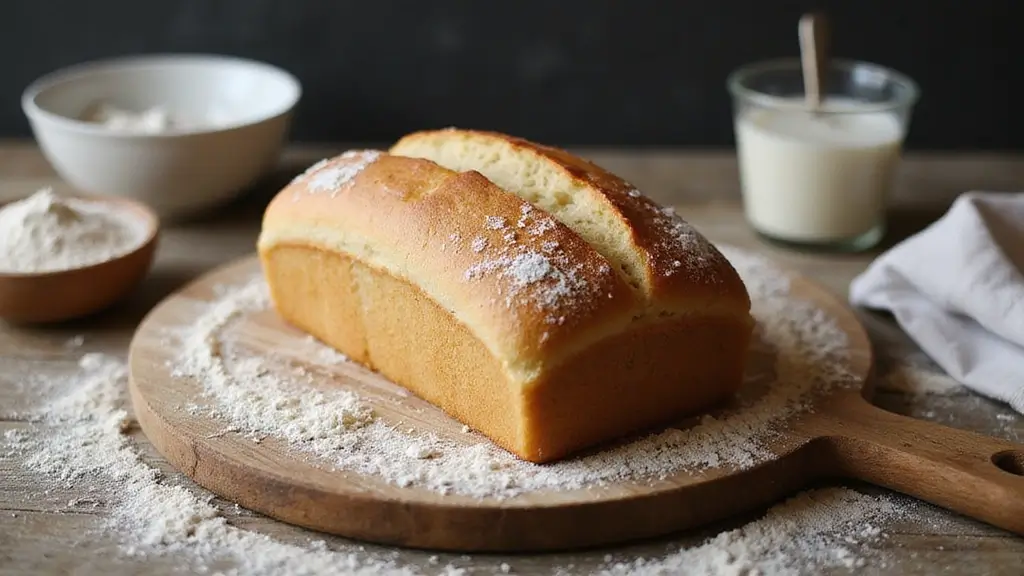
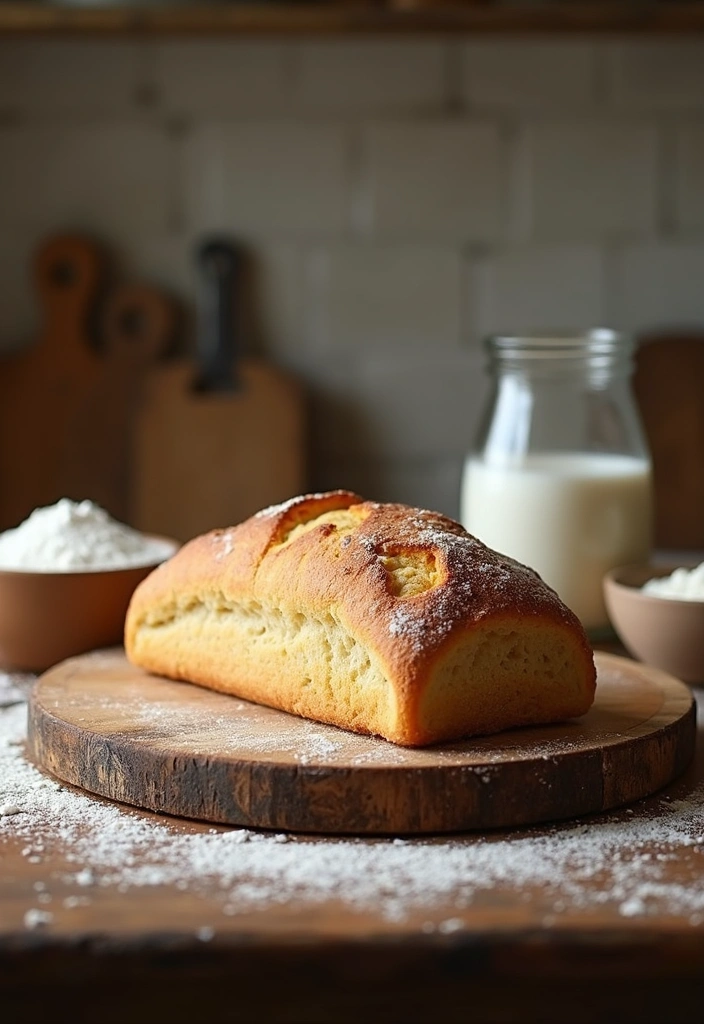
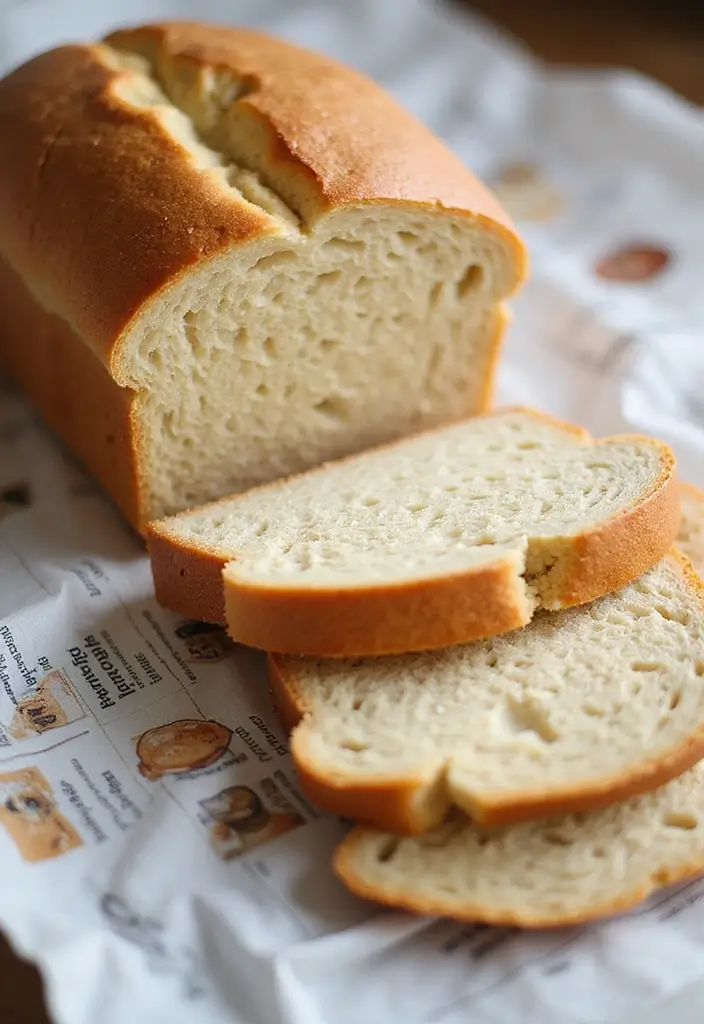
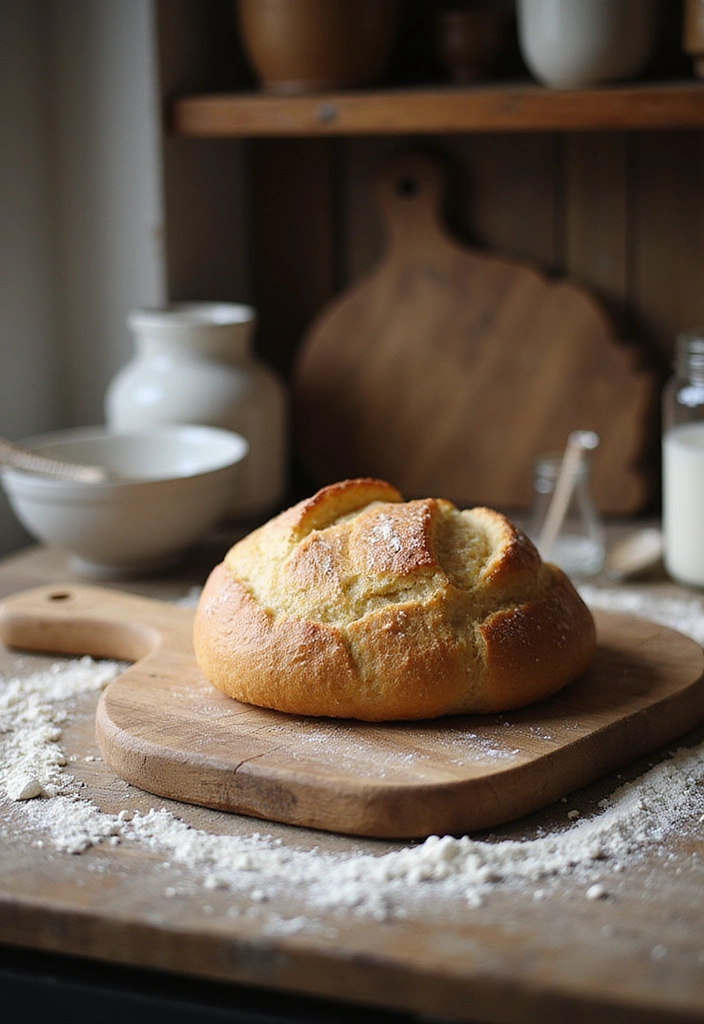
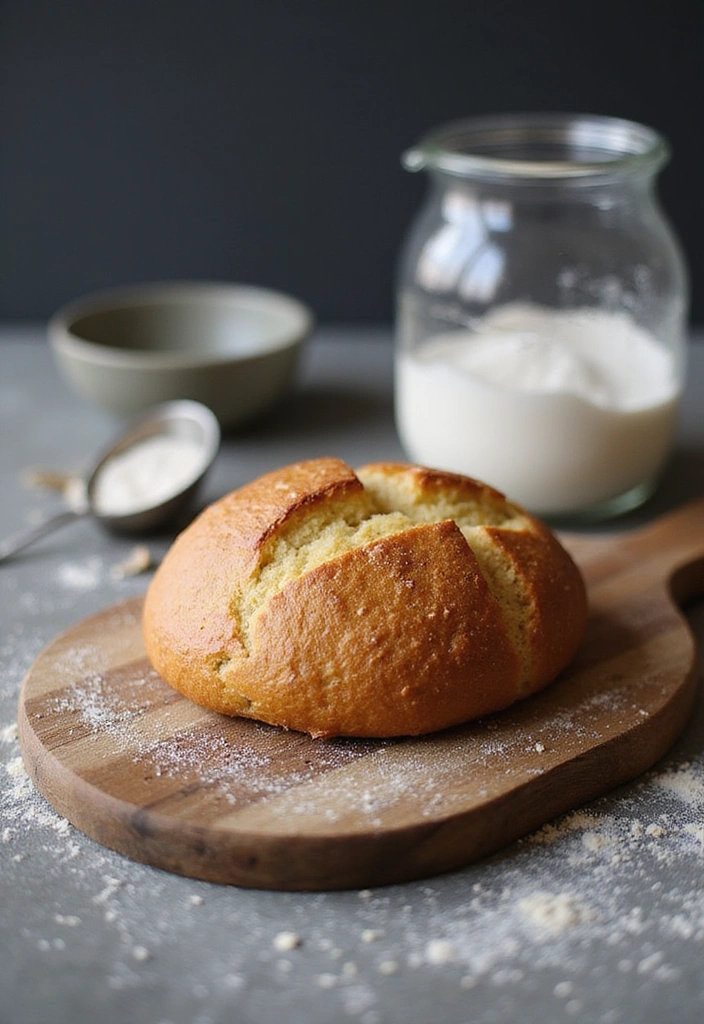
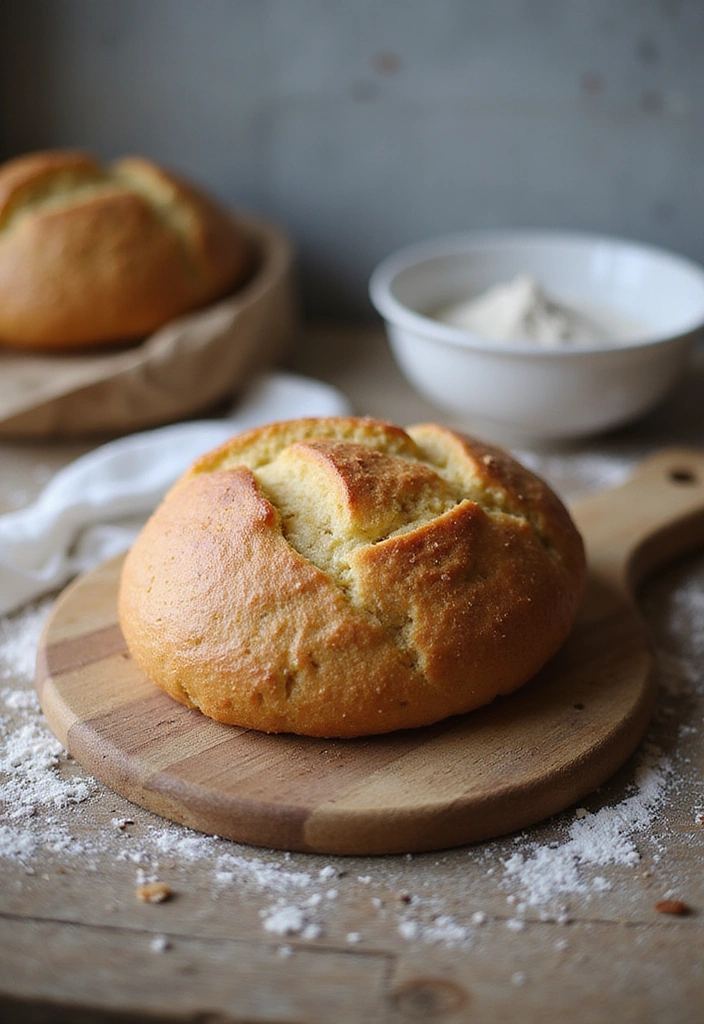
There’s something magical about freshly baked bread wafting through your home, and with this no-knead bread recipe, you can create your very own artisan-style loaf without the fuss.
Perfect for those busy days or if you’re just starting out in the kitchen, this method allows you to have delicious, crusty bread with minimal effort. With just a few simple ingredients and a bit of patience, you’ll be able to impress friends and family with your homemade skills. Plus, this recipe is designed to suit gluten-free diets, making it perfect for anyone looking to enjoy artisan bread at home without any guilt!
Get ready to roll up your sleeves (but not for kneading) and embark on a baking adventure that will fill your home with warmth and delight.
1. Recipe Overview
This no-knead bread recipe is not only easy to follow but also delivers results that rival those from a fancy bakery. With just 15 minutes of prep and a little patience, you can create a delicious no-knead bread that tastes like it came from a gourmet bakery. Why settle for ordinary when extraordinary is so simple?
Servings: 1 loaf
Prep Time: 15 minutes (plus 12-18 hours resting time)
Cook Time: 45 minutes
Total Time: 13+ hours
Calories: Approximately 150 per slice (varies based on toppings and ingredients used)
This overview sums up the key aspects of the recipe, making it easy to fit into your schedule. Whether you’re a baking novice or a seasoned pro, understanding the timeline and yield can help you plan your meals. The long resting time is where the magic happens, allowing flavors to develop beautifully without much fuss on your part!
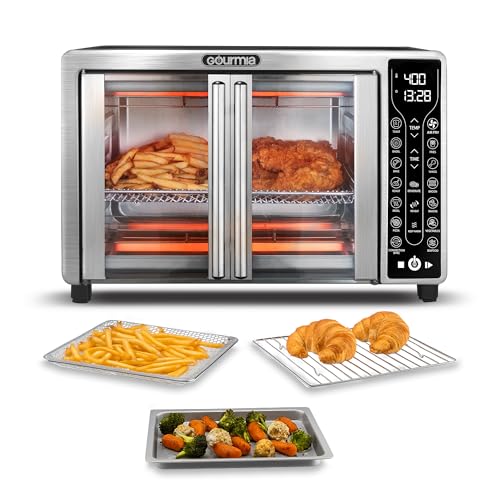
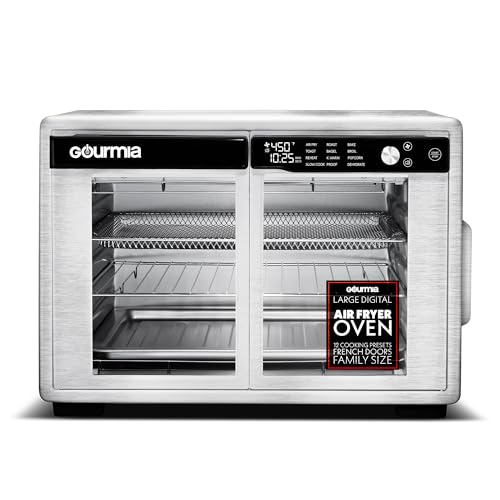
To achieve the best results, consider using an Dutch oven. This heavy-duty cookware retains heat exceptionally well, creating that perfect crust on your bread while keeping the inside moist and chewy. It’s a fantastic investment for any bread baker, as it can also be used for braising, stews, and roasting.
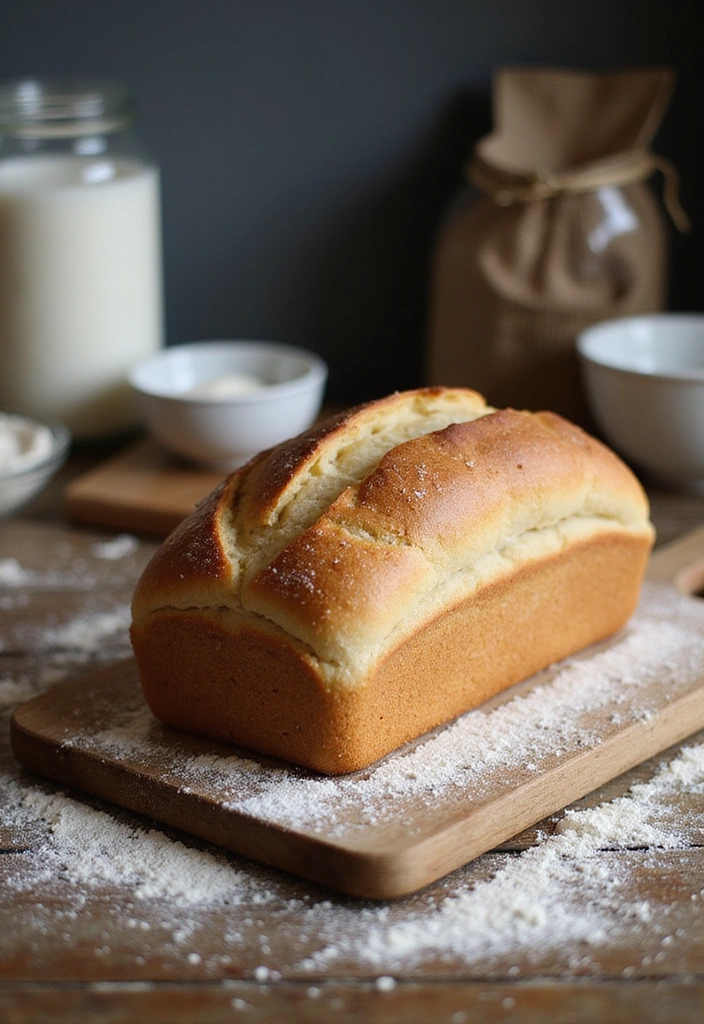
The longer rise time creates a unique texture that makes this bread irresistibly chewy and tasty, keeping it healthy and wholesome for those who are gluten intolerant. For an added touch of artistry, use a bread lame to score your dough before baking. This tool not only allows for a beautiful design on the crust but also helps control how the bread expands while baking, ensuring a professional-looking loaf.
With the right tools, you can elevate your baking experience and enjoy a homemade no-knead bread that stands out.
2. Nutrition Information
When it comes to bread, nutrition matters, especially for those following a gluten-free diet.
This artisan no-knead bread recipe is packed with nutrients, thanks to the use of gluten-free flours like almond or rice flour. Each serving typically contains:
– Carbohydrates: 20g
– Protein: 4g
– Fat: 5g (healthy fats if you use nut flours)
– Fiber: 2g
– Sugar: 0g
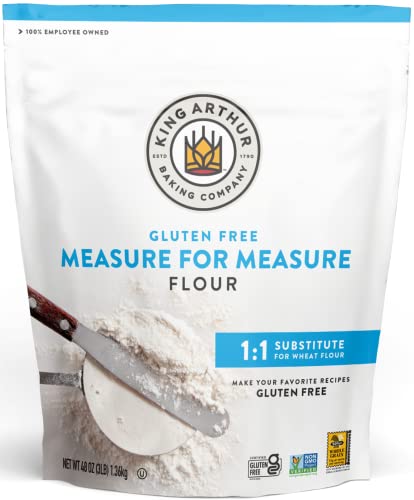
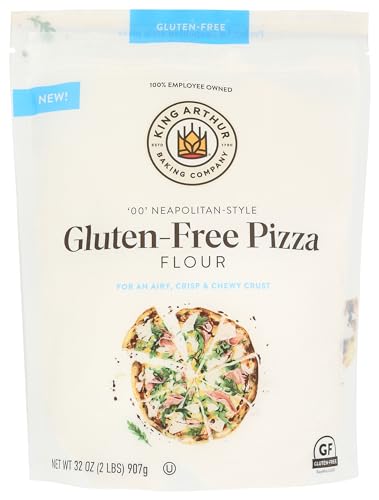
By choosing the right flours, you enhance the nutrient profile of your bread, making it a healthier option compared to store-bought varieties. For a versatile gluten-free flour, consider using King Arthur Measure for Measure Gluten-Free Flour. This all-purpose flour is a great 1:1 substitute for wheat flour, making it easy to achieve that perfect texture without sacrificing taste.
If you’re looking to add more fiber, consider mixing in some ground flaxseed or chia seeds. Spectrum Essentials Organic Ground Premium Flaxseed is a fantastic option to boost your bread with essential omega-3 fatty acids and added fiber. Additionally, BetterBody Foods Organic Chia Seeds are not only a good source of fiber but also rich in nutrients, making your bread not just delicious but nutritious as well.
This way, you can enjoy your bread guilt-free, while giving your body the nourishment it craves!
Bread can be both delicious and nutritious! With just 20g of carbs and a boost of healthy fats, this no-knead bread recipe is a gluten-free game changer. Let’s make every slice count!


3. Cook and Prep Times
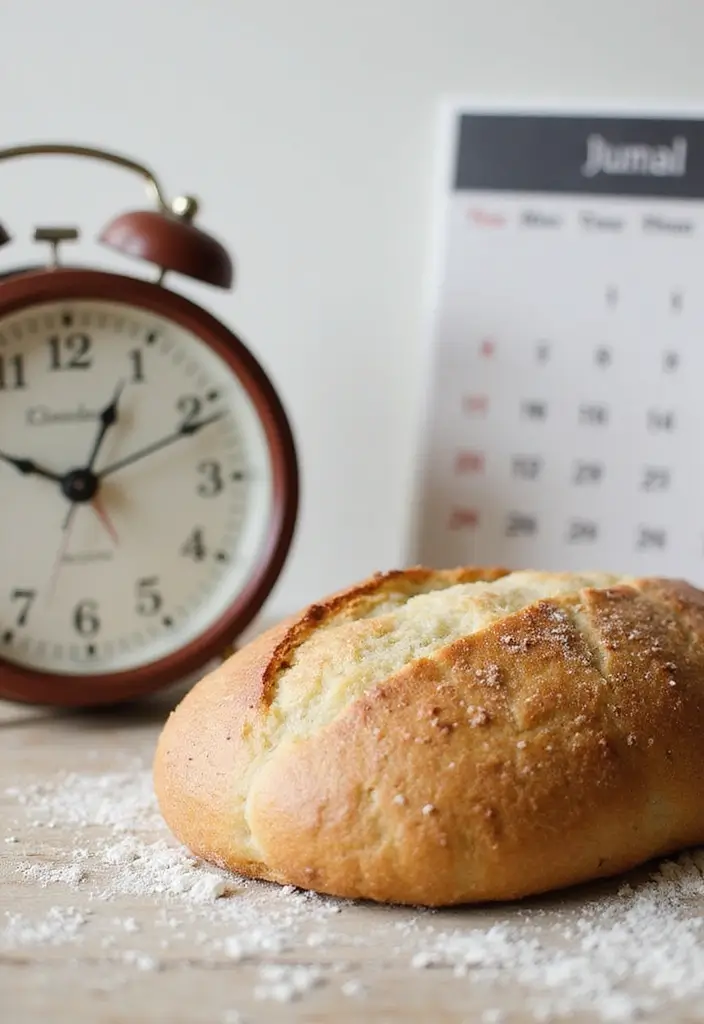
Understanding the time commitment for this no-knead bread recipe can help you manage your expectations and ensure a great outcome!
– Preparation Time: About 15 minutes. This involves mixing your dry ingredients with water and allowing them to sit. To simplify the process, consider using a silicone baking mat. It provides a non-stick surface for mixing and prevents any mess on your countertops.
– Resting Time: 12-18 hours. This is where the no-knead magic happens. Just let the dough rest at room temperature; it will rise beautifully even with gluten-free flours.
– Baking Time: 45 minutes. Preheat your oven while the dough is resting, so it’s nice and hot when you’re ready to bake. For the best results, bake your bread in a dutch oven. Its heavy lid traps steam, creating a perfect environment for a crusty exterior and soft interior.
By breaking down the times, you can easily plan when to start the process. Additionally, using a bread lame for scoring the dough will enhance its appearance and allow for controlled expansion during baking. This method allows you to enjoy freshly baked bread without spending hours in the kitchen, which is perfect for busy lifestyles!


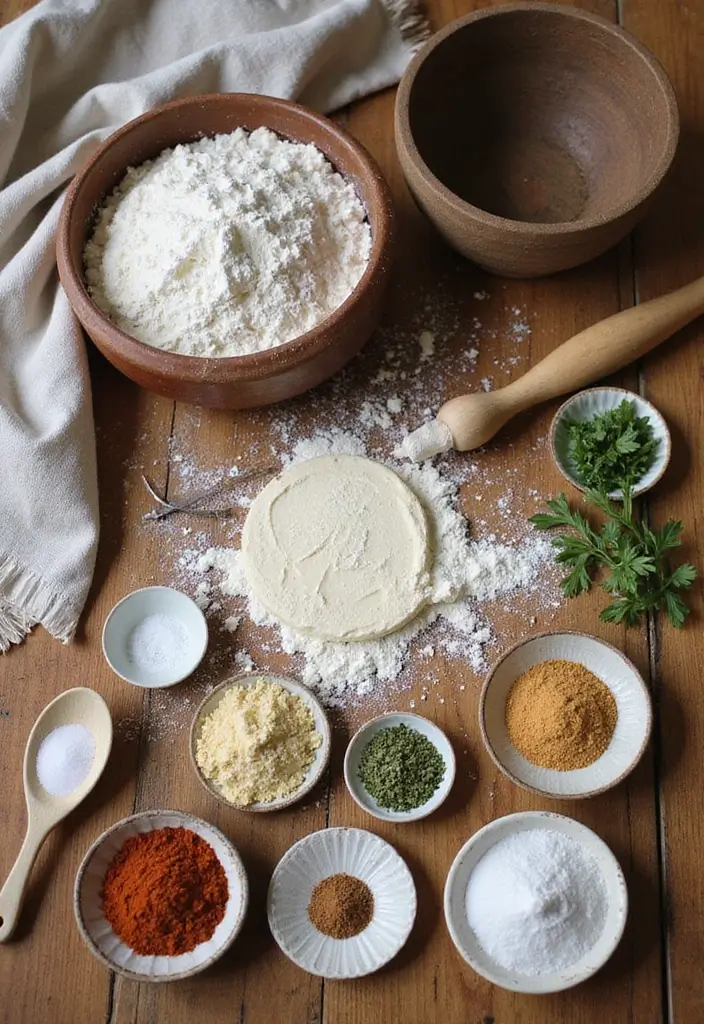
4. Ingredients List
Gathering the right ingredients is key to achieving the perfect no-knead artisan loaf! Here’s what you’ll need:
– 3 cups gluten-free flour (almond or a gluten-free mix). For a reliable option, consider using King Arthur Measure for Measure Gluten-Free Flour, which is an all-purpose 1:1 substitute for wheat flour. It ensures a great texture and balanced flavor in your bread.
– 1 ½ cups warm water (not too hot to avoid killing the yeast).
– 1 teaspoon salt. Using Viva Doria Pure Sea Salt will enhance the overall flavor of your bread. Its coarse grain is ideal for baking, giving you a more nuanced taste.
– ½ teaspoon instant yeast. Don’t forget the yeast, as it’s crucial for the rise, even in a no-knead method. A great choice is Saf Instant Yeast, which is known for its reliability and effectiveness in helping your dough rise perfectly.
Make sure your flour is fresh for the best results. If you prefer a different flavor, you can experiment with various gluten-free flours, though keep in mind that texture may vary.
5. Step-by-Step Instructions
Ready to bake? Follow these simple steps for a foolproof no-knead bread experience!
1. Mix Dry Ingredients: In a large bowl, combine your gluten-free flour, salt, and instant yeast. For the flour, consider using King Arthur Measure for Measure Gluten-Free Flour, which is an excellent 1:1 substitute for wheat flour and helps ensure your bread has the right structure and flavor. Stir until well mixed.
2. Add Water: Pour in the warm water, mixing until a shaggy dough forms. Don’t worry about any lumps!
3. Rest the Dough: Cover the bowl with a clean kitchen towel or plastic wrap and let it sit at room temperature for 12-18 hours. This long rise is essential for gluten-free bread to develop flavor and structure.
4. Preheat Your Oven: 30 minutes before baking, place a Dutch oven in the oven and preheat to 450°F (230°C). A good option is an enameled cast iron Dutch oven, which helps create a perfect baking environment for your loaf, trapping steam for a crusty finish.
5. Shape the Dough: Turn the dough out onto a floured surface. With floured hands, shape it into a ball. Don’t worry if it’s sticky; that’s normal!
6. Transfer to Dutch Oven: Carefully remove the heated Dutch oven, and place the dough inside. Cover with the lid and bake for 30 minutes.
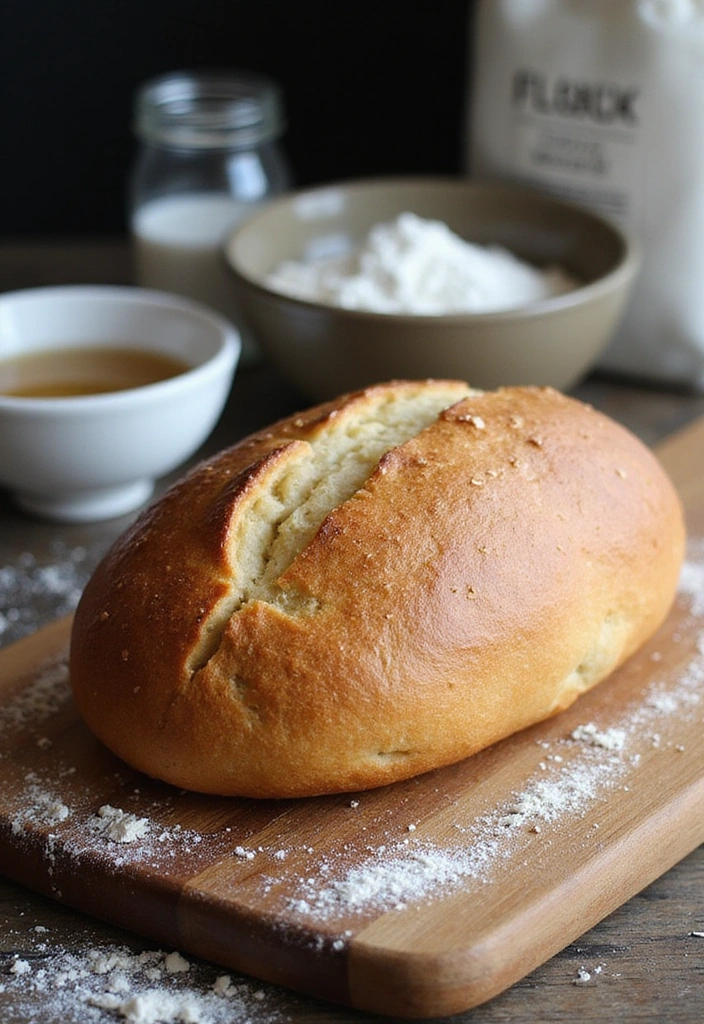
7. Final Bake: Remove the lid and bake for another 15 minutes until golden brown and crusty.
8. Cool and Enjoy: Let the bread cool on a wire cooling rack for at least 30 minutes before slicing, which allows it to set properly. This cooling rack is perfect for getting that lovely crust while preventing sogginess.
With these approachable steps and the right tools, anyone can achieve that charming artisanal loaf right from their home kitchen!


6. Tips for Making the Best No-Knead Bread
A few insider tips can elevate your no-knead bread game to a whole new level!
– Use quality ingredients: It’s crucial to have fresh gluten-free flour like King Arthur Measure for Measure Gluten-Free Flour. This all-purpose 1:1 substitute for wheat flour is a great choice for achieving the right texture and taste without gluten.
– Temperature matters: Make sure the water is warm, about 110°F (43°C), to activate the yeast without killing it. Using a good brand of instant yeast, such as Saf Instant Yeast, will ensure your dough rises beautifully.
– Don’t skip the rest: The longer the dough rests, the better the flavor. Letting it rise overnight is perfect!
– Experiment with add-ins: Feel free to mix in herbs, spices, nuts, or seeds for added flavor and texture.
– Store properly: If you have leftovers, keep the bread in a paper bag at room temperature for up to 3 days, or freeze it for later use.
These tips will make your baking experience even more enjoyable and rewarding, leading you to that perfect loaf of artisan-style bread at home!
7. Frequently Asked Questions

Navigating the world of no-knead bread can lead to a lot of questions. Here are some common queries addressed:
1. Can I use regular flour instead of gluten-free?
Yes, you can, but this recipe is specifically designed for gluten-free flours.
2. What if my bread is too dense?
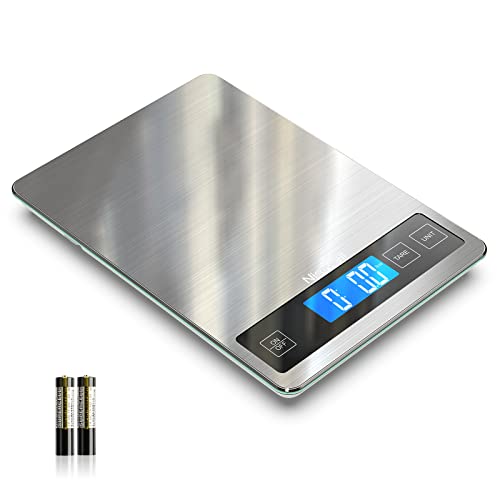
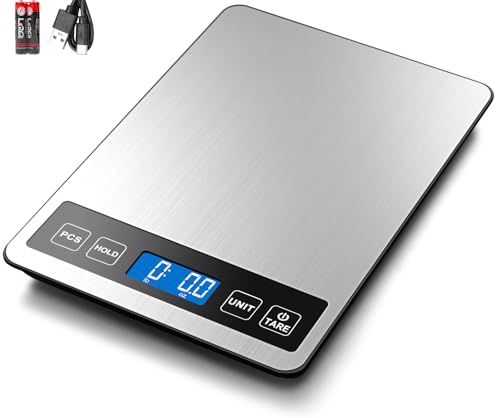
This may happen if the dough hasn’t risen enough or if too much flour was added. Always measure accurately! A great tool for this is a digital kitchen scale, which ensures you’re using the right amounts for perfect texture.
3. Can I make this dough ahead of time?
Absolutely! The dough can be refrigerated for up to 3 days before baking. To create a great environment for proofing your bread, consider using a bread proofing basket. This will help maintain the shape and texture of your loaf as it rises.
4. Can I add flavors?
Definitely! Consider adding seeds, nuts, or even cheese for a twist. When it comes time to bake, a silicone baking mat can really elevate your baking experience. It provides a non-stick surface that makes transferring your bread easy and hassle-free.
These FAQs can help clear up any confusion and boost your confidence as you embark on your bread-making journey!
8. Troubleshooting Common Issues
Baking can sometimes lead to unexpected results. Here are some common issues you might encounter with no-knead bread, along with solutions:
– **Loaf Too Flat**: This can happen if the dough didn’t rise enough. Ensure your yeast is fresh, like Saf Instant Yeast, 1 Pound Pouch, and let the dough rest longer for optimal rise.
– **Bread Too Crumbly**: If your bread crumbles easily, you may need to add more moisture to your dough next time. A great way to ensure you’re measuring accurately is by using a digital kitchen scale. This will help you adjust the water incrementally during mixing.
– **Hard Crust**: A hard crust can result from baking at too high a temperature or for too long. Keep an eye on your bread and check for doneness regularly.
– **Flavor Lacking**: If the taste isn’t quite there, consider adding more salt or using a flavorful flour blend to enhance the overall taste.
With these troubleshooting tips and the right tools on hand, you’re well-equipped to tackle any hiccups along the way and create a delicious loaf every time!


9. Creative Serving Ideas
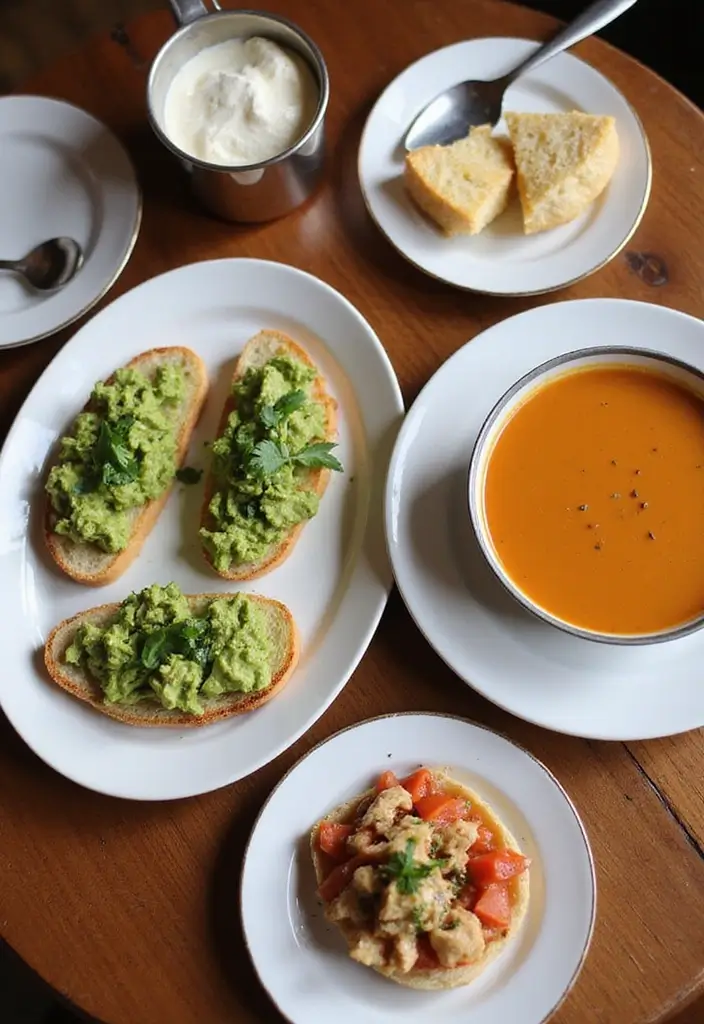
Now that you’ve mastered your no-knead bread, how can you enjoy it? Here are some fun serving ideas:
– **Avocado Toast**: Top a slice with smashed avocado, salt, and chili flakes for a trendy breakfast. For easy slicing, consider using the OXO Good Grips 3-in-1 Avocado Slicer, which helps you scoop and slice your avocado effortlessly.
– **Bruschetta**: Toast slices and add tomato, basil, and a drizzle of balsamic glaze for a fresh appetizer. Enhance the flavor with 365 by Whole Foods Market, Organic Balsamic Glaze, perfect for elevating your bruschetta.
– **Grilled Cheese**: Use your artisan loaf for the ultimate grilled cheese sandwich. A Cast Iron Skillet is ideal for achieving that golden, crispy crust while keeping the cheese perfectly melted.
– **Soup Companion**: Serve warm slices alongside your favorite soup for a comforting meal. The hearty texture of your no-knead bread complements a variety of soups beautifully.
– **Bread Pudding**: Use leftover bread for a delicious dessert by making a comforting bread pudding. This is a great way to reduce waste and enjoy your creation in a sweet new way.
These serving ideas not only make your bread versatile but also inspire you to serve it in new and exciting ways!


10. Embracing the Baking Journey
Baking no-knead bread is more than just making a loaf; it’s about embracing a creative journey in your kitchen. As you embark on this adventure, consider equipping yourself with a few essential tools.
A great starting point is an enamled cast iron Dutch oven. This heavy-duty cookware is ideal for bread baking, as it creates the perfect environment for your dough to rise and develop a beautiful crust.
Don’t hesitate to experiment with flavors, textures, and serving styles. A baking stone can also enhance your baking experience, providing even heat distribution that helps achieve a crusty exterior while keeping the inside wonderfully soft.
Enjoy the process, and remember to invite loved ones to join you in the kitchen. For those who like to keep track of their baking experiments, a digital kitchen scale is a valuable tool. Accurately measuring your ingredients can be the difference between a good loaf and a great one, ensuring that your results are consistently satisfying.
The joy of baking is contagious! Keep a journal of your baking adventures, noting what works and what doesn’t, so you can refine your recipes. After all, the best memories are shared over good food, and no-knead bread is the perfect centerpiece for any gathering.
Baking no-knead bread is a delightful journey! Embrace creativity, invite loved ones, and savor every moment. Remember, it’s all about the experience—so jot down your adventures and make it memorable!


Conclusion
Baking your own artisan-style no-knead bread is not just easy; it’s rewarding and delicious. With this gluten-free recipe, you can elevate your meals and share joy with your loved ones.
Feel inspired to experiment, troubleshoot, and make it your own! Dive into the world of homemade bread and let your kitchen be filled with warmth and delightful aromas. Happy baking!
Note: We aim to provide accurate product links, but some may occasionally expire or become unavailable. If this happens, please search directly on Amazon for the product or a suitable alternative.
This post contains Amazon affiliate links, meaning I may earn a small commission if you purchase through my links, at no extra cost to you.
Frequently Asked Questions
What Makes This No-Knead Bread Recipe Different from Traditional Bread Recipes?
This no-knead bread recipe stands out because it eliminates the need for kneading, making it incredibly simple and accessible for everyone, even beginners! With just a few ingredients and minimal hands-on time, you can achieve that artisan-style loaf without the typical labor involved in bread making.
Plus, the long resting time allows for enhanced flavor and texture, resulting in a deliciously crusty and chewy bread that rivals any bakery.
Can I Substitute Ingredients in This No-Knead Bread Recipe?
Absolutely! While the recipe calls for gluten-free flour, you can experiment with different types of flour according to your dietary needs. For example, you can use almond flour or a gluten-free blend if you prefer. Just keep in mind that the texture and flavor might vary slightly.
Additionally, feel free to add herbs, seeds, or spices to customize your loaf and enhance its flavor!
How Can I Ensure My No-Knead Bread Turns Out Perfect Every Time?
To achieve that perfect no-knead artisan loaf, start with quality ingredients—fresh gluten-free flour and active instant yeast are key! Make sure to measure accurately and allow the dough to rise properly. Remember, patience is crucial; letting the dough rest for at least 12-18 hours can significantly enhance its flavor and texture.
Also, preheating your baking vessel helps create a lovely crust, so don’t skip that step!
Is It Possible to Make This No-Knead Bread Recipe Ahead of Time?
Yes, you can definitely prepare your no-knead bread dough ahead of time! Once you’ve mixed the ingredients, let the dough rise as instructed. If you want to bake it later, you can refrigerate the dough for up to 3 days before baking. Just remember to bring it back to room temperature before baking to ensure a good rise.
This makes it a perfect option for meal prep or last-minute gatherings!
What Are Some Creative Ways to Serve My No-Knead Bread?
The serving possibilities are endless! You can enjoy your freshly baked no-knead bread as a simple side with olive oil for dipping or as a base for an avocado toast. Try topping slices with your favorite spreads, cheeses, or even using them to make sandwiches. You could also toast the bread for a crunchy texture and pair it with soups or salads for a delightful meal. Get creative and have fun with your artisan loaf!