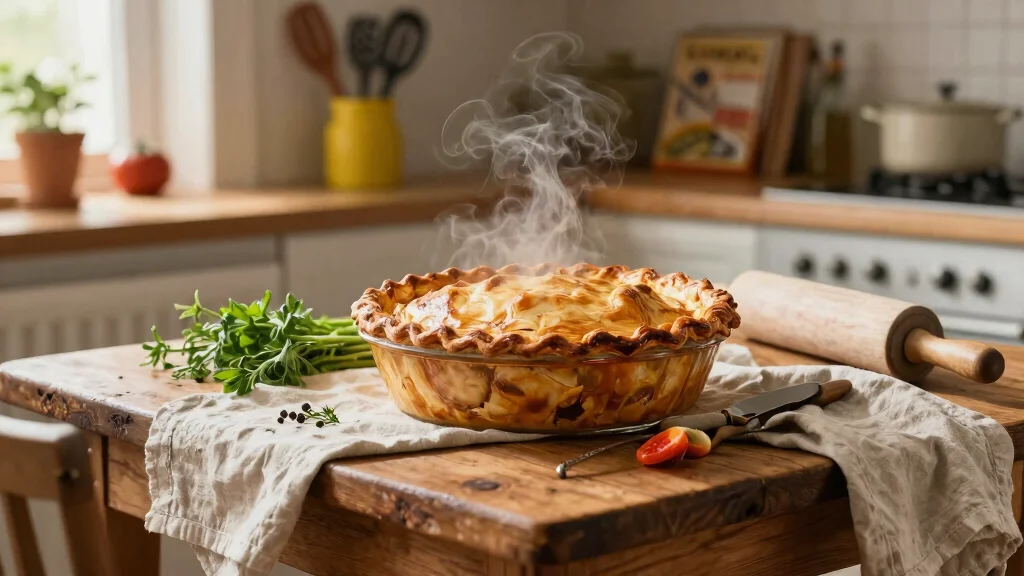
There’s something undeniably comforting about starting your day with a warm, homemade meal.
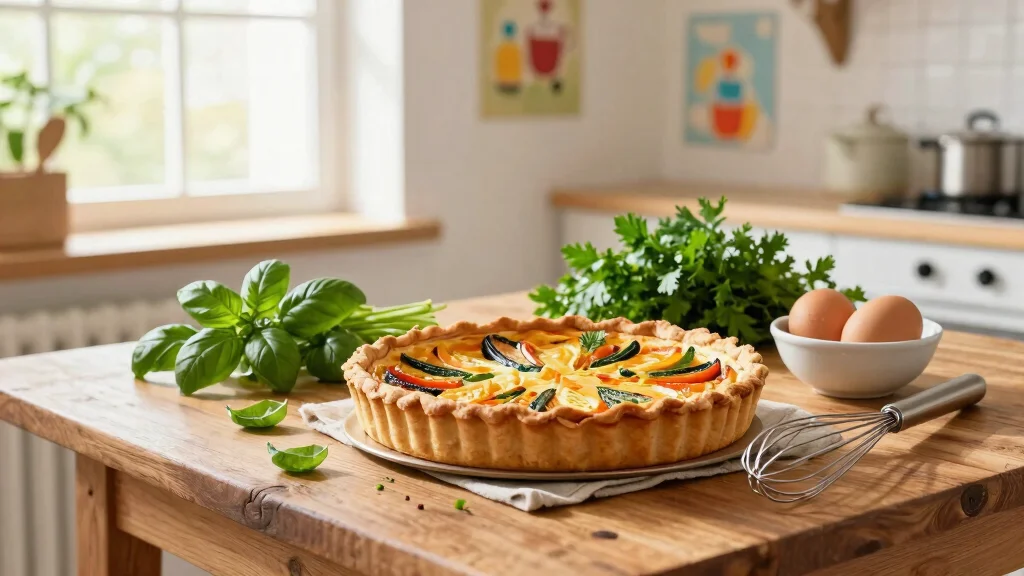
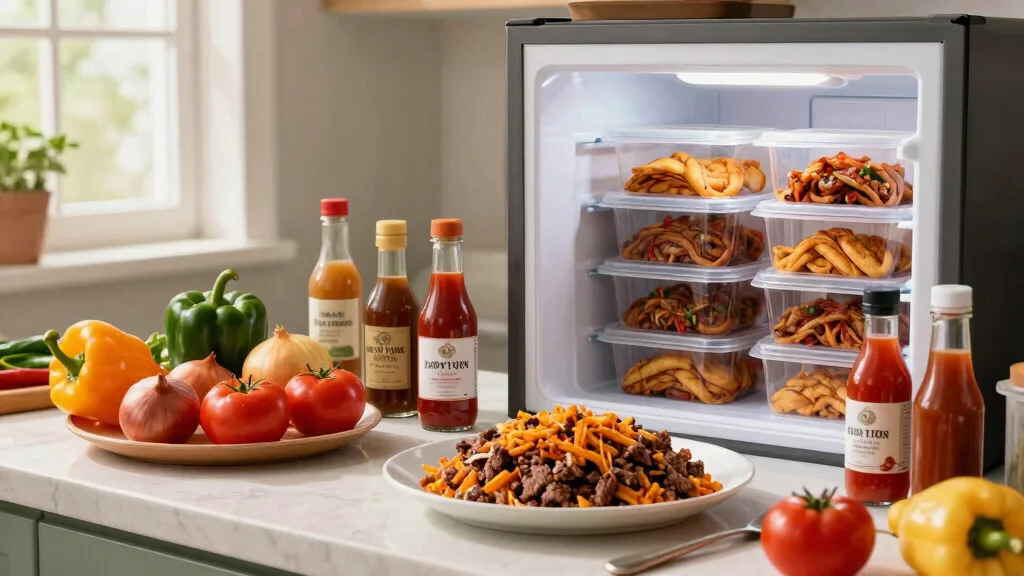
This Easy Freezer Quiche is not only delicious but also incredibly convenient.
Loaded with rich flavors of cheese and veggies, it promises a hearty breakfast experience.
I stumbled upon this recipe while looking for ways to simplify my morning routine.
Whether you’re a busy professional or a parent on the go, this quiche is the perfect solution.
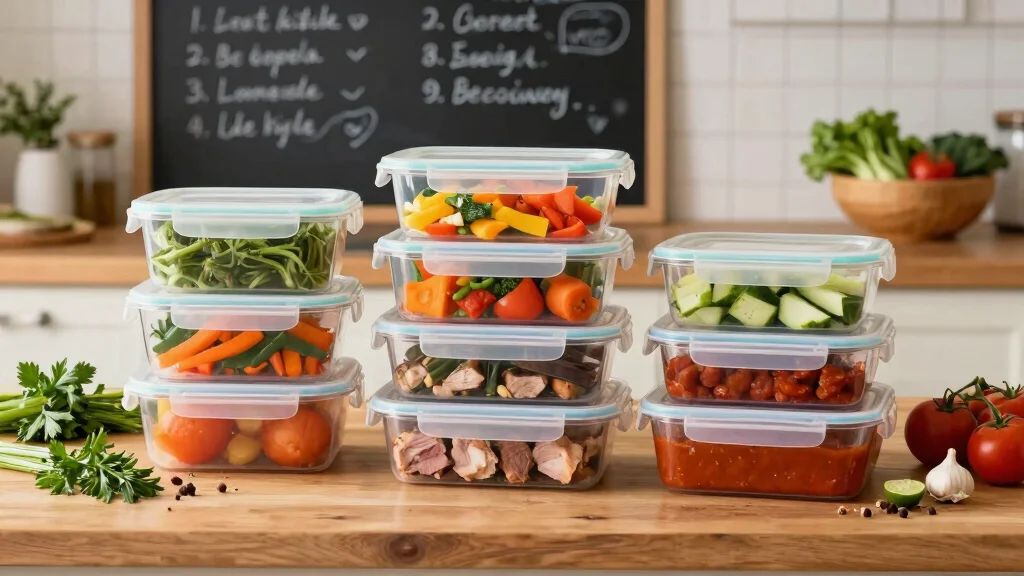
Prepare it in advance and enjoy a stress-free morning with a meal that’s ready in no time.
The History and Cultural Significance
• Freezer Quiche traces its origins to France, where it was originally created as a way to use leftover ingredients.
• The dish evolved over decades as people began adding different fillings, eventually becoming the beloved version we know today.
• In French culture, this dish traditionally appears at brunches and casual gatherings, symbolizing hospitality and comfort.
• While many variations exist across different regions, the authentic version maintains a flaky crust that sets it apart from imitations.
Recipe Overview
Nutritional Information (per serving)


Essential Equipment Guide
Pie Pan: A pie pan is crucial for achieving the classic shape and even cooking. Alternatives like a tart pan can be used if necessary. Look for a pan with a non-stick surface to ensure easy removal.
Whisk: A whisk is essential for creating a smooth, well-mixed egg filling. While a fork can be used, a whisk provides better aeration. Choose a whisk with a comfortable handle for ease of use.
Oven: A reliable oven ensures even baking. While a toaster oven can be used for smaller portions, a conventional oven provides the best results. Ensure your oven is preheated to the correct temperature for accurate cooking times.


Ingredients
For the Base
|
|
| Amount | Ingredient | Notes |
|---|---|---|
| 1 pack | pre-made pie crust | thawed |
For the Filling
| Amount | Ingredient | Notes |
|---|---|---|
| 4 large | eggs | provides structure |
| 1 cup | milk | adds creaminess |
| 1 cup | cheddar cheese | shredded, adds richness |
Vegetables
| Amount | Ingredient | Notes |
|---|---|---|
| 1 cup | spinach | chopped, adds nutrition |
| 0.5 cup | bell peppers | diced, adds sweetness |
Seasonings
| Amount | Ingredient | Notes |
|---|---|---|
| 1 teaspoon | salt | enhances flavor |
| 0.5 teaspoon | black pepper | adds spice |
Preparation Methods
Blind Baking: This technique involves partially baking the pie crust before adding the filling, ensuring it doesn't become soggy. Line the crust with parchment paper and fill with baking beans to keep its shape. Mastering this ensures a perfectly crisp base.
Whisking: Properly whisking the eggs and milk is crucial for a fluffy texture. The goal is to incorporate air without over-mixing. Practice by whisking in a figure-eight motion for even mixture.
Even Layering: Distribute fillings evenly to ensure consistent flavor in every bite. Place vegetables and cheese in layers before pouring the egg mixture, ensuring even distribution. Use a spatula to gently press down if needed.


Step 1: Prepare the Pie Crust

Preheat your oven to 375°F (190°C).
Roll out the pie crust into your pie pan, pressing gently to fit.
Trim any excess dough from the edges.
Prick the bottom with a fork to prevent bubbling.


Step 2: Blind Bake the Crust

Line the crust with parchment paper.
Fill with baking beans to maintain shape.
Bake for 10 minutes until edges are lightly golden.
Remove beans and parchment to cool slightly.
Step 3: Prepare the Filling

Crack eggs into a mixing bowl.
Add milk, salt, and pepper.
Whisk until well combined and slightly frothy.
Ensure no streaks of egg are visible.


Step 4: Assemble the Quiche

Layer spinach and bell peppers onto the crust.
Sprinkle shredded cheddar cheese evenly over the vegetables.
Pour the egg mixture over the filled crust.
Ensure the filling is evenly distributed.
Step 5: Bake the Quiche

Place the assembled quiche in the oven.
Bake for 35 minutes until the center is set.
Check for a slight jiggle in the center as a sign of doneness.
Remove from oven and allow to cool slightly.
Step 6: Cool and Slice

Allow the quiche to cool for at least 10 minutes.
This helps the filling set fully for cleaner slices.
Use a sharp knife to cut into wedges.
Serve warm or allow to cool completely before freezing.


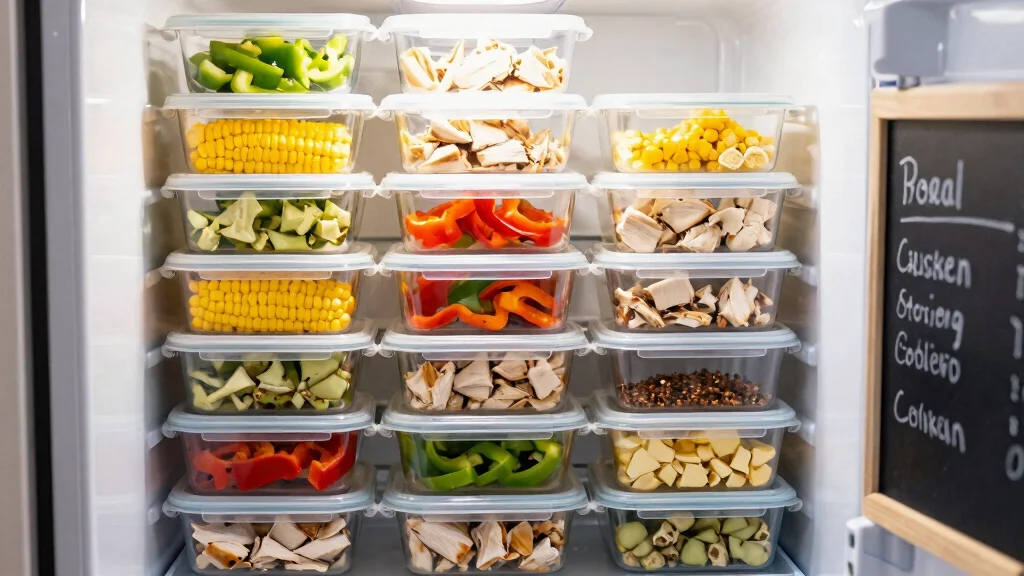
Step 7: Freeze for Later

Wrap individual slices in plastic wrap.
Place wrapped slices in a freezer-safe bag.
Label with the date and contents.
Store in the freezer for up to 3 months.
Step 8: Reheat and Enjoy

Preheat oven to 350°F (175°C).
Unwrap slices and place on a baking sheet.
Bake for 15-20 minutes until heated through.
Serve immediately for a quick, delicious breakfast.
Critical Timing and Temperature Guide
Blind Baking: Bake at 375°F (190°C) for 10 minutes until edges are golden. Avoid over-baking to prevent a hard crust.
Assembling and Baking: Bake at 375°F (190°C) for 35 minutes. Look for a slight jiggle in the center; avoid under-baking as it leads to a runny filling.
Reheating: Reheat at 350°F (175°C) for 15-20 minutes. Ensure slices are heated through. Avoid overheating, which can dry out the quiche.
Pro Tips for Freezer Quiche
• Ingredient Selection: Choose fresh, organic eggs and high-quality cheese for the best flavor impact.
• Preparation Secret: Let the filling rest for a few minutes before baking to allow air bubbles to settle.
• Temperature Management: Ensure your oven is fully preheated to maintain consistent cooking time.
• Texture Enhancement: Whisk eggs thoroughly to incorporate air for a lighter texture.
• Flavor Layering: Sauté vegetables before adding to the crust for deeper flavors.
• Make-Ahead Strategies: Assemble the quiche and freeze unbaked for a fresher taste when reheated.
• Restaurant-Quality Finishing Touches: Garnish with fresh herbs like chives or parsley before serving.
• Equipment Optimization: Use a pie shield or foil to prevent crust edges from over-browning during baking.
Troubleshooting Common Issues
• Crust Too Soggy: This issue often arises from under-baking the crust. Ensure a full blind bake is completed and use a baking stone to help the bottom crisp up.
• Filling Too Runny: Typically caused by under-cooking. Verify that the center is set with a slight jiggle before removing from the oven.
• Overcooked Edges: Shield edges with foil if they brown too quickly to ensure even cooking.
• Uneven Cooking: Check oven temperature with an oven thermometer and rotate the quiche halfway through baking.
• Flavor Too Bland: Ensure adequate seasoning in the egg mixture and consider adding herbs or spices for extra flavor.
• Filling Separated: This can happen if the eggs and milk are not well combined. Whisk thoroughly to create a homogenous mixture.
Variations and Regional Differences
• Italian Style: Includes ingredients like ricotta and prosciutto, offering a distinct Mediterranean flair with a more robust flavor profile.
• Spanish Tortilla: This variation uses potatoes and onions, often cooked in a skillet, providing a heartier, more filling dish.
• Greek Quiche: Features feta cheese and olives, adding a salty tang and a burst of Mediterranean flavors.
• Vegetarian Delight: Focuses on seasonal vegetables like zucchini and mushrooms for a lighter, veggie-packed option.


Food Science Behind the Recipe
• Protein Coagulation: The eggs coagulate when heated, setting the filling and providing structure to the quiche. Understanding this helps achieve the perfect custard-like texture.
• Maillard Reaction: This browning process enhances flavor and appearance, particularly in the crust and cheese. Recognizing this helps in achieving a golden, appetizing finish.
• Emulsification: The mixing of eggs and milk forms a stable mixture, crucial for a smooth, creamy filling. Mastering this ensures a consistent texture throughout the quiche.
Frequently Asked Questions
What's the most common mistake people make when preparing Freezer Quiche? The most common mistake is not blind baking the crust, which leads to a soggy bottom.
Can I use a different type of cheese? Yes, feel free to substitute with cheeses like Gruyère or mozzarella for different flavor profiles.
How long can I store the quiche in the freezer? It can be stored for up to three months when properly wrapped and sealed.
Can I add meat to the quiche? Absolutely, cooked bacon or ham can be added for extra protein and flavor.
Is it possible to make this quiche dairy-free? Yes, substitute with almond milk and use a dairy-free cheese alternative.
Why is my quiche filling separating? This can occur if the eggs and milk are not well combined. Ensure thorough whisking.
What's the best way to reheat without drying it out? Reheat in the oven at a moderate temperature and cover with foil to retain moisture.
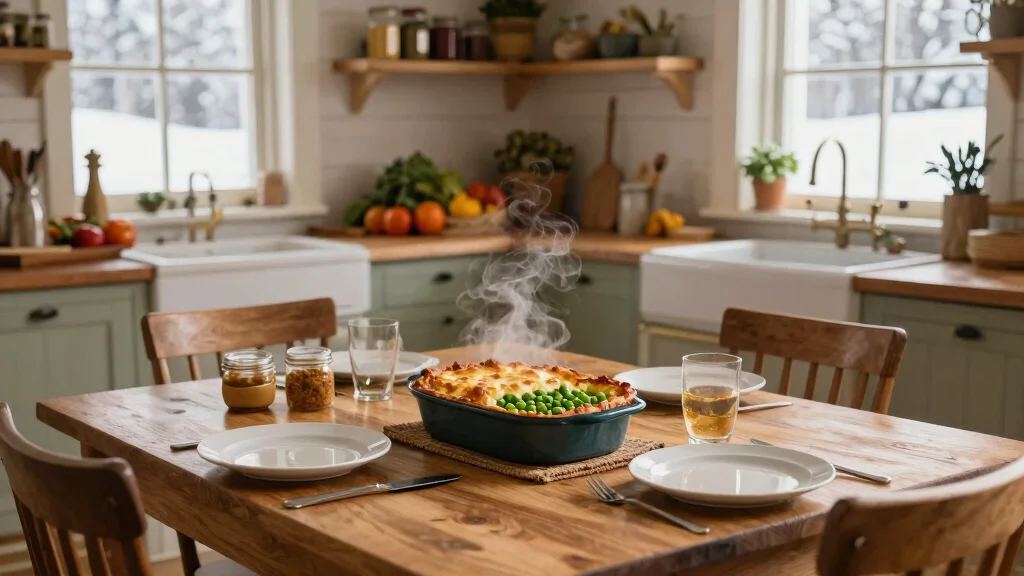
Serving and Presentation Guide
• Traditional Presentation: Serve warm slices directly from the pie dish on classic white plates.
• Brunch Buffet: Arrange slices on a decorative platter, garnished with fresh herbs for a festive touch.
• Individual Servings: Present in mini tart pans for personalized portions, perfect for gatherings.
• Elegant Dinner: Serve with a side salad and a glass of white wine for an elevated dining experience.
Conclusion
There's a lot to love about this Easy Freezer Quiche, from its rich flavors to its convenience.
Whether you're meal prepping for the week or hosting a brunch, this recipe is sure to please.
Give it a try and enjoy the simplicity of a delicious, homemade breakfast.
You'll wonder how you ever started your day without it.