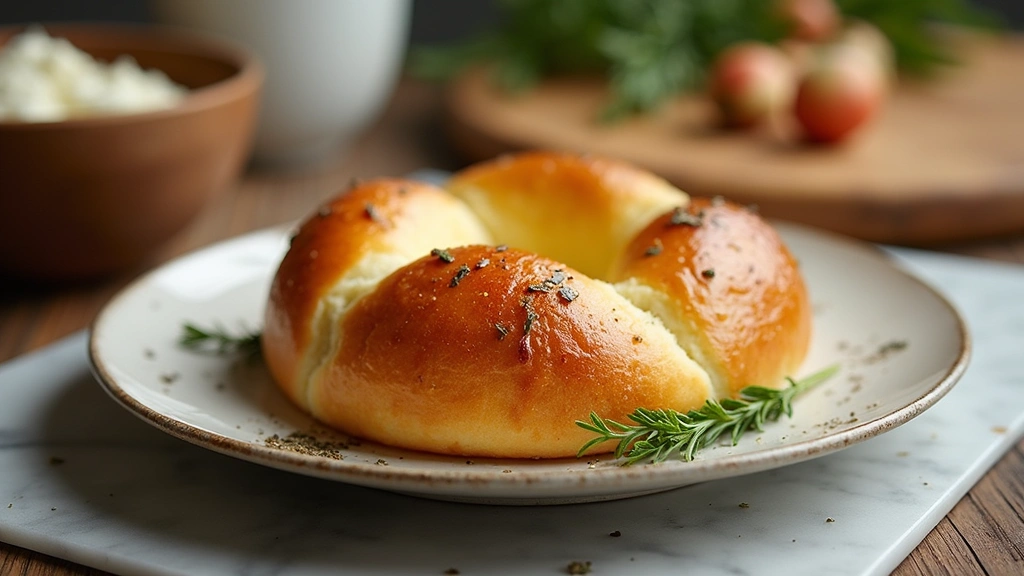
Brioche bread is a delightful treat that combines a rich, buttery flavor with a soft, airy texture.
This classic French bread is perfect for breakfast or as an elegant addition to any meal.
I first fell in love with brioche during a trip to Paris, where the scent of freshly baked loaves wafted through the streets.
Whether you’re enjoying it toasted with jam or as the base for a decadent French toast, this recipe for soft and buttery brioche bread will transform your baking routine.
The History and Cultural Significance
• How To Bake Soft And Buttery Brioche Bread traces its origins to France in the 15th century, where it was originally created by bakers for the nobility.
• The dish evolved over decades as bakers began to incorporate richer ingredients like eggs and butter, eventually becoming the beloved version we know today.
• In France, this dish traditionally appears at celebrations like Easter and Christmas, symbolizing festivity and indulgence.
• While many variations exist across different regions, the authentic version maintains its signature buttery flavor and soft crumb that sets it apart from imitations.


Recipe Overview
Nutritional Information (per serving)


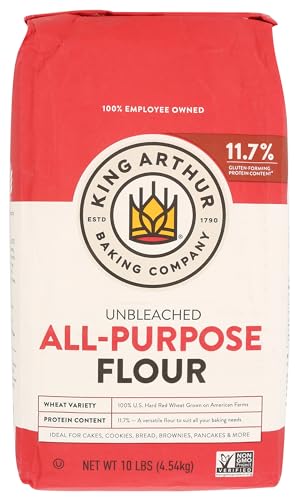
Ingredients


Essential Equipment Guide
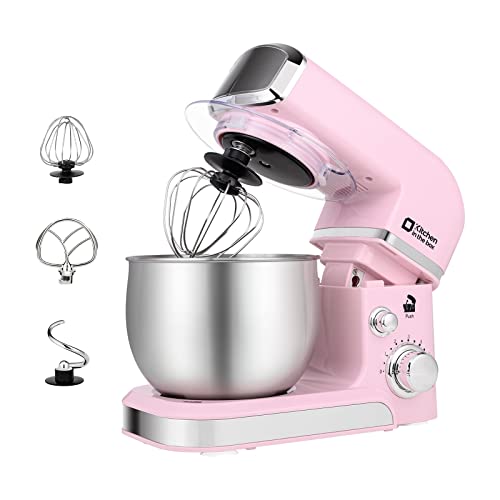
Stand Mixer: A stand mixer is essential for kneading the dough effectively, ensuring a smooth and elastic texture. If you don’t have one, a hand mixer with dough hooks can work, but be prepared for more manual effort. Look for a model that has a dough hook attachment for optimal results.
Kitchen Scale: Weighing ingredients is crucial for baking precision, particularly with flour and butter. While you can use measuring cups, using a scale will yield more consistent results. Opt for a digital scale for ease of use and accuracy.
Loaf Pan: A good quality loaf pan is important for shaping the brioche and achieving even baking. You can use metal or glass pans, but choose one with a non-stick coating for easy release. Look for a pan that is 9×5 inches, which is ideal for this recipe.


Preparation Methods
Proofing Yeast: Proofing yeast is the process of activating it before mixing into dough. This step is critical for ensuring your brioche rises properly. Mix warm milk and sugar, then add the yeast and let it sit until frothy, about 5-10 minutes.
Incorporating Butter: Incorporating butter into the dough requires patience as it needs to be added gradually. This technique ensures that the butter is well-distributed, creating a tender and flaky texture. Use the mixer on low speed to add softened butter a little at a time until fully absorbed.
Shaping the Dough: Shaping the dough properly is essential for achieving a beautiful loaf. After the first rise, gently deflate the dough and shape it into a log or divide it into smaller pieces for individual rolls. Be gentle to maintain the air pockets created during the rise.
Step 1: Prepare Ingredients
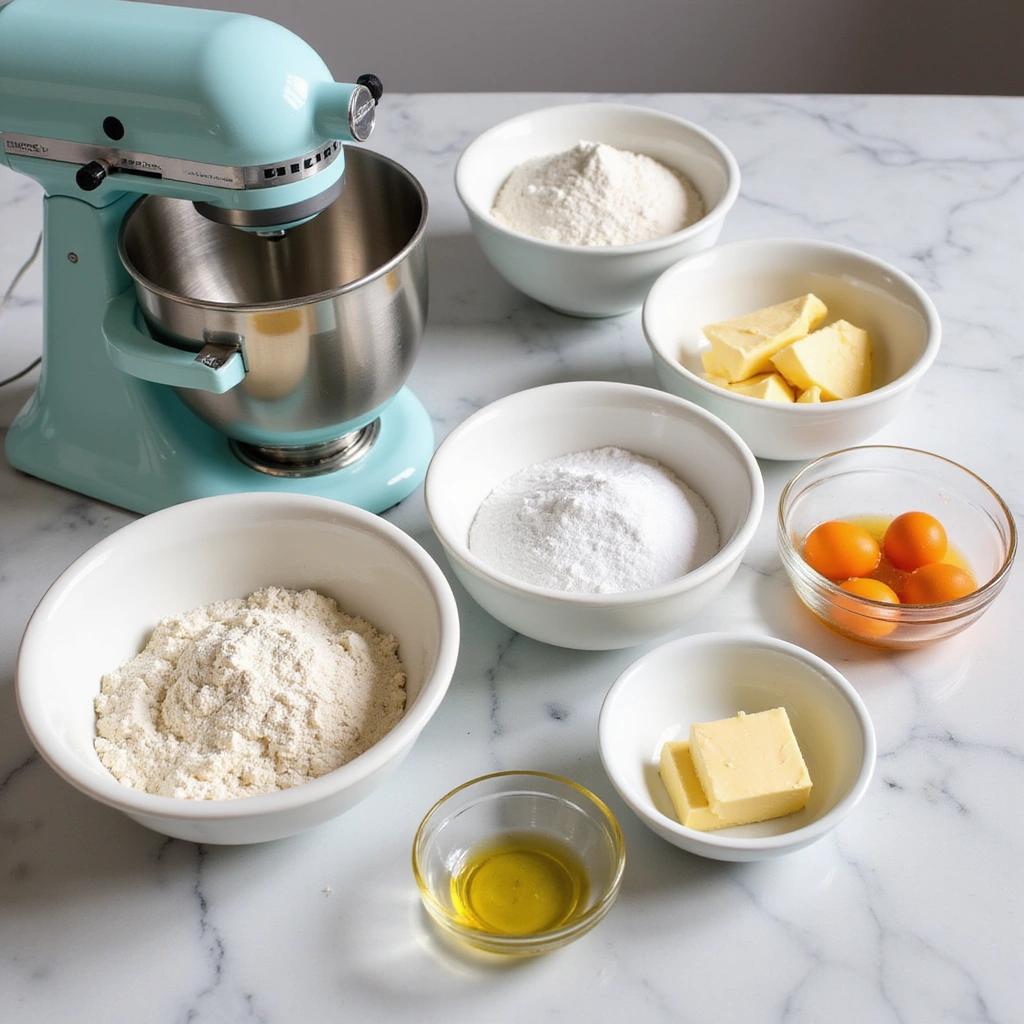
Gather all your ingredients and equipment before starting.
This ensures a smooth and efficient baking process.
Measure out the flour, sugar, eggs, and other ingredients accurately.
Having everything ready will help you focus on the technique.
Step 2: Proof the Yeast

In a small bowl, combine warm milk and sugar.
Sprinkle the yeast on top and let it sit for about 5-10 minutes until frothy.
This indicates that the yeast is active and ready to use.
Make sure the milk isn’t too hot, as it can kill the yeast.
Step 3: Mix the Dough
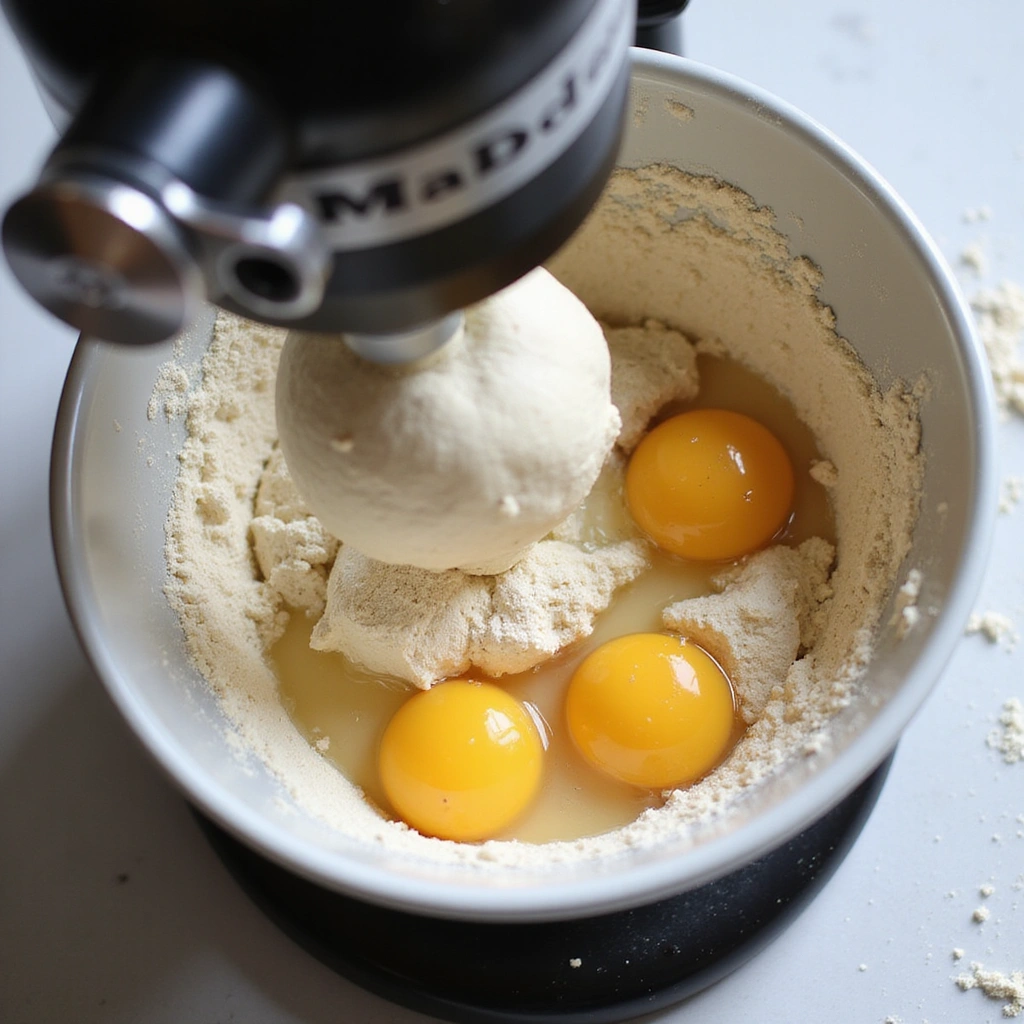
In a stand mixer, combine flour, eggs, salt, and the yeast mixture.
Mix on low speed until the ingredients come together.
Increase the speed and mix for about 5-7 minutes until the dough is smooth.
It should pull away from the sides of the bowl but still be slightly sticky.


Step 4: Incorporate the Butter
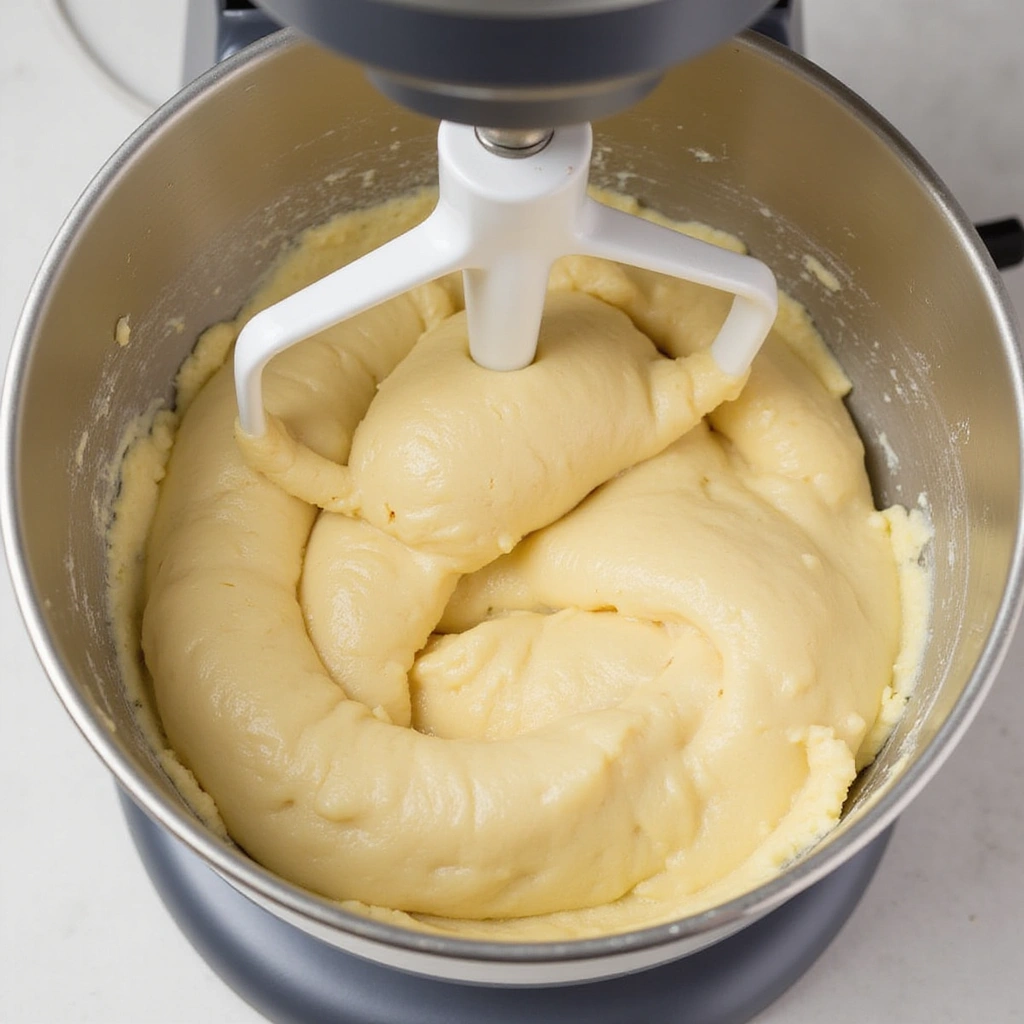
Gradually add the softened butter to the dough while mixing on low speed.
Add a few tablespoons at a time, allowing each addition to fully incorporate.
Continue mixing until the dough is smooth and elastic, about 10 minutes.
The dough should be glossy and slightly sticky.
Step 5: First Rise
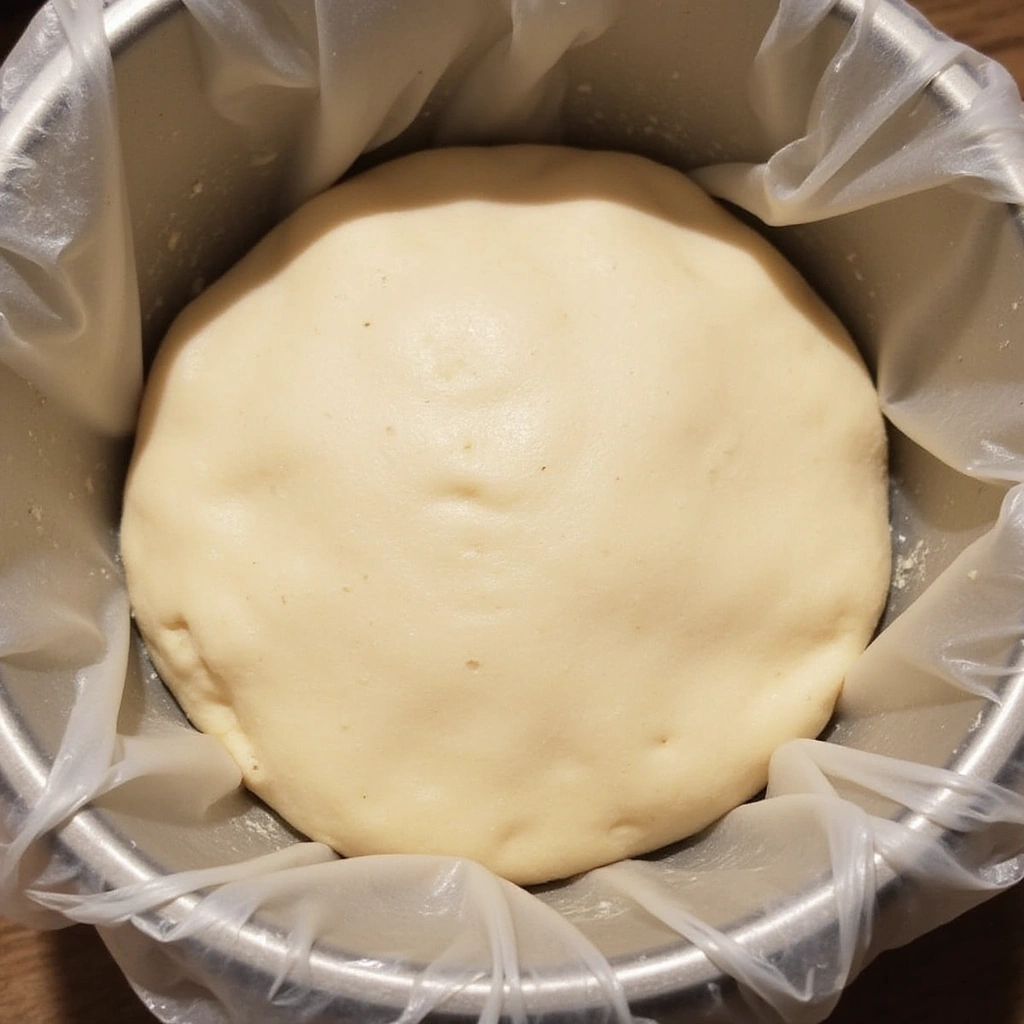
Transfer the dough to a lightly greased bowl and cover it with plastic wrap.
Let it rise in a warm place until doubled in size, about 1-2 hours.
Check for its readiness by gently pressing your finger into the dough; it should hold the indentation.
Ensure the bowl is covered well to prevent the dough from drying out.
Step 6: Shape the Dough
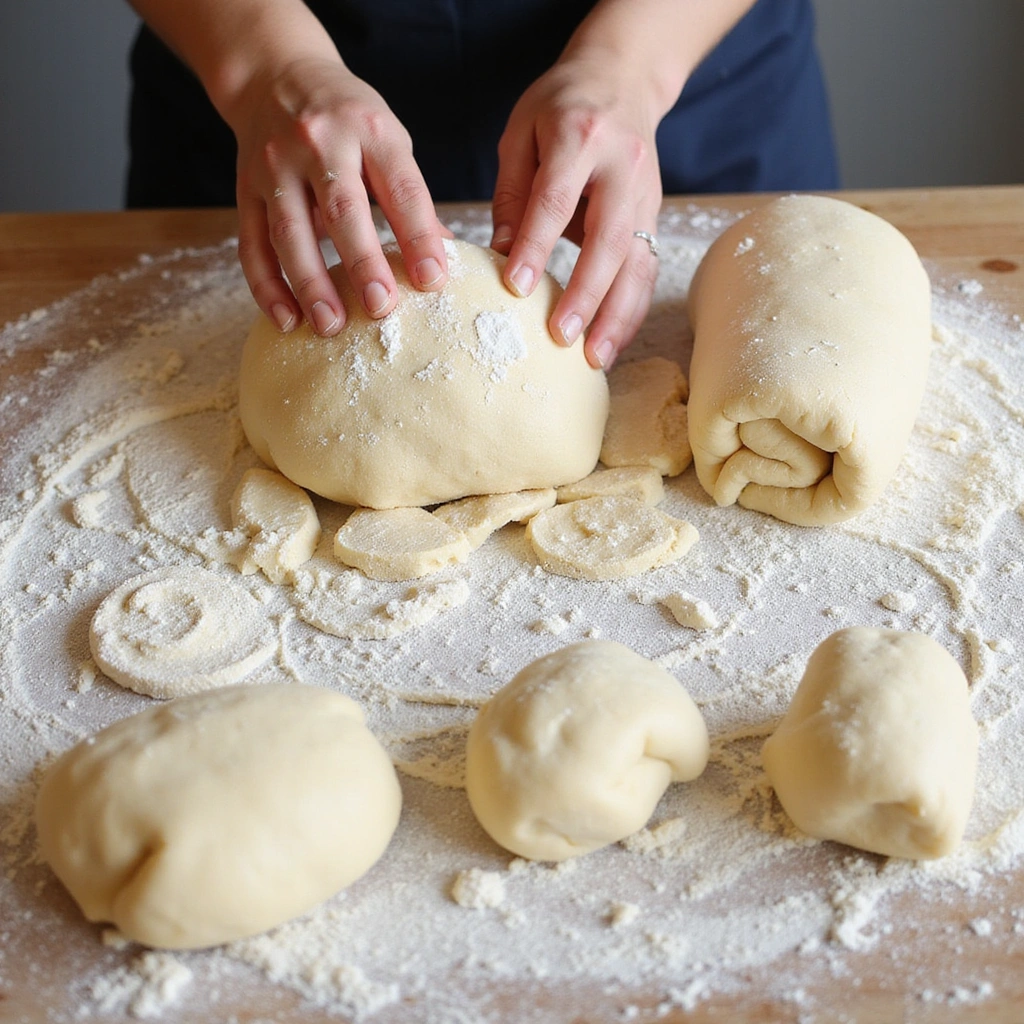
Once the dough has risen, gently punch it down to deflate it.
Turn it out onto a floured surface and divide it into pieces for shaping.
You can shape it into a loaf or individual rolls, depending on your preference.
Be careful not to overwork the dough to keep its lightness.
Step 7: Second Rise
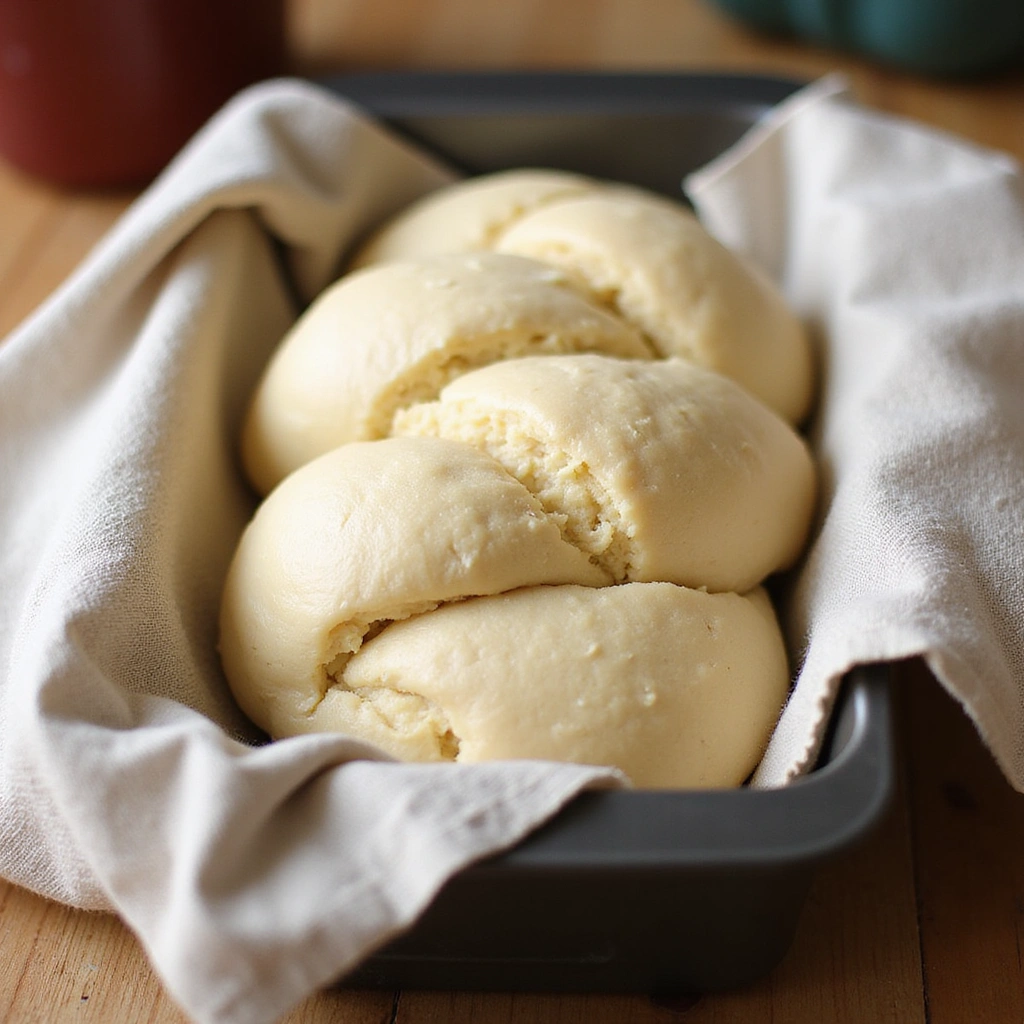
Place the shaped dough into a greased loaf pan or on a baking sheet.
Cover with a damp cloth and let it rise again until it doubles in size, about 30-60 minutes.
This rise is crucial for developing the final texture of the bread.
Ensure the dough is in a warm, draft-free area for optimal rising.


Step 8: Preheat the Oven
While the dough is rising, preheat your oven to 375°F (190°C).
Make sure the oven is fully heated before baking the brioche.
This ensures a good rise and proper browning.
Use an oven thermometer for accuracy if needed.


Step 9: Prepare the Egg Wash
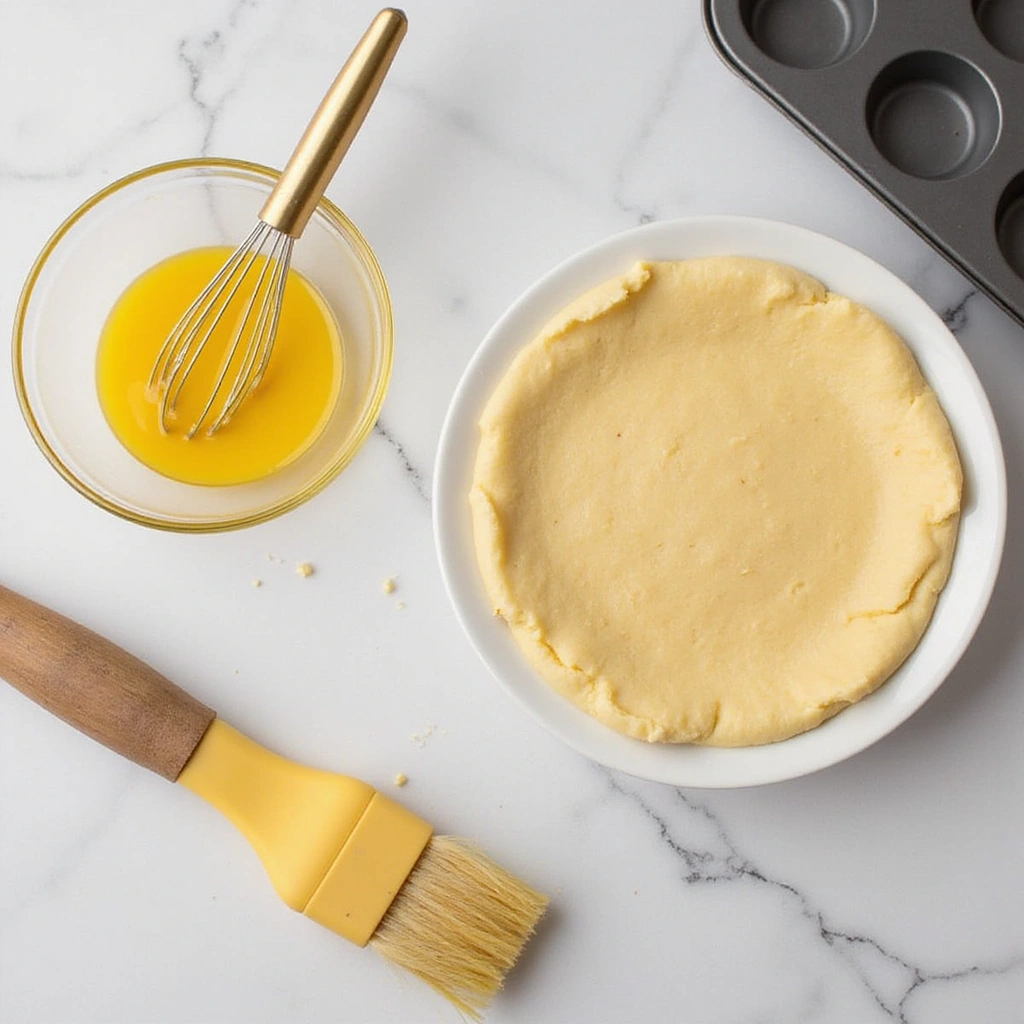
In a small bowl, whisk together the egg and milk for the egg wash.
This mixture will give your brioche a beautiful golden crust.
Brush the egg wash over the risen dough just before baking.
Be careful not to let it drip down the sides of the pan.


Step 10: Bake the Brioche
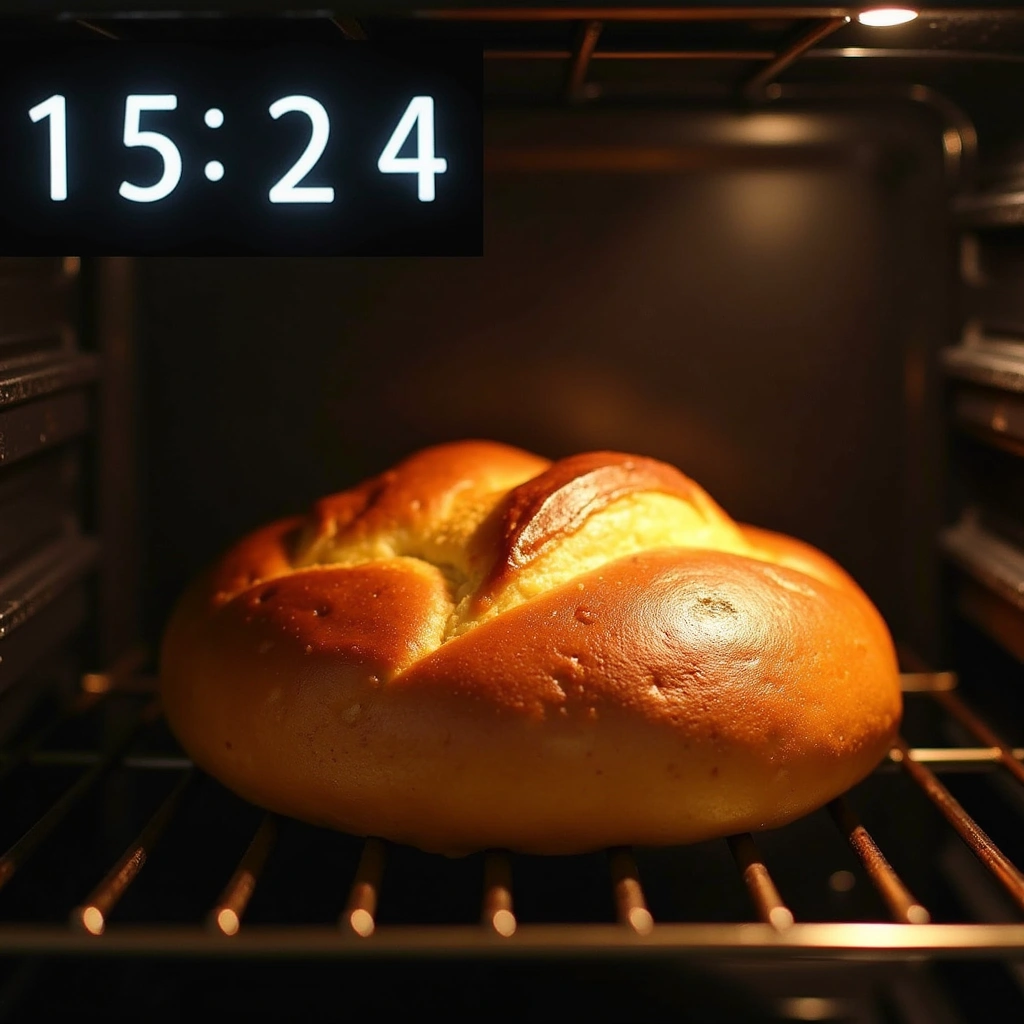
Place the loaf in the preheated oven and bake for 25-30 minutes.
The brioche is done when it is golden brown and sounds hollow when tapped.
Let it cool in the pan for a few minutes, then transfer to a wire rack.
This cooling step helps maintain the bread’s texture.
Critical Timing and Temperature Guide
First Rise: Allow the dough to rise until it doubles in size, approximately 1-2 hours. Look for the dough to feel light and airy. Common mistakes include not allowing enough time or using cold ingredients, which can slow yeast activity.
Second Rise: Let the shaped dough rise until doubled, about 30-60 minutes. It should feel puffy and light. Avoid letting it overproof, which can lead to a dense texture.
Baking Time: Bake until golden brown, about 25-30 minutes. The internal temperature should reach 190°F (88°C). A common mistake is opening the oven door too early, which can cause the bread to collapse.
Pro Tips for How To Bake Soft And Buttery Brioche Bread
• Ingredient Selection: Use high-quality unsalted butter and fresh eggs, as these ingredients significantly enhance the flavor and texture of the brioche.
• Preparation Secret: Consider refrigerating the dough overnight for a more developed flavor; this slow fermentation enhances the taste.
• Temperature Management: Ensure your milk is warm, not hot, when proofing the yeast, as excessive heat can kill the yeast.
• Texture Enhancement: Knead the dough until it is smooth and elastic to achieve that desired soft texture in the final product.
• Flavor Layering: Adding a hint of vanilla or citrus zest to the dough can elevate the flavor profile.
• Make-Ahead Strategies: You can prepare the dough ahead of time and freeze it after the first rise; just thaw it overnight in the fridge before shaping.
• Restaurant-Quality Finishing Touches: For a gourmet finish, sprinkle coarse sea salt on top of the egg wash before baking for added flavor.
• Equipment Optimization: Use a heavy-duty baking sheet to ensure even heat distribution when baking.


Troubleshooting Common Issues
• Texture Too Dense: This can occur if the dough is over-kneaded or under-proofed. If you notice a dense texture, ensure you allow adequate rising time and knead just until the dough is smooth.
• Uneven Baking: If your brioche is browning too quickly on the outside but remains raw inside, your oven may be too hot. Consider lowering the temperature and extending the baking time for even cooking.
• Flavor Lacking: If the flavor is bland, check the quality of your ingredients, particularly the butter and eggs. Fresh, high-quality ingredients make a significant difference.
• Crust Too Hard: A hard crust may result from baking at too high a temperature. Ensure you bake at the recommended temperature and monitor closely.
• Yeast Not Rising: If your dough isn’t rising, your yeast may be expired or the milk too hot. Always check the yeast’s expiration date and use warm, not boiling, milk.
Variations and Regional Differences
• Challah: This Jewish bread is similar to brioche but often uses honey instead of sugar and is braided before baking. The result is a slightly denser texture with a sweet flavor.
• Pain au Lait: Common in France, this version is enriched with milk and sometimes flavored with orange blossom water for a unique taste, often shaped into small rolls.
• Chocolate Brioche: In this variation, chunks of chocolate are folded into the dough for a rich, decadent treat. This version is popular among chocolate lovers and makes for an indulgent breakfast or dessert.
• Modern Interpretations: Many bakers today experiment with different flavors, such as matcha or spices, to create contemporary twists on the classic brioche.


Food Science Behind the Recipe
• Gluten Development: The kneading process develops gluten, which gives the dough its structure and elasticity. This is essential for achieving the light, airy texture characteristic of brioche.
• Fermentation: The yeast ferments the sugars in the dough, producing carbon dioxide which makes the dough rise. Understanding fermentation helps bakers control the flavor and texture of the bread.
• Maillard Reaction: This chemical reaction occurs during baking, creating the brown crust and rich flavors. Ensuring sufficient baking time allows for this reaction to fully develop, enhancing the overall taste.
Frequently Asked Questions
What’s the most common mistake people make when preparing brioche? The most common mistake is not allowing enough rising time, which leads to a dense texture rather than the light and airy brioche desired.
Can I prepare components of this dish in advance? Yes, you can prepare the dough in advance and refrigerate it overnight. Just ensure to let it come to room temperature before shaping and baking.
How do I adapt this recipe for dietary restrictions? For a dairy-free version, substitute the butter with a plant-based alternative and the milk with almond or oat milk at a 1:1 ratio.
What’s the best way to store and reheat leftovers? Store leftover brioche in an airtight container at room temperature for up to 2 days. Reheat slices in a toaster or oven for the best texture.
Can I freeze this dish? Yes, brioche can be frozen after baking. Wrap it well in plastic wrap and foil, then store in the freezer for up to 3 months. Thaw at room temperature before reheating.
What wine or beverages pair best with this dish? A light sparkling wine or sweet dessert wine pairs beautifully with brioche, enhancing its buttery richness.
How can I scale this recipe up for a crowd? To scale up, simply double or triple the ingredients, ensuring you have a larger mixer for the dough and enough baking pans for the increased volume.
What side dishes complement this recipe best? A fresh fruit salad or a light yogurt parfait works wonderfully alongside brioche, balancing its richness with freshness.
How do professional chefs elevate this dish for restaurant service? Professional chefs often create intricate presentations with brioche, serving it with unique toppings like flavored butters or gourmet jams.
Serving and Presentation Guide
• Traditional Presentation: Serve slices of brioche on a wooden board with butter and jam on the side. This rustic approach emphasizes the bread’s homemade appeal.
• Modern Plating Ideas: For a contemporary touch, stack slices of brioche on a white plate with a dusting of powdered sugar and a berry compote drizzle.
• Accompaniment Suggestions: Pair brioche with a side of fresh fruit, coffee, or a light tea to complement its rich flavor.
• Special Occasion Presentation: For celebrations, consider serving brioche as part of a brunch spread, alongside pastries, fresh juices, and elegant garnishes like edible flowers.
Conclusion
Baking soft and buttery brioche bread at home is a rewarding experience that fills your kitchen with delightful aromas.
With this comprehensive guide, you’re now equipped to create your own perfect loaf.
I encourage you to give this recipe a try and indulge in the luxurious taste of homemade brioche.