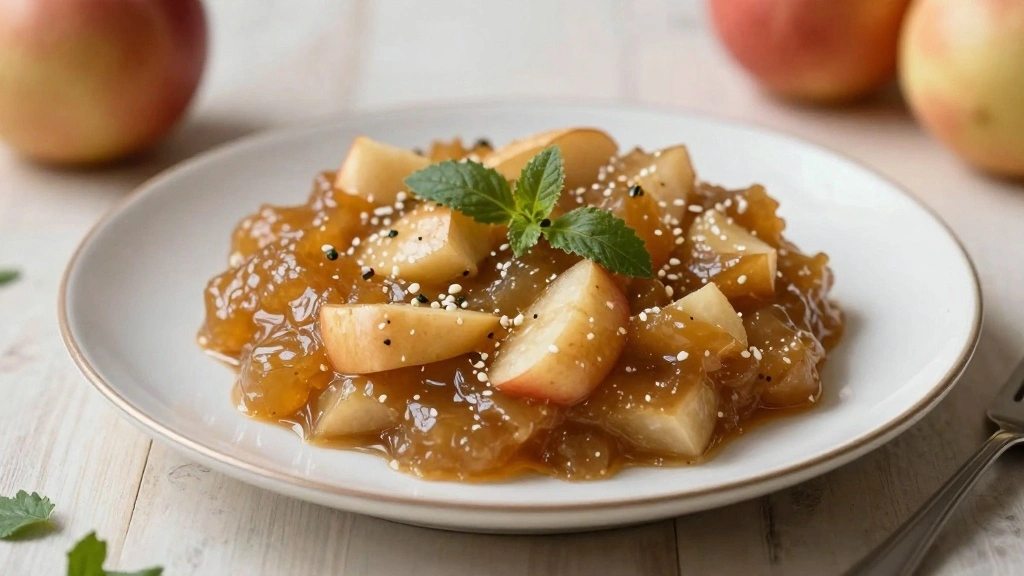
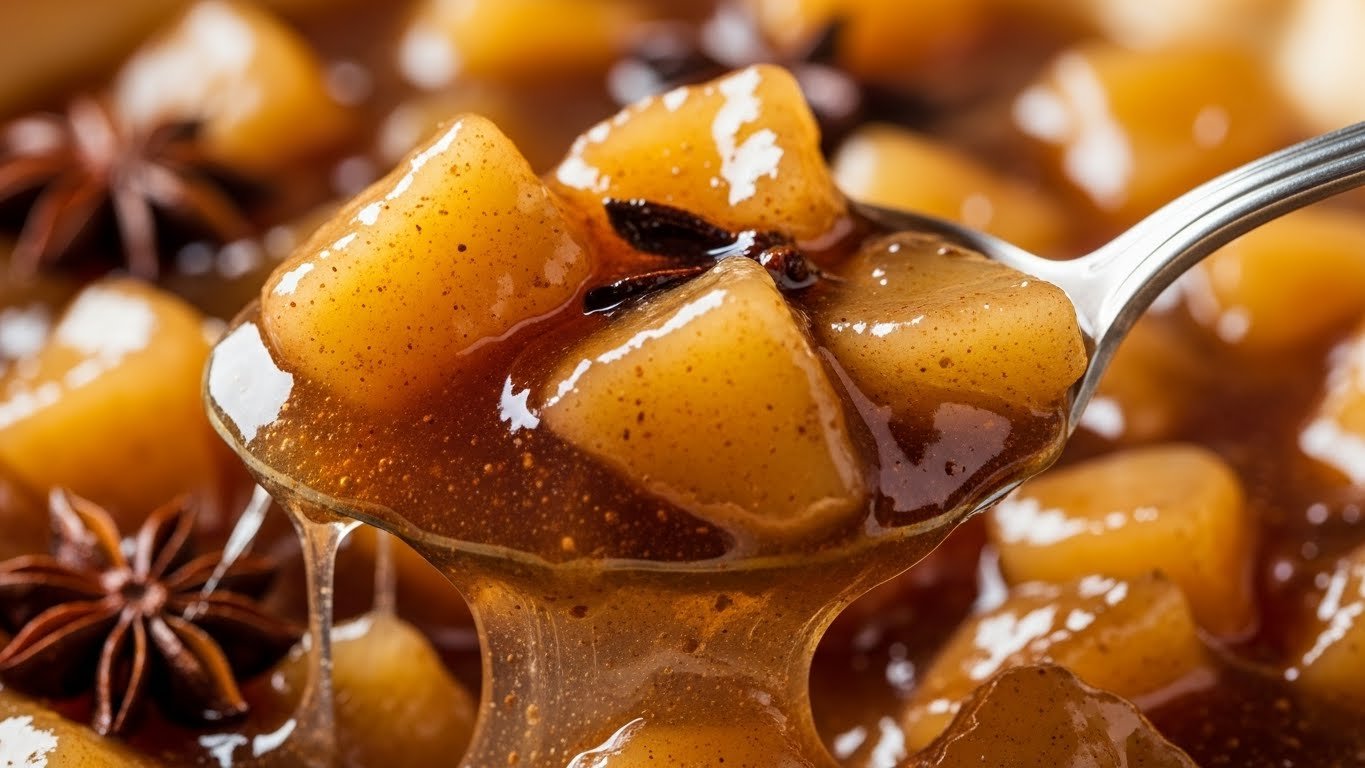
As the leaves begin to change and the air turns crisp, there’s nothing more comforting than the scent of homemade apple pie filling wafting through the kitchen.
This delightful blend of sweet and tart apples, warm spices, and a hint of citrus creates a symphony of flavors that evoke memories of family gatherings and cozy autumn evenings.
The homemade version ensures a depth of flavor that store-bought fillings simply can’t match, making it an essential staple for any baker who cherishes tradition.
Whether you’re an experienced pie maker or a novice in the kitchen, this recipe offers a straightforward approach to capturing the essence of fall in every bite.
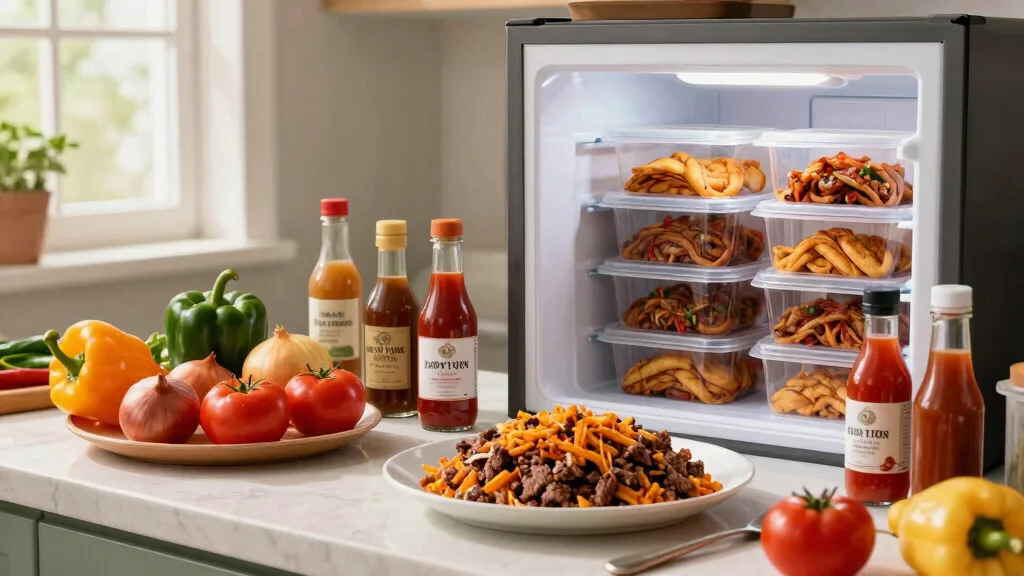
Prepare to fill your freezer with jars of this golden, spiced treasure, ready to transform into a pie at a moment’s notice.
The History and Cultural Significance
• Apple Pie Filling traces its origins to England, where it was originally created in the 14th century.
• The dish evolved over decades as new spices and sweeteners were introduced, eventually becoming the beloved version we know today.
• In American culture, this dish traditionally appears at Thanksgiving and other autumn celebrations, symbolizing warmth and abundance.
• While many variations exist across different regions, the authentic version maintains a balance of tart and sweet apples that sets it apart from imitations.
Recommended Products

◆20 PACK WHITE REGULAR & WIDE MOUTH LIDS - Regular Mouth Lids Fit 2.75 in (70 mm) Outer Diameter Mouth Jars, Wide Mouth Lids Fit 3.38 in (86 mm) Outer Diameter Mouth Jars. 10 wide mouth lids + 10 regular mouth lids.

◆20 PACK COLORED REGULAR & WIDE MOUTH LIDS - Regular Mouth Lids Fit 2.75 in (70 mm) Outer Diameter Mouth Jars, Wide Mouth Lids Fit 3.38 in (86 mm) Outer Diameter Mouth Jars. 10 wide mouth lids + 10 regular mouth lids. Add great fun and colors to pantey, kitchen and home.

One-Piece Airtight Lids: Our 2 oz glass jars feature an integrated design, with a secure inner seal to boost airtightness and leak-proofing, keeping food fresh longer while simplifying cleaning.


Recipe Overview
Recommended Products

Contains (1) PrepWorks Canning Funnel

【Safe Durable】Canning tools and equipment are made of high-temperature resistant premium plastic magnets for lasting, not easy to scratch the caning, can be cleaned and reused, compact and portable, and hook design is easy to store, saving space.

Nutritional Information (per serving)
Recommended Products

Complete Canning Funnel Kit: Canning Supplies includes two funnel sizes. Detachable umbrella strainer fits for filtering pulp, seeds, and residues. Suitable for filling various jars like mason jars to transfer jam, liquid, oil, spices, grains and more

SET OF 3 - Large wide-mouth Funnel/Small wide-mouth Funnel/Strainer

Stainless Steel Material: ForJars Funnel Set stainless steel is durable, rust-free, 0.8 mm thick, and food-grade.


Essential Equipment Guide
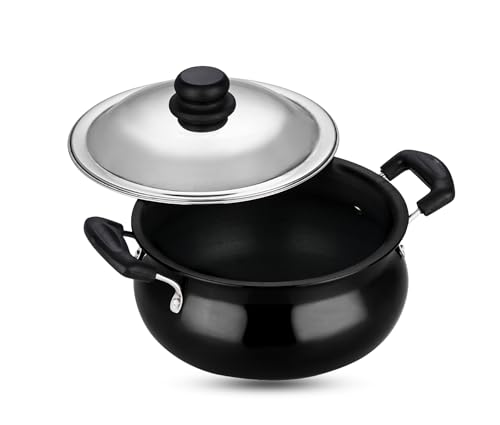
Large Saucepan: A large saucepan is crucial for cooking down the apples evenly, allowing for consistent heat distribution. Alternatives could be a heavy-bottomed pot, but ensure it is non-reactive to avoid altering the taste.
Measuring Spoons and Cups: Precision in measuring spices and liquids ensures the perfect balance of flavors. Digital scales can be an alternative for accuracy.
Mason Jars: Ideal for storing and freezing pie filling, these jars create an airtight seal that preserves freshness. Look for jars that are freezer-safe to prevent cracking.
Recommended Products

Versatile Capacity - A 3 qt saucepan is ideal for heating and simmering liquids, such as soups, sauces and gravies; while still can be used for sautéing and stir-frying small to medium-sized portions of ingredients, like vegetables, meat, or poultry.
World class hard anodised 24 times harder than steel, which heats evenly and quickly non-toxic, non- staining and non- reactive with food and not spoilt by high heat

2.4 QUART SAUCE PAN: Ideal for both novice chefs and seasoned chefs, this saucepan includes a glass lid, features internal measurement markings in both US and metric units to make measuring easy, and is perfect for cooking soups, broths, and sauces with precise heat control. Crafted with a sleek stainless steel construction, this small sauce pot features a flared edge for easy non-mess pouring, is ideal for deglazing, and will not react with acidic or alkaline foods

Ingredients
Recommended Products

[Multiple Sizes]: Including 4 Measuring cups ( 1/4, 1/3, 1/2, 1 cup), 6 Measuring spoons (1/8, 1/4, 1/2 , 1 tsp, 1/2, 1 tbsp). Meet All Your Needs On Cooking And Baking
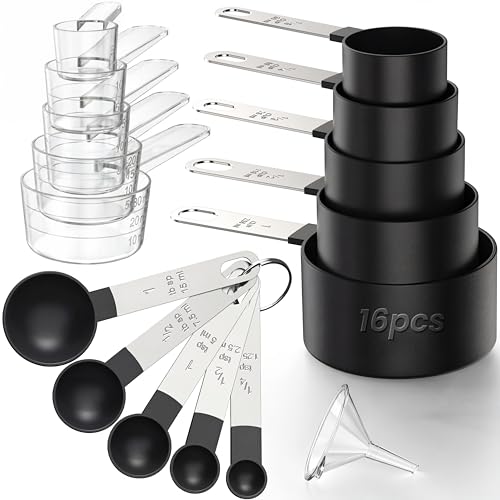
16PCS SET: Including multiple sizes, including 1cup, 1/2cup, 1/3cup, 1/4cup, 1/8cup, 30ml, 20ml, 15ml, 10ml, 5ml, 1tbsp, 1/2tbsp, 1tsp, 1/2tsp, 1/4tsp, and 1 funnel

[Multiple Sizes]: Including 5 Measuring cups (1/8, 1/4, 1/3 , 1/2 , 1 cup), 5 Measuring spoons (1/4, 1/2 , 1 tsp, 1/2, 1 tbsp). Meet All Your Needs On Cooking And Baking.
For the Filling
|
|
| Amount | Ingredient | Notes |
|---|---|---|
| 6 cups | apples | peeled, cored, and sliced for optimal texture |
| 1 cup | granulated sugar | provides sweetness |
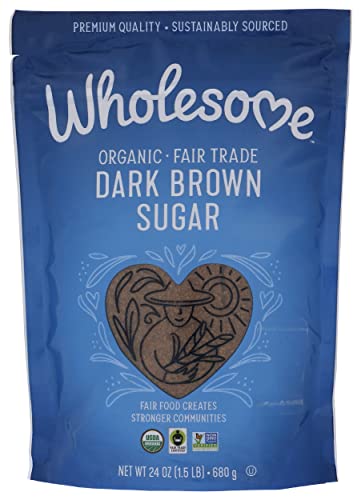
| 1/4 cup | brown sugar | adds depth and richness |
| 2 tablespoons | lemon juice | prevents browning and adds brightness |
| 1 teaspoon | cinnamon | warm spice |
| 1/4 teaspoon | nutmeg | adds warmth |
| 1/4 cup | cornstarch | thickener for the sauce |
| 2 cups | water | for cooking the filling |


Preparation Methods
Peeling and Slicing Apples: Peeling and slicing apples uniformly ensures even cooking. Use a sharp paring knife or an apple peeler for efficiency, and aim for slices about 1/4 inch thick.
Cooking Down the Filling: Simmering the apple mixture in a saucepan allows flavors to meld and thicken properly. Stir frequently to prevent sticking, and watch for the mixture to become glossy and thickened.
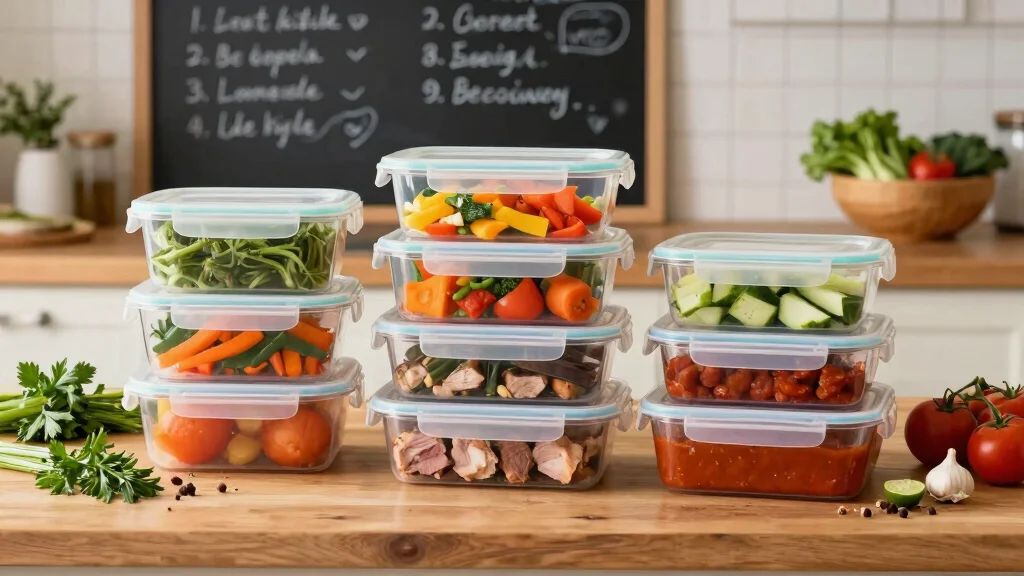
Jarring and Freezing: Properly sterilizing jars before adding filling ensures a long shelf life. Leave space at the top of jars for expansion when freezing, and use a funnel to prevent spills.
Recommended Products

High-Grade Glass: Made with premium BPA-free and lead-free food-grade glass, ensures long-lasting durability and offers a clear view of contents, preserving the freshness and integrity of stored food.

Colorful and Practical Mason Jar Lids: These plastic mason jar lids are available in 8 different colors to meet the color preferences and needs of different customers. Each mason jar lid can be used for different capacities of mason jars brands for balls, kerrs and more. 8 colorful canning lids fit 2.75inch (70mm) outer diameter mouth jar. We have carefully selected 8 different colors, these mason jar lids regular mouth will make your kitchen look vibrant and colorful.
![SEWANTA Wide Mouth Mason Jars 32 oz [4 Pack] With Mason Jar Lids and Bands, Mason Jars 32 oz - For Canning, Fermenting, Pickling - Jar Decor - Microwave/Dishwasher Safe.](https://m.media-amazon.com/images/I/4107pM2hYKL._SL500_.jpg)
4 PACK MASON JARS 32 OZ WIDE MOUTH: Perfect for canning, pickling, preserving, and fermenting fruits and veggies that can be canned and sealed for up to 18 Months. Embossed measurement markings for precise filling. Label line for writing dates and identifying contents.


Step 1: Prepare the Apples
Peel, core, and slice the apples into uniform pieces.
Place the apple slices in a large bowl.
Sprinkle with lemon juice to prevent browning.
Toss to coat evenly.
Recommended Products


Package includes:You will get 24 sets regular mouth canning lids( 24 jar lids +24 Rings), enough for your daily needs and replacements.

1 Unit Per Order
Step 2: Mix Dry Ingredients

In a separate bowl, combine granulated sugar, brown sugar, cinnamon, and nutmeg.
Stir the mixture until all the spices are well blended.
Ensure there are no lumps in the sugar.
Set aside for later use.
Recommended Products

Durable & Safe - STAINLESS STEE Food Grade Material No rusting, dishwasher safe.Compared with plastic funnels,Our stainless steel Canning funnels which is more durable,healthier and safer.

High Quality Material: This wide mouth canning funnel for most jars is made of food grade stainless steel, which is sturdy and will not bend or rust. The bottom caliber edge is specially polished so it won't scratch you.

Food grade funnel set: These canning funnels made from food grade high-quality stainless steel, 100% safe, non-toxic, sturdy and durable.
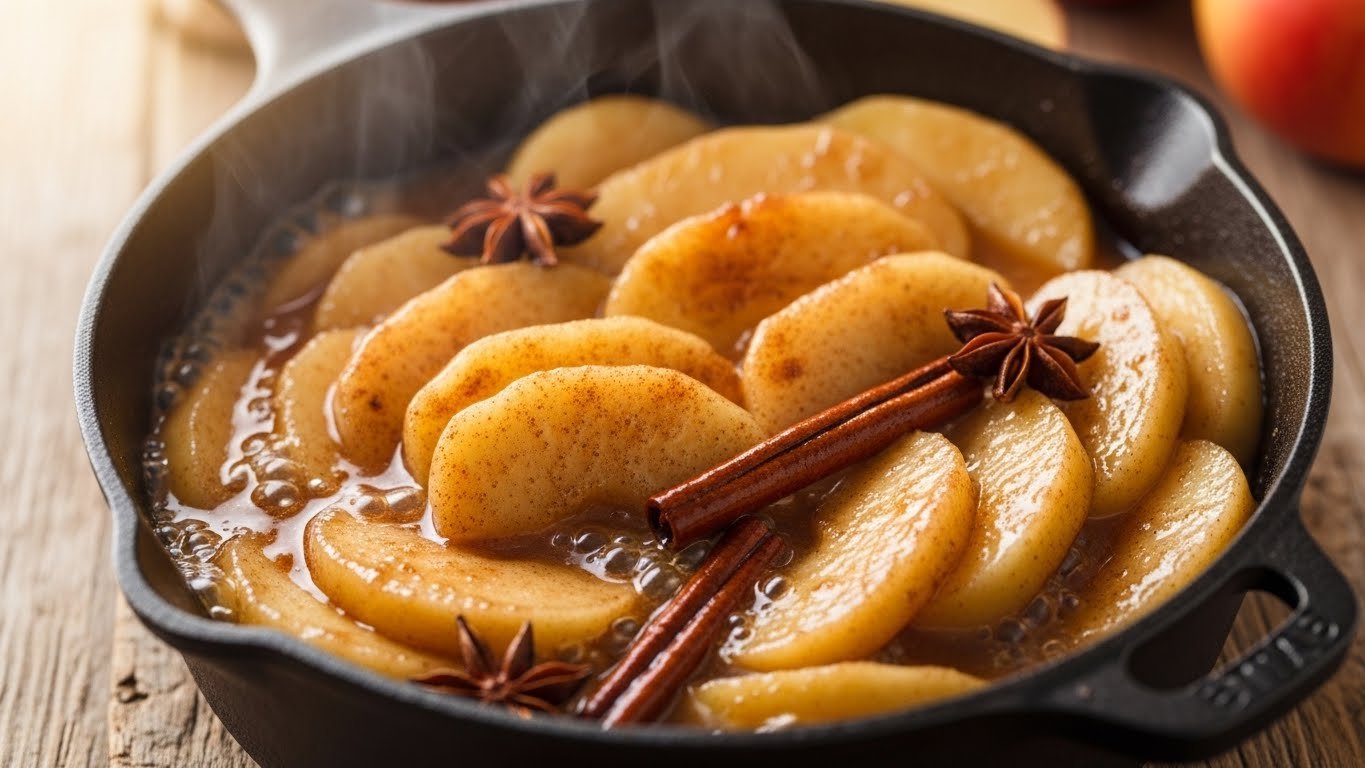
Step 3: Cook the Apples
Transfer the apple slices to a large saucepan.
Add water to the saucepan and bring to a boil over medium heat.
Reduce the heat and simmer, stirring occasionally, until apples begin to soften.
This should take about 10 minutes.
Recommended Products

Larger Capacity - A 4 qt saucepan is ideal for for heating milk, making hot chocolate, oatmeal, soups, ramen, sauces, or baby food. Large enough for 2–4 people, yet compact enough for daily stovetop use without wasting space.

PROFESSIONAL GRADE: This mini sauce pan is perfectly balanced and weighted with a comfortable, sturdy, ergonomically shaped handle. Whenever you use our Küchenprofi Stainless Steel Saucepan with Clad Bottom, you become a chef in your own kitchen. Stainless steel cookware doesn't get any better than this. This saucepan is so well designed that you will be inspired to try new recipes often and without fuss!.

Healthy & sturdy, our saucepan with lid is crafted from premium cast iron core and coated with 3-layer food-grade enamel inside and outside, ensure maximum durability and rust, crack and corrosion resistance, ensuring a healthy cooking experience for your family, non-reactive with acidic ingredients like tomatoes and wine, preserving the original flavor of your food


Step 4: Add Sugar Mixture
Carefully add the sugar and spice mixture to the saucepan.
Stir constantly to ensure even distribution.
Continue cooking for another 5 minutes.
Watch for the mixture to start thickening.
Recommended Products

PERFECT DESIGNED TO LAST A LIFETIME: Our measuring cups and spoons are all made out of one piece of metal so the handles will never bend or break off. We upgraded the material to rust resistant & durable 18/0 stainless steel and thickened the cup body to avoid cracking, easy to clean and dishwasher safe.

Treat Yourself To A Set Worth Having - With single metal construction and heavy duty premium Stainless Steel, these measuring spoons and cups were built with endurance in mind. They won't rust or bend. This beautiful set performs incredibly well and was designed to last.

DISHWASHER SAFE & DURABLE: Crafted from premium stainless steel, this professional measuring cups and spoons set is built to last. Unlike flimsy plastic alternatives, these metal measuring cups and spoons resist rust, bending, and breaking, while maintaining a sleek silver shine. Dishwasher safe for effortless cleaning, they keep your kitchen tools looking polished and new, making them an essential for daily cooking and baking tasks.


Step 5: Thicken with Cornstarch
Dissolve cornstarch in a small amount of cold water.
Slowly pour the cornstarch mixture into the saucepan while stirring.
Continue to cook until the filling thickens and becomes glossy.
This should take about 5 minutes.
Step 6: Prepare Jars for Filling
While the filling is cooking, sterilize mason jars by boiling them in water.
Carefully remove jars with tongs and place them on a clean towel.
Ensure jars are completely dry before filling.
This prevents bacterial growth.


Step 7: Fill and Seal Jars
Using a ladle, fill each jar with the hot apple pie filling.
Leave about 1 inch of space at the top for expansion.
Wipe the rims of the jars clean before sealing with lids.
Secure lids tightly to ensure a proper seal.
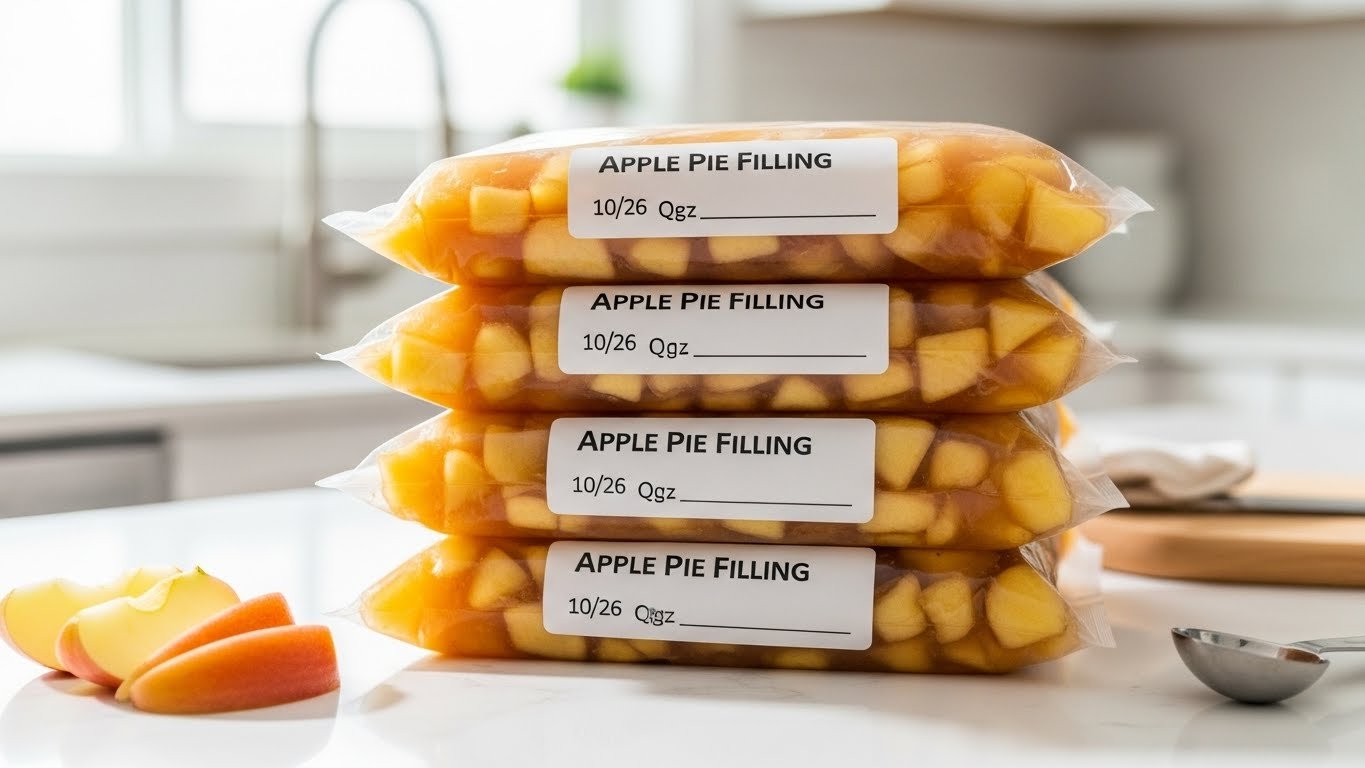
Step 8: Freeze the Jars
Allow jars to cool to room temperature before freezing.
Label each jar with the date of preparation.
Place jars upright in the freezer.
Ensure they are spaced apart for even freezing.
Critical Timing and Temperature Guide
Saucepan Cooking: Maintain a gentle simmer at medium heat for even cooking; avoid boiling which can break down the apples too quickly.
Cornstarch Activation: Ensure the mixture reaches a simmer after adding cornstarch for proper thickening; undercooking can result in a runny filling.
Freezing Process: Allow jars to cool completely before freezing to prevent cracking; avoid overfilling as contents expand when frozen.
Pro Tips for Apple Pie Filling
• Ingredient Selection: Use a mix of tart and sweet apple varieties like Granny Smith and Honeycrisp for balanced flavor and texture.
• Preparation Secret: Adding a pinch of salt enhances the sweetness and complexity of the filling.
• Temperature Management: Keep the filling at a gentle simmer to avoid overcooking the apples, which can lead to a mushy texture.
• Texture Enhancement: Stirring frequently while cooking prevents apples from clumping and ensures uniform texture.
• Flavor Layering: Use a combination of cinnamon and nutmeg to create a warm, rich aroma that complements the apples perfectly.
• Make-Ahead Strategies: Prepare and freeze filling in advance for stress-free pie making during the holiday season.
• Restaurant-Quality Finishing Touches: Before serving, add a splash of vanilla extract for an extra layer of flavor.
• Equipment Optimization: Use a wooden spoon for stirring to avoid scratching non-stick pans and ensure even heat distribution.


Troubleshooting Common Issues
• Runny Filling: If the filling is too runny, it may not have been cooked long enough after adding cornstarch. Simmer until it thickens and becomes glossy.
• Overly Sweet Filling: Balance overly sweet filling by adding a bit more lemon juice or a pinch of salt.
• Apples Not Softening: Ensure apples are sliced evenly and cooked long enough; older apples may also require longer cooking.
• Jars Cracking in Freezer: Leave enough headspace in jars for expansion, and use freezer-safe jars to prevent cracking.
• Flavor Lacking Depth: Ensure spices are fresh and consider adding a dash of vanilla extract or a pinch of allspice for a richer flavor.


Variations and Regional Differences
• French Tarte Tatin Style: Use butter and caramelize the apples in sugar before adding them to the pie for a rich, caramel flavor.
• English Apple Pie: Incorporate cloves and allspice for a spicier, more aromatic filling.
• Southern Fried Apple Pies: Use a thicker filling with less liquid and fry in pastry dough for a crispy treat.
• German Apfelstrudel: Add raisins and almonds to the filling and wrap in flaky pastry for a traditional strudel.


Food Science Behind the Recipe
• Gelatinization of Cornstarch: Understanding the role of heat in thickening the filling is crucial; cornstarch needs to reach a certain temperature to activate and thicken properly.
• Maillard Reaction in Sugar: Caramelization of sugars during cooking enhances the flavor and color of the filling.
• Acidity and Browning: Lemon juice not only prevents browning of apples but also helps balance sweetness and enhance flavor through acidity.
Frequently Asked Questions
What's the most common mistake people make when preparing apple pie filling? Overcooking the apples, leading to a mushy texture, is a common mistake. Ensuring even slices and careful cooking helps maintain texture.
Can I use any type of apple for this recipe? While you can use any apple, a mix of sweet and tart varieties like Granny Smith and Honeycrisp yields the best results.
How can I prevent my jars from cracking in the freezer? Use freezer-safe jars and leave sufficient headspace for expansion.
Why does my filling taste too sweet? Adjust the sugar content to taste, and balance with additional lemon juice if necessary.
How long can I store the filling in the freezer? Properly sealed and stored, the filling can last up to 12 months in the freezer.
Can I add other spices to the filling? Certainly! Try adding cloves or allspice for a different flavor profile.
Why is my filling not thickening? Ensure the cornstarch is fully dissolved and the mixture is simmered long enough to activate the thickening process.
Serving and Presentation Guide
• Traditional Presentation: Serve the pie warm with a scoop of vanilla ice cream or a dollop of whipped cream for a classic touch.
• Rustic Style: Present the pie on a wooden board with a dusting of powdered sugar for a homely feel.
• Gourmet Plating: Decorate the plate with a caramel drizzle and a sprig of mint for an elegant presentation.
• Family Style: Serve directly from the pie dish, allowing guests to help themselves.
Conclusion
Embrace the flavors of fall with this delightful homemade apple pie filling.
With just a bit of preparation, you'll have a freezer full of ready-to-use pie filling for any occasion.
Try this recipe and impress your loved ones with a slice of classic homemade goodness.