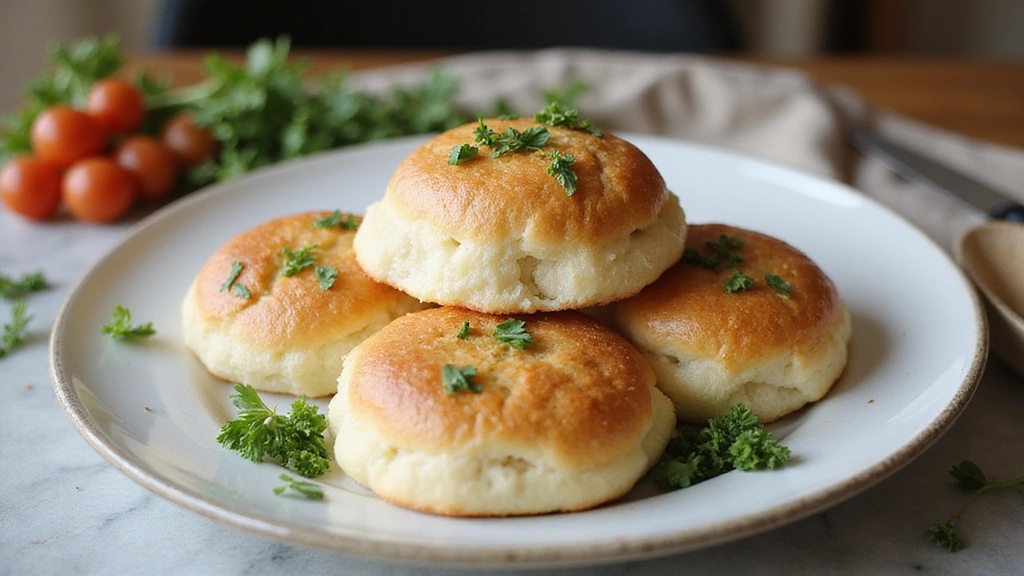
This classic Soft and Fluffy Milk Bread recipe brings together centuries of culinary tradition with modern techniques to create a dish that’s both comforting and elegant.
The harmonious balance of sweetness and softness creates a memorable dining experience that will have everyone asking for your secret.
I discovered this recipe during my travels through Japan, where local bakers have perfected it through generations of careful refinement.
Whether you’re preparing a casual family breakfast or hosting a special celebration, this Soft and Fluffy Milk Bread delivers impressive results with straightforward preparation.
The History and Cultural Significance
• Soft and Fluffy Milk Bread traces its origins to Japan in the early 20th century, where it was originally created by bakers looking for a soft and rich bread alternative.
• The dish evolved over decades as Western baking techniques and ingredients were introduced, eventually becoming the beloved version we know today.
• In Japan, this bread traditionally appears at special occasions such as birthdays and holidays, symbolizing warmth and togetherness.
• While many variations exist across different regions, the authentic version maintains a signature fluffy texture and slightly sweet flavor that sets it apart from imitations.
Recommended Products

Product Size (W x D x H): 4.7 x 7.1 x 4.7 inches (11.9 x 1

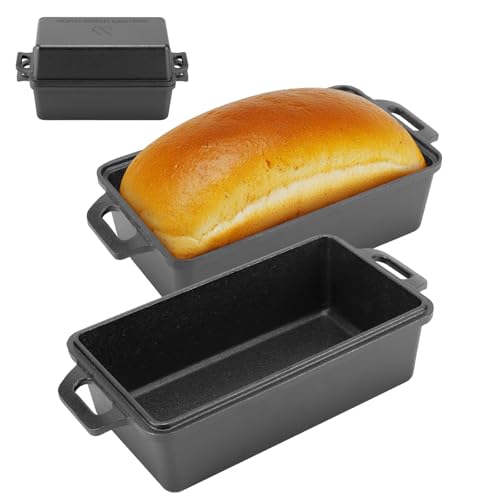
Standard Size and Dishwasher Safety - External Size: 8.27x4.80x4.53 inch; Interior size: 7.5x4x4.4 inch. The toast pan can load 1 lb dough. The temperature for the pan is up to 450 degree Fahrenheit. After washing in the dishwasher, dry the bread pan in the oven, make sure the corners retain water is dried completely in the oven.

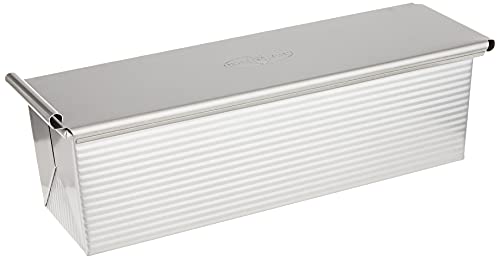
PERFECTLY SIZED TOAST EVERY TIME: Our premium pullman loaf pan is perfect for baking sandwich bread, Japanese milk bread, gluten-free loaves, sourdough, and more. It ensures a golden brown, perfectly sized loaf every time, ideal for toasting. External dimensions: 8.45 x 4.72 x 4.5 inches. Internal baking surface: 7.68 x 4.15 x 4.33 inches, holding up to 1 LB dough. A must-have for home bakers, making it an ideal present on various vacations


Recipe Overview
Recommended Products

High Protein Flour: 12.7% protein - a full point more than other national brands, King Arthur flour ensures stronger rise and perfectly textured loaves. This organic unbleached flour is key to achieving beautiful yeasted breads with impressive flavor

One 10-count package of Mission Soft Taco Flour Tortillas
Nutritional Information (per serving)
Recommended Products
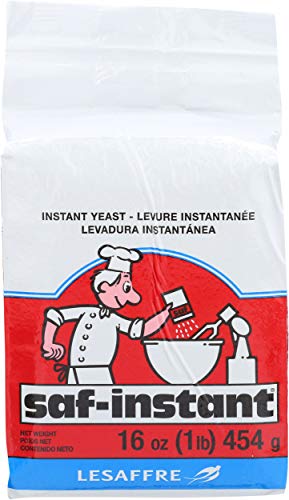
Red Star, Yeast Instant, 16 Ounce

The outstanding performance of its fermentation action and its speed of use are the main benefits of saf-instant yeast.

Safe Instant Yeast is one of the top selling yeasts in the world


Ingredients
Recommended Products

🍐【Compatible】K45, K45SS, KN15E1X, KSM75, KSM85PS, KSM88PSQ, KSM90, KSM95, KSM96, KSM97, KSM100, KSM103, KSM105, KSM110, KSM120, KSM150, KSM150A, KSM151PS, KSM152, KSM153, KSM154, KSM155, KSM156HB, KSM158, KSM160A, KSM175,KSM180, KSM180LEBK, KSM180RPMB

BAKE WITH EASE: Effortlessly mix thick batters and doughs for bread, cookies and more. With a powerful 300 watt motor, this Hamilton Beach stand mixer will easily handle the ingredients for all your homemade baked goods from cupcakes and cookies to bread.


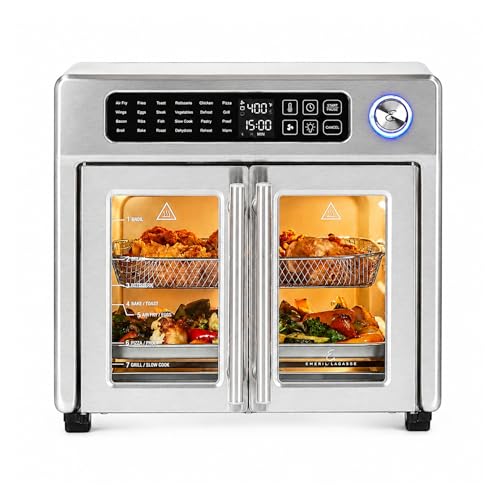
Essential Equipment Guide
Stand Mixer: This tool is essential for kneading the dough efficiently and achieving the right texture. A stand mixer with a dough hook can save time and effort, ensuring consistent results. If you don’t have one, a sturdy hand mixer can work, but it may require additional elbow grease.
Loaf Pan: A high-quality loaf pan is crucial for shaping the bread and ensuring even baking. A non-stick or metal pan works well, but make sure it has a smooth surface to avoid sticking. Glass pans can also be used, but they may require slight adjustments in baking time.
Digital Kitchen Scale: Accurate measurement is key to baking success, especially for bread. A kitchen scale allows you to weigh ingredients precisely, which can make a significant difference in the final product. If you don’t have a scale, be sure to use measuring cups and spoons correctly, leveling off dry ingredients.
Recommended Products

All artisanal breads, cakes, and cookies are baked with better ingredients, so you can feel good about what you're buying (and eating)
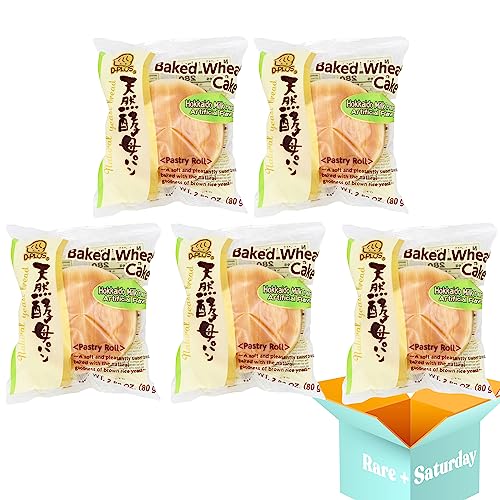
🍭 Authentic Japanese Flavors: Experience the true taste of Japan with our D Plus Japanese Bread. Made using traditional recipes and high-quality ingredients, each bite is filled with the rich and unique flavors that have made Japanese bread famous worldwide.

✅ BAKE PROFESSIONAL-QUALITY BREAD AT HOME Turn your kitchen into a home bakery with this heavy-duty carbon steel Pullman loaf pan. Designed for even heat distribution, it's perfect for creating uniform homemade sandwich loaves with a golden crust and soft interior. Whether you're a beginner or an advanced baker, this toast pan for baking delivers delicious results every time, making it ideal for everyday bread lovers.


Preparation Methods
Kneading: This technique involves working the dough with your hands or a mixer to develop gluten, which gives the bread its structure and chew. Knead the dough until it’s smooth and elastic, about 8-10 minutes by hand or 5-7 minutes in a mixer. Look for a dough that springs back when poked lightly.
Proofing: Proofing is the process of allowing the dough to rise, giving it a light and airy texture. After kneading, cover the dough and let it rise in a warm place until it doubles in size, usually 1-2 hours. Be cautious not to over-proof, as this can cause the bread to collapse.
Baking: This is the final step where the dough transforms into bread. Preheat your oven to 350°F (175°C) and bake until the bread is golden brown and sounds hollow when tapped. Use an instant-read thermometer to check for doneness; the internal temperature should reach around 190°F (88°C).
Recommended Products
USA Pan baking pans feature Americoat which promotes quick release of baked-goods plus fast and easy clean up; wash with hot water, mild soap and gentle scrub brush or sponge


SET OF TWO 8 x 4-INCH MEDIUM LOAF PANS: Great for baking meatloaf, sweet or savory breads, thick cakes or brownies, smaller portions of lasagnas or casseroles, and more for the perfect bake every time

Step 1: Prepare Ingredients
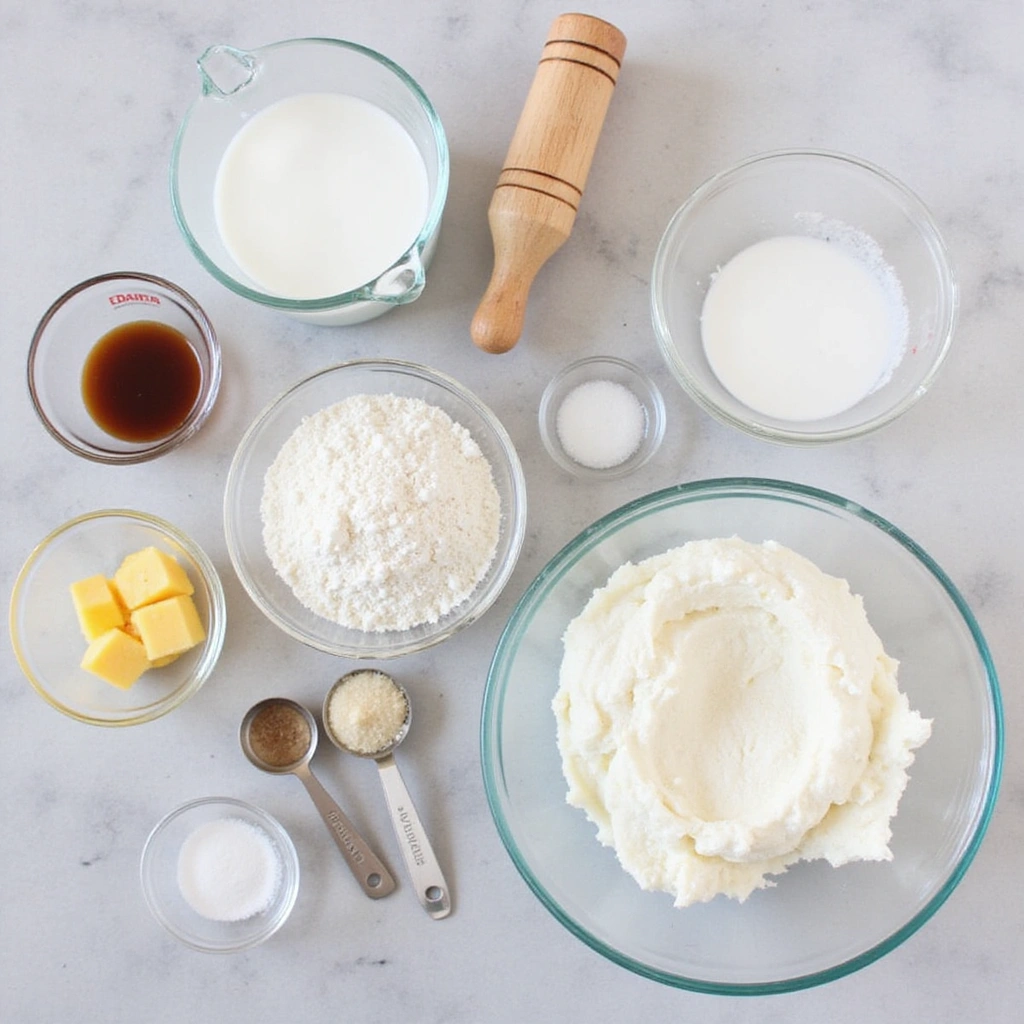
Gather all ingredients on your countertop for easy access.
Measure out your flour, sugar, salt, yeast, butter, milk, and egg.
Ensure all ingredients are at room temperature for optimal mixing.
This preparation will streamline the process and help prevent any missing elements.
Recommended Products


One 8-count package of Mission Carb Balance Soft Taco Flour Tortillas


Step 2: Mix Dry Ingredients
In a large bowl, combine the bread flour, sugar, salt, and yeast.
Mix these dry ingredients together until well blended, ensuring the yeast and salt are evenly distributed.
This step is crucial for even rising and flavor distribution.
Use a whisk or fork to aerate the flour mixture.
Recommended Products

3 individual 0.25 ounce packets of Fast Rising Yeast

Designed for Perfect Pizza Dough – Specially formulated yeast that helps create chewy, light pizza crust with excellent oven spring

Order consists of 5 packets. Each packet contains .32 oz. (9g) of dry yeast.


Step 3: Warm the Milk and Butter
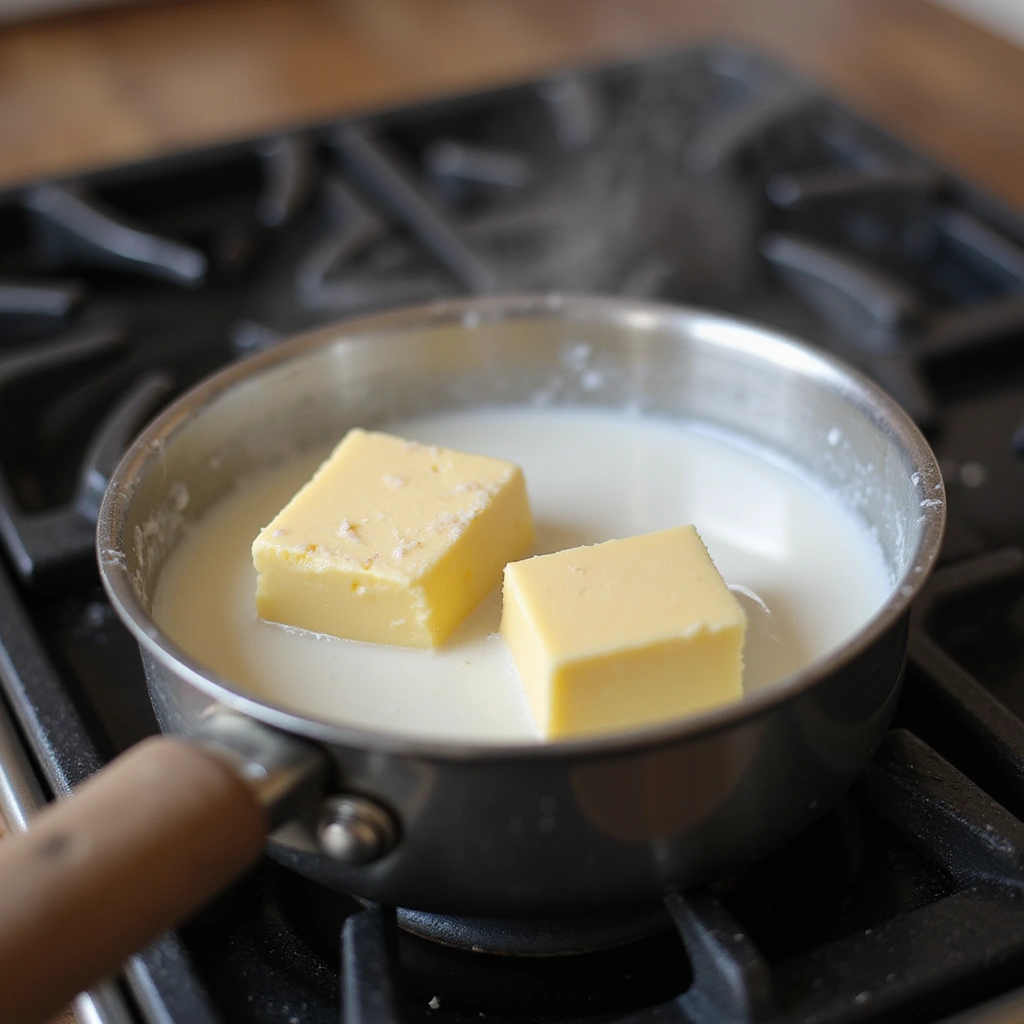
In a small saucepan, gently heat the whole milk and unsalted butter until the butter melts and the milk is warm to the touch.
Be careful not to boil the milk, as high temperatures can kill the yeast.
This warm mixture will help activate the yeast when combined with the dry ingredients.
Remove from heat and allow to cool slightly before adding to the dry mix.


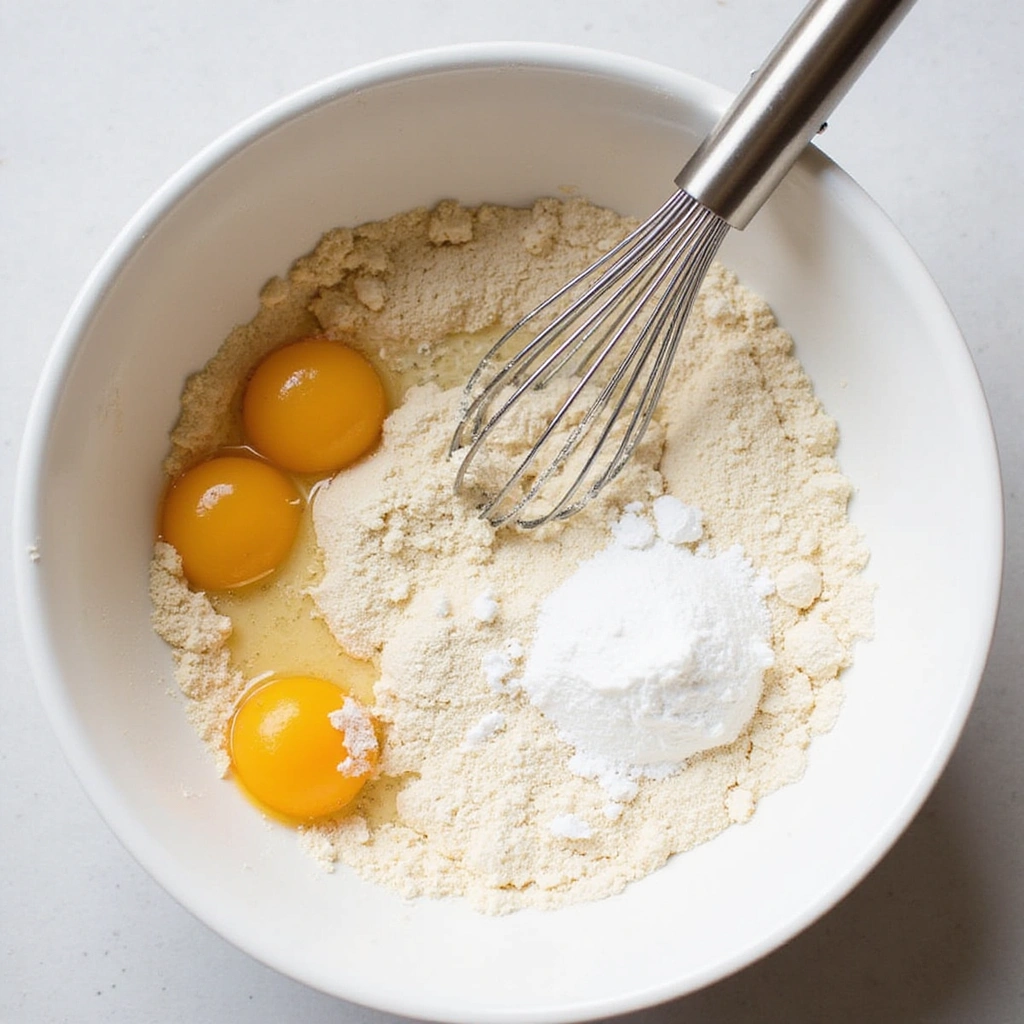
Step 4: Combine Wet and Dry Ingredients
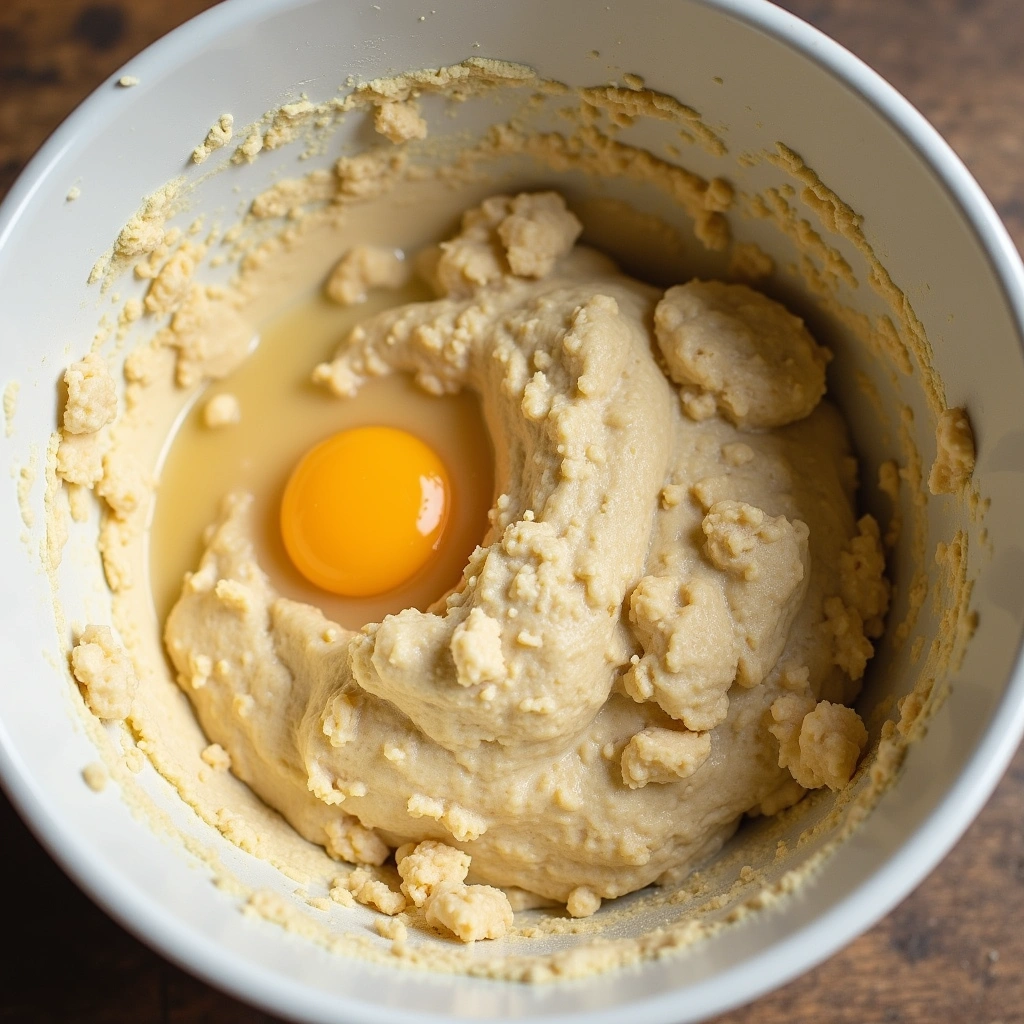
Pour the warm milk and butter mixture into the bowl of dry ingredients.
Add the egg to the mixture and stir until a rough dough forms.
Ensure no dry flour remains at the bottom of the bowl to avoid uneven texture.
Use a spatula or wooden spoon to mix until all ingredients are combined.


Step 5: Knead the Dough
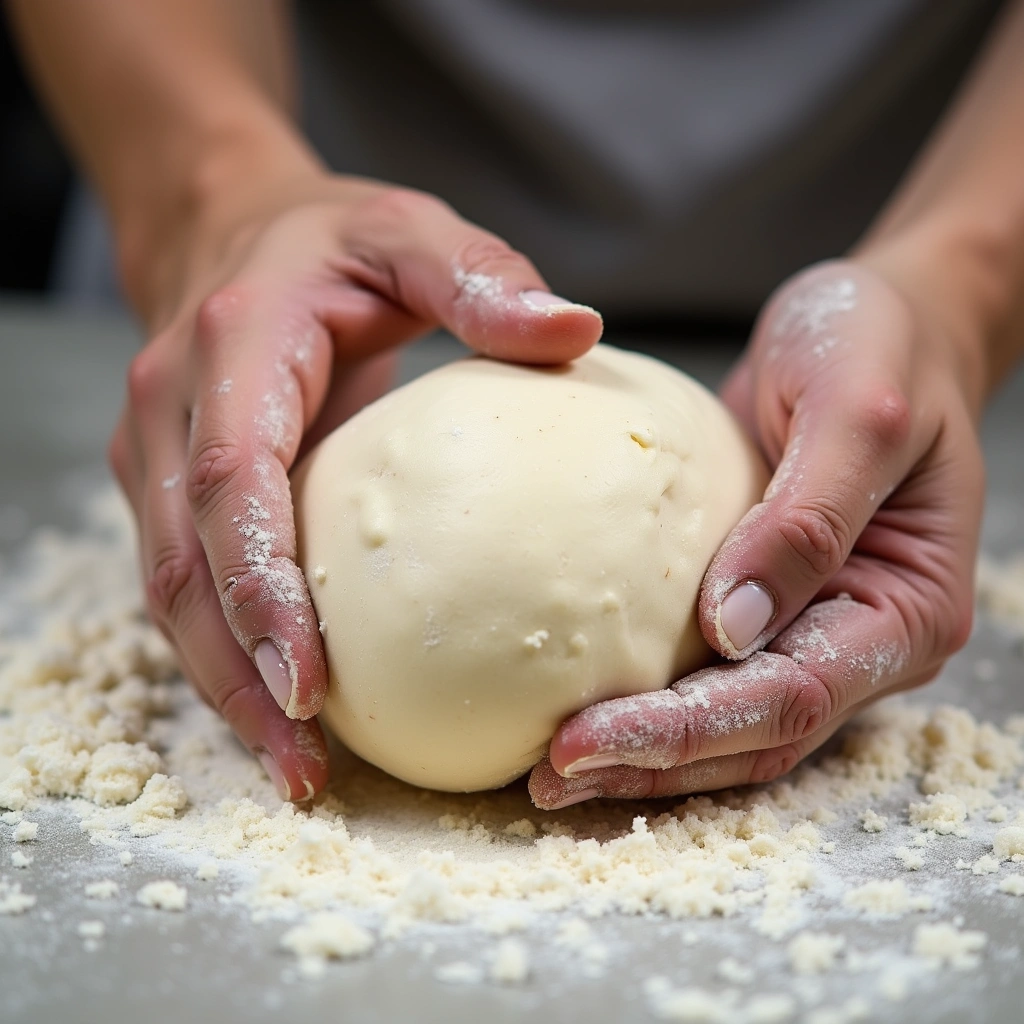
Transfer the dough onto a lightly floured surface and begin kneading by folding and pushing the dough with the palms of your hands.
Knead for about 8-10 minutes until the dough is smooth and elastic.
This process develops gluten, which gives the bread its chewy texture.
If the dough is sticky, sprinkle a little more flour as needed.
Step 6: First Proofing
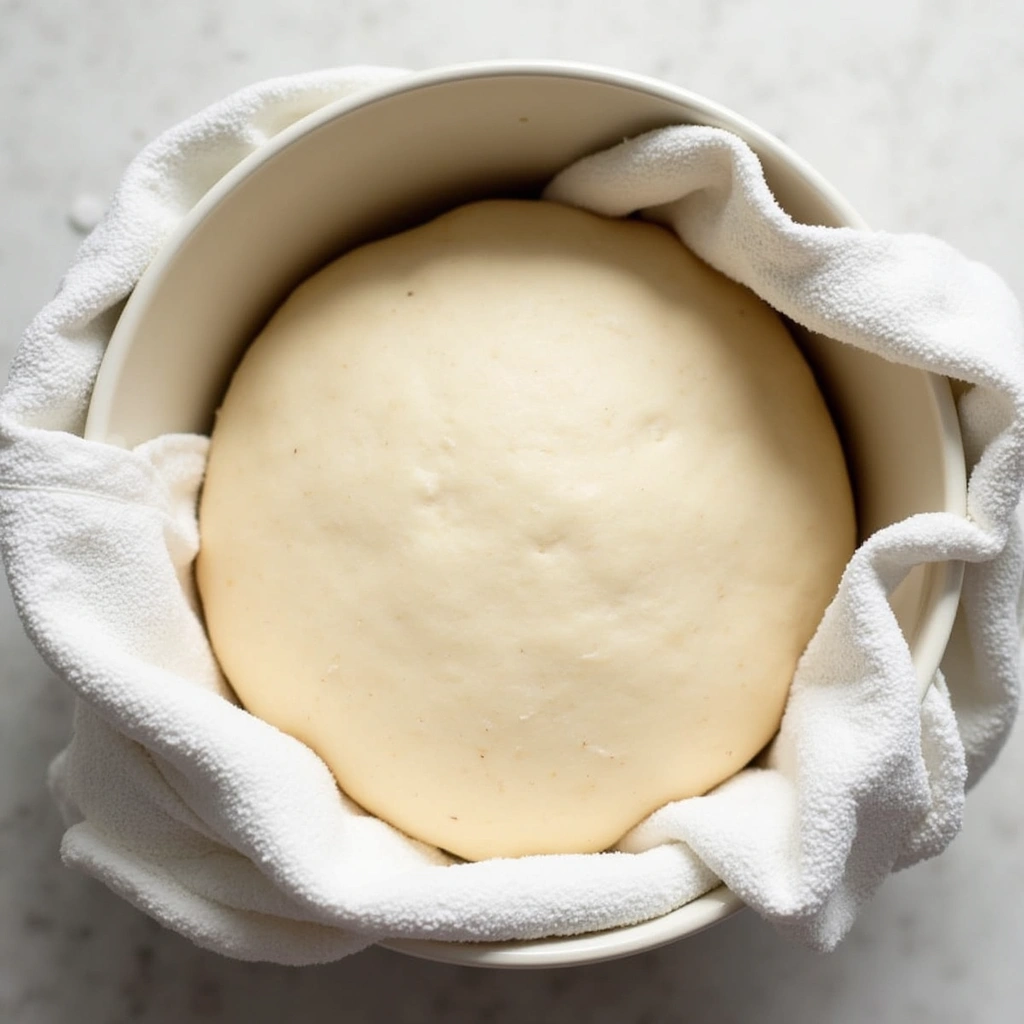
Place the kneaded dough into a lightly greased bowl and cover it with a clean kitchen towel or plastic wrap.
Let it rise in a warm place until it has doubled in size, about 1-2 hours.
This step is crucial for achieving that soft and fluffy texture.
Check the dough occasionally to monitor its rise.
Step 7: Shape the Dough
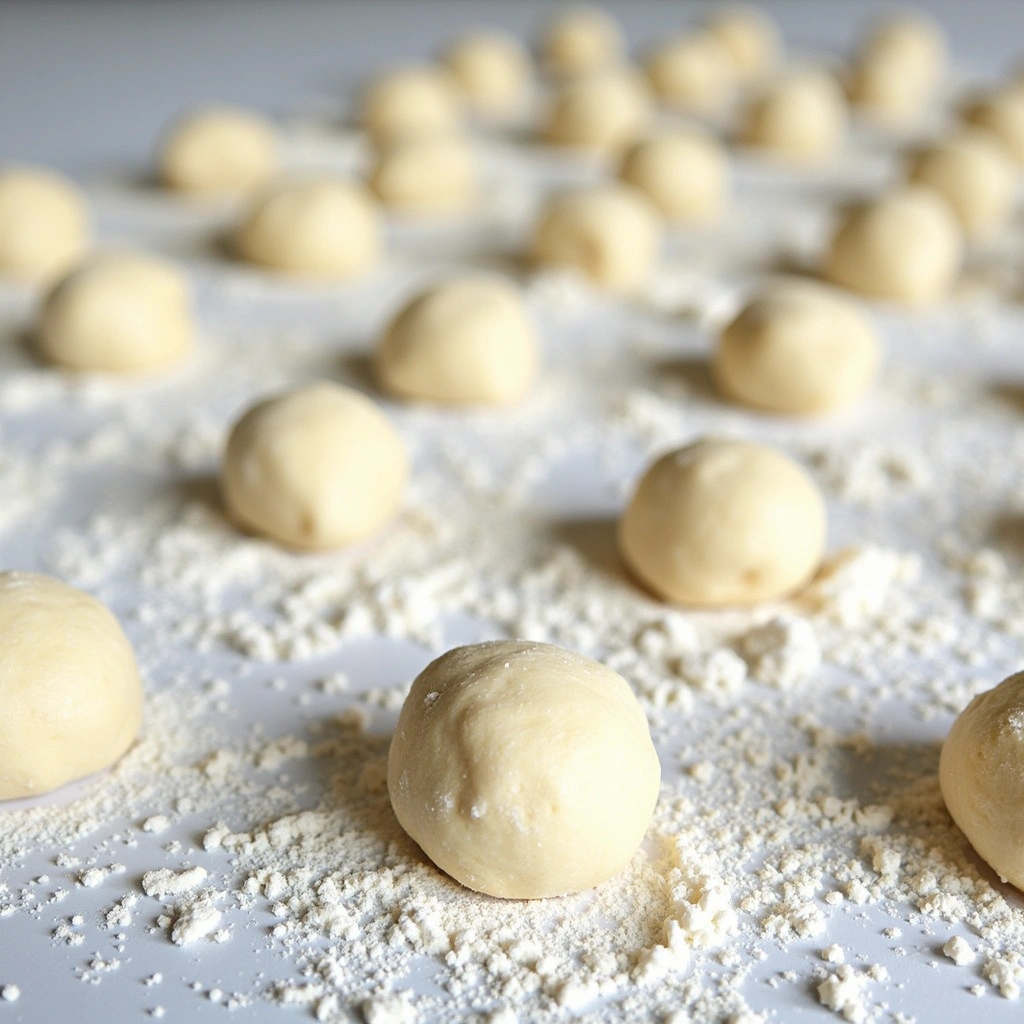
Once the dough has doubled, gently punch it down to release the air and turn it out onto a floured surface.
Divide the dough into equal pieces, usually about 8 for a standard loaf.
Shape each piece into a smooth ball by tucking the edges into the center.
This shaping process helps create structure for the final loaf.
Step 8: Second Proofing
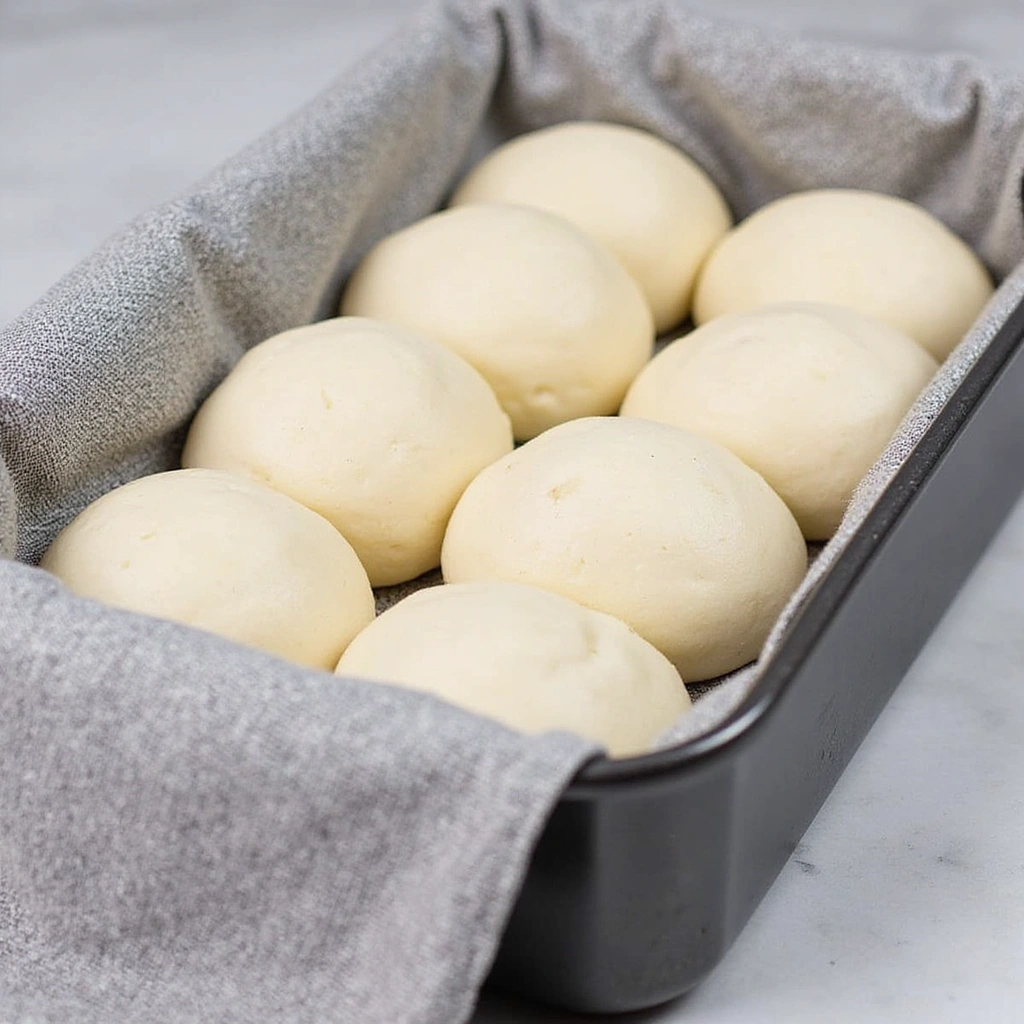
Place the shaped dough balls into a greased loaf pan, ensuring they are close but not touching.
Cover the pan with a kitchen towel and let it rise again until the dough has doubled, about 30-45 minutes.
This final rise will create the airy texture characteristic of Milk Bread.
Keep an eye on the dough as it proofs; it should rise significantly.
Step 9: Preheat the Oven
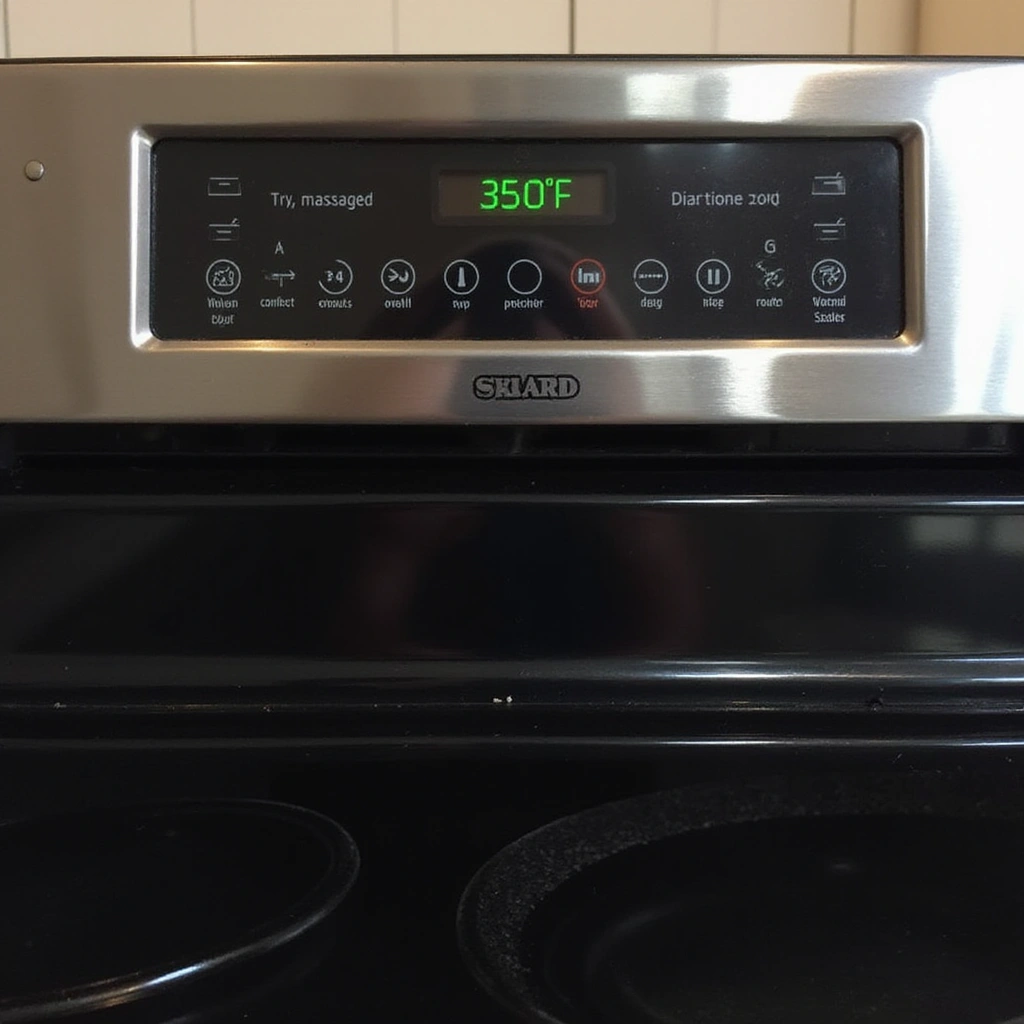
While the dough is proofing, preheat your oven to 350°F (175°C).
Proper preheating is essential for achieving the right crust and texture.
Make sure the oven is fully heated before placing the bread inside.
This ensures even baking from the start.
Step 10: Bake the Bread
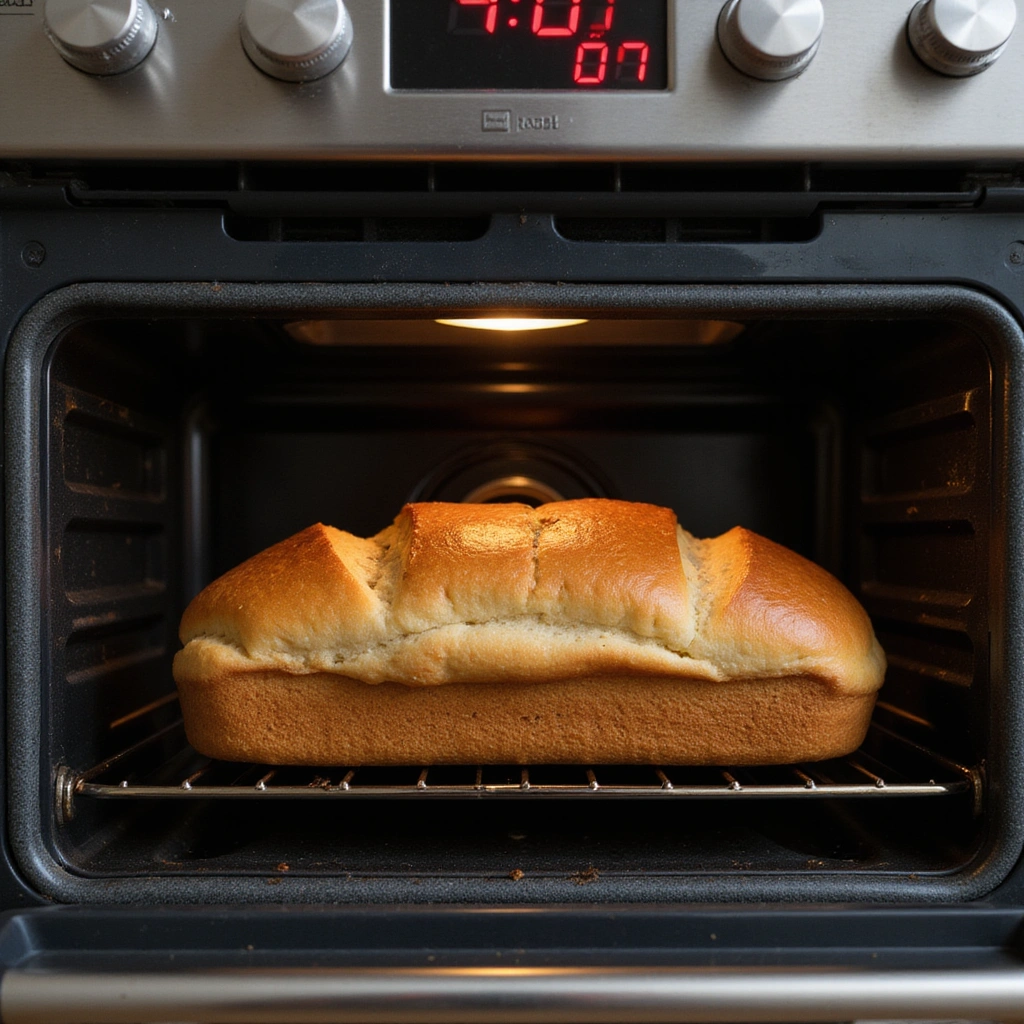
Once the dough has risen, place the loaf pan in the preheated oven.
Bake for about 30 minutes, or until the top is golden brown and sounds hollow when tapped.
Using a thermometer, check if the internal temperature has reached 190°F (88°C).
This ensures the bread is fully baked and not doughy inside.
Step 11: Cool the Bread
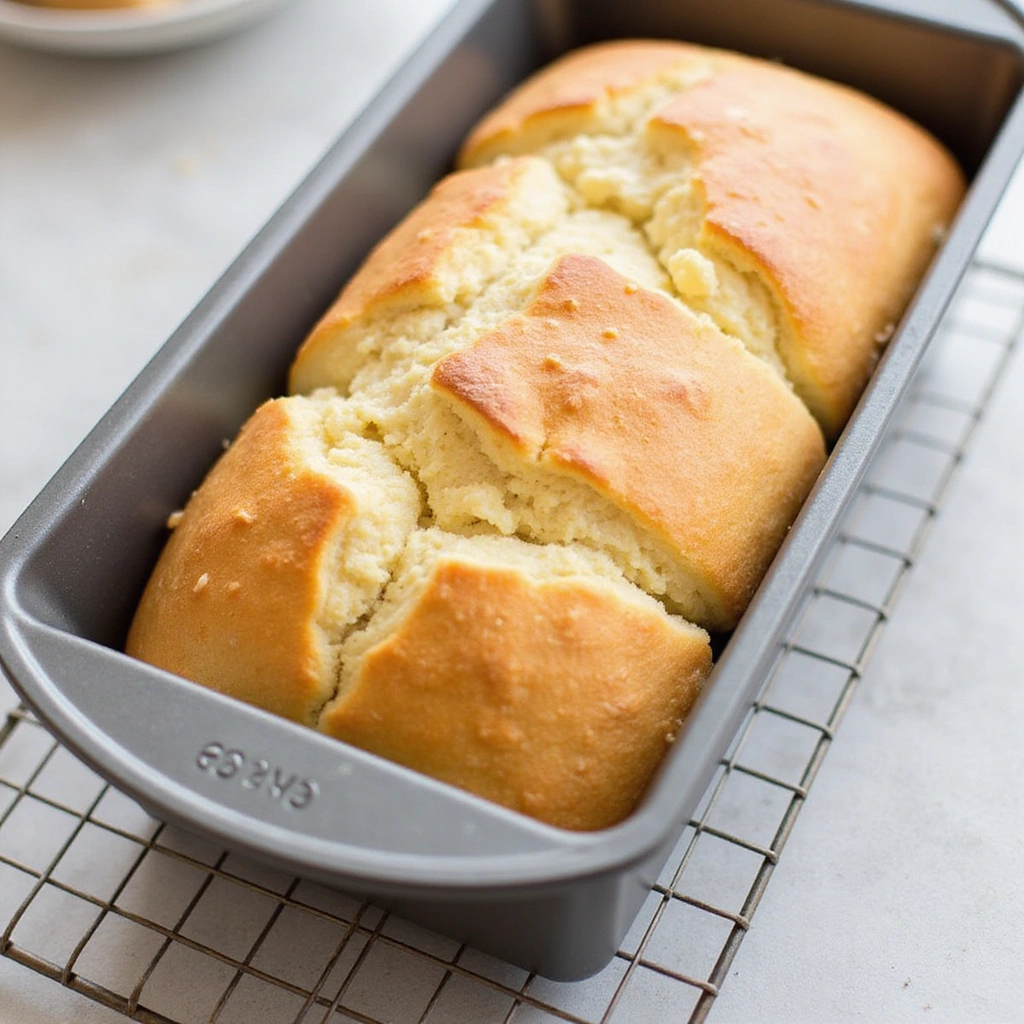
After baking, remove the loaf from the oven and let it cool in the pan for about 10 minutes.
Then, transfer it onto a wire rack to cool completely.
Cooling prevents the bread from becoming soggy and helps set its texture.
Avoid cutting into the bread while it’s still warm to maintain its structure.
Step 12: Serve and Enjoy
Once cooled, slice the Milk Bread with a serrated knife for clean edges.
Serve it plain, or with butter, jam, or any toppings of your choice.
This bread is perfect for sandwiches, toasts, or simply enjoyed on its own.
Savor the fluffy texture and slightly sweet flavor with every bite.


Critical Timing and Temperature Guide
First Proofing: Allow the dough to rise until it doubles in size, about 1-2 hours at room temperature. Look for the dough to be puffy and have a slight jiggle when moved. Avoid excessive heat, which can kill the yeast.
Second Proofing: This should take about 30-45 minutes. The dough should rise significantly and fill the pan without overflowing. Ensure it’s covered to prevent drying out.
Baking: Bake for approximately 30 minutes, until the top is golden and the internal temperature reaches 190°F (88°C). Watch for even browning; if it browns too quickly, cover it with foil.
Pro Tips for Soft And Fluffy Milk Bread
• Ingredient Selection: Use high-protein bread flour for the best texture. Fresh yeast will enhance flavor and rising ability.
• Preparation Secret: Allowing the butter to soften at room temperature before mixing results in a creamier texture in the bread.
• Temperature Management: Ensure ingredients, especially milk and butter, are at room temperature to help with yeast activation.
• Texture Enhancement: Knead until the dough is smooth and elastic, about 8-10 minutes, to achieve the perfect fluffy texture.
• Flavor Layering: Add a pinch of nutmeg or cinnamon for subtle flavor complexity without overpowering the bread.
• Make-Ahead Strategies: You can prepare the dough the night before and refrigerate it after the first proofing. Allow it to come to room temperature before shaping.
• Restaurant-Quality Finishing Touches: Brush the top with melted butter immediately after baking for a glossy finish.
• Equipment Optimization: Use a digital kitchen scale for precise measurements, ensuring consistent results.


Troubleshooting Common Issues
• Texture Too Dense: This can occur if the dough wasn’t kneaded enough or over-proofed. To fix this, ensure you knead until elastic and limit proofing time.
• Flavors Unbalanced: If the bread tastes bland, make sure to measure salt and sugar accurately. Adjusting these can enhance overall flavor.
• Crust Too Hard: A hard crust may indicate baking at too high a temperature. Use an oven thermometer to check accuracy and reduce heat if needed.
• Not Rising Properly: If the dough doesn’t rise, check the yeast’s expiration date. Always use warm (not hot) liquids to activate yeast.
• Overly Dry Bread: This may happen if baked too long. Use a timer and check the internal temperature to avoid over-baking.
• Uneven Baking: Ensure the oven rack is in the center for even heat distribution. Rotate the pan halfway through baking.


Variations and Regional Differences
• Japanese Shokupan: This version uses a tangzhong method, which involves cooking a portion of the flour with water to create a roux, resulting in an even softer texture.
• Korean Milk Bread (Soboro Bread): Often topped with a sweet crumble before baking, adding a delightful contrast to the soft bread.
• Chinese Mantou: A steamed version of milk bread that is fluffy and slightly sweet, often enjoyed as a side dish.
• Modern Interpretations: Contemporary versions may include ingredients like matcha or chocolate for unique flavor profiles while maintaining the classic soft texture.
Food Science Behind the Recipe
• Gluten Development: Kneading creates gluten networks that trap air, producing a light and airy bread. The gluten’s elasticity allows the dough to rise effectively.
• Yeast Activation: Yeast ferments sugars, producing carbon dioxide that causes the dough to rise. Warm liquids help activate yeast efficiently.
• Maillard Reaction: This chemical reaction occurs during baking, creating a golden-brown crust and adding depth of flavor through caramelization.
Frequently Asked Questions
What’s the most common mistake people make when preparing Soft and Fluffy Milk Bread? The most common mistake is not allowing enough time for proofing, leading to dense bread. Ensure the dough is fully doubled in size before baking.
Can I prepare components of this dish in advance? Yes, you can prepare the dough the night before and refrigerate it after the first proofing. Allow it to come to room temperature before shaping.
How do I adapt this recipe for dietary restrictions? For a dairy-free option, substitute almond or soy milk and use margarine instead of butter. Adjust yeast and sugar as needed.
What’s the best way to store and reheat leftovers? Store leftovers in an airtight container at room temperature for up to 3 days. Reheat slices in a toaster or oven to restore freshness.
Can I freeze this dish? Yes, you can freeze the bread after it cools completely. Wrap it tightly in plastic wrap and then in aluminum foil for up to 3 months. Thaw at room temperature.
What wine or beverages pair best with this dish? Light white wines or herbal teas complement the sweetness of the bread, enhancing the flavor experience.
How can I scale this recipe up for a crowd? Simply multiply the ingredients accordingly, and use multiple loaf pans or a larger pan for baking.
What side dishes complement this recipe best? Fresh fruit, yogurt, or a light salad pair beautifully with the soft, sweet bread.
How do professional chefs elevate this dish for restaurant service? Professional chefs often serve this bread with gourmet butters or artisan jams, emphasizing its quality.
Serving and Presentation Guide
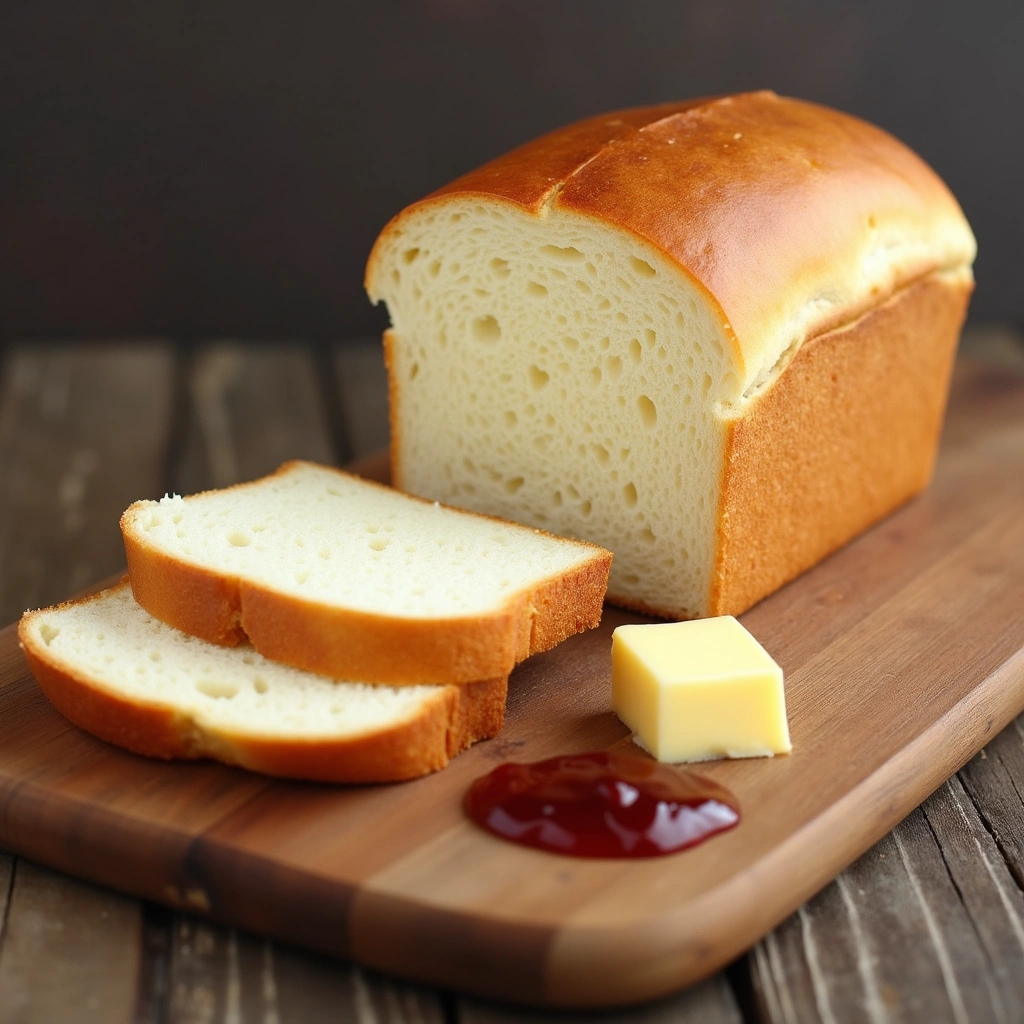
• Traditional Presentation: Serve slices of Milk Bread on a wooden cutting board with a butter dish and jam, highlighting its homemade feel.
• Modern Plating Ideas: Stack slices on a white plate with a drizzle of honey or a sprinkle of powdered sugar for a contemporary touch.
• Accompaniment Suggestions: Pair with seasonal fruits, flavored butters, or coffee for a delightful breakfast or snack.
• Special Occasion Presentation: For celebrations, shape the dough into rolls or a braided loaf, serving it warm with an elegant butter dish.


Conclusion
I hope you enjoy making this Soft and Fluffy Milk Bread as much as I do.
It’s a beautiful way to connect with culinary traditions while creating something delicious at home.
Try it out, and savor the joy of fresh-baked bread!